
Using a Speed Out Drill Bit: Essential Techniques and Tips
This post contains affiliate links. As an Amazon Associate, we earn from qualifying purchases.
To use a Speed Out drill bit, insert the 1/16” pilot end into your drill’s keyless chuck. Drill a small pilot hole into the damaged screw head, set your drill to REVERSE at its lowest speed (under 400 RPM), apply firm downward pressure, and extract the screw at a rate of 1/8” per second. Rushing this or using forward spin strips the bit and welds the screw in place.
That 1/8″ per second pace isn’t a suggestion. It’s the mechanical limit of the bit’s left-hand flutes. Go faster and the hardened steel teeth skip over the screw head instead of biting in. You get metal shavings, a rounded-off bit, and a problem now welded deeper into the material.
What follows is the breakdown of why that specific speed works, the three drill settings that guarantee it, and the physical failure you’ll see if you substitute a standard drill bit technique. This isn’t about brute force. It’s about letting the tool’s geometry do the work your wrist can’t.
Key Takeaways
- The extraction speed is non-negotiable: 1/8″ per second. Faster strips the bit; slower stalls the motor and heats the screw.
- Your drill must be in REVERSE at its lowest speed setting, often under 400 RPM. Forward rotation destroys the bit.
- Always drill a pilot hole first. The Speed Out bit needs a centered starting point to grip.
- A free-spinning drill bit at high RPM can bend, according to DeWALT manuals. This risk is highest when the bit isn’t contacting the workpiece.
- Let the drill come to a complete stop before changing speed settings or direction, especially on tools with a gear selector.
The One Tool You Can’t Substitute
A Speed Out bit isn’t a standard twist drill or a generic “easy out.” It’s a dedicated extractor with a specific geometry. The business end has steep, left-hand spiral flutes cut to bite counter-clockwise. The other end is a short 1/16″ pilot drill.
Using a standard drill bit here is how you turn a stripped screw into a permanent fixture. The flutes on a normal bit are cut for forward rotation and chip evacuation. They will not grip a screw head in reverse.
The Speed Out bit’s left-hand flutes are a mechanical hook. They are designed to dig deeper into the screw head as you apply reverse torque, creating a wedging action that overcomes the screw’s thread lock.
If you try to use a step drill bit or a Forstner bit for this job, you’ll just make a bigger hole. You need the correct tool. This specificity is why having a guide on choosing a drill bit matters before you start any job.
The 5-Step Speed Out Procedure
Follow this sequence exactly. The timing between steps is where most attempts fail.
Step 1: Secure the Workpiece and Yourself
Clamp the material down. You need both hands on the drill, one on the handle, one supporting the front. Wear ANSI Z87.1 safety glasses. Metal shavings from a skipping bit fly straight back.
Skipping the clamp means the workpiece moves with the drill. The bit loses its bite, rounds off the screw head, and you start over with a wider hole.
Step 2: Drill the Pilot Hole
Switch your drill to FORWARD. Insert the 1/16″ pilot end of the Speed Out bit into your keyless chuck and tighten it firmly. Center the bit on the remains of the screw head and drill straight down.
This hole only needs to be deep enough to guide the extractor flutes, about 1/8″ to 1/4″. Its only job is to prevent the larger extractor end from walking off-center.
Step 3: Swap Ends and Set the Drill
Remove the bit from the chuck. Re-insert it with the tapered extractor end facing out. This is the part people fumble. The extractor flutes must be fully exposed.
Now, set the drill. This is a two-part setting: 1. Direction: Set the forward/reverse switch to REVERSE (counter-clockwise). 2. Speed: Set the speed to the lowest possible setting. On a drill like the DeWALT DCD470B, that’s the low-gear range (0–400 RPM). The trigger is not a variable speed control for this step. You want slow, consistent torque.
Step 4: Apply Pressure and Start the Extraction
Place the extractor flutes fully into the pilot hole. Apply firm, straight-down pressure with your non-trigger hand. With the drill set to low-speed reverse, pull the trigger gently to start.
You should feel immediate resistance and hear a sharp, grinding squeal as the flutes bite. This is the correct sound.
Step 5: Maintain the 1/8″ Per Second Pace
This is the whole game. As the screw begins to back out, maintain steady pressure and a painfully slow reverse rotation. Visualize the screw rising out of the hole at the speed of a thick fingernail growing.
If the bit starts spinning freely without moving the screw, stop. You’ve lost the bite. This usually means the pilot hole was off-center, the speed was too high, or the screw is seized beyond the bit’s capacity.
What Most People Get Wrong
 The procedure seems simple. The failure modes are specific and expensive.
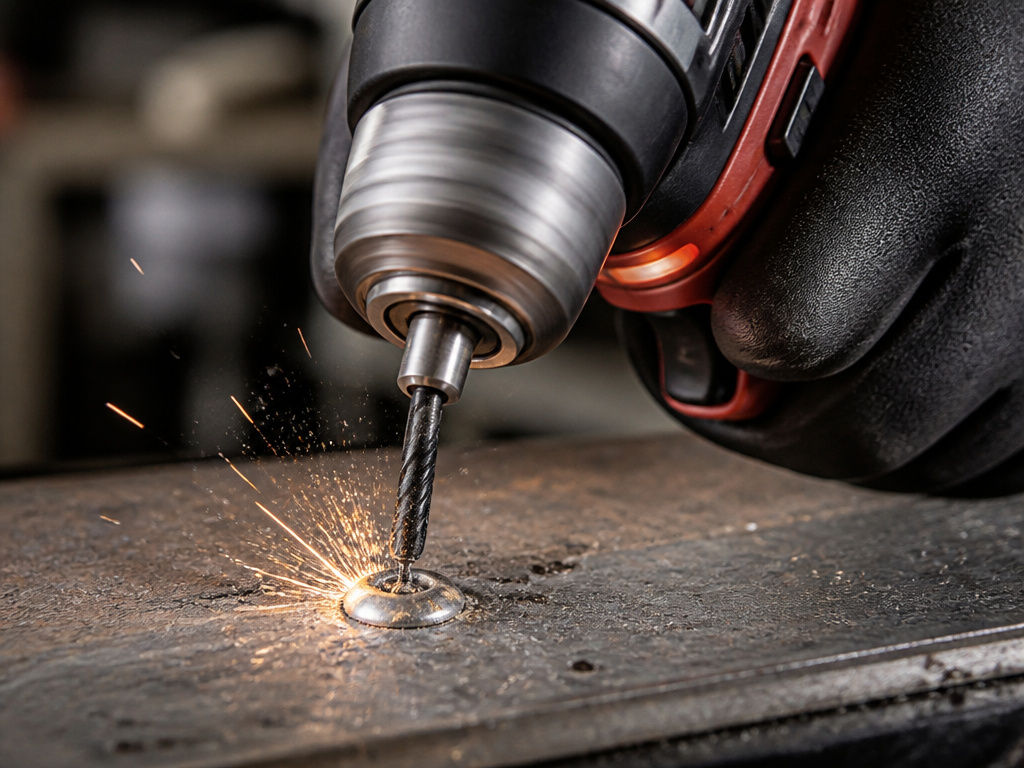
Common mistake: Using high speed for extraction. At high RPM in reverse, the bit’s flutes act like a milling machine, shaving the screw head into dust instead of gripping it. The screw stays put, the bit is ruined, and you now have a hole filled with metal powder that’s harder to drill.
The other critical error is ignoring drill state. From the Milwaukee operator’s manual: you must allow the tool to come to a complete stop before changing speeds using the selector on the motor housing. Forcing a gear change while the chuck is spinning grinds the transmission. The repair bill exceeds the cost of a new drill.
| Mistake | Immediate Consequence | Long-Term Damage |
|---|---|---|
| High RPM extraction | Bit skips, rounds screw head | Bit flutes are stripped, unusable |
| Forgetting to reverse | Bit drills forward, enlarging hole | Screw is permanently welded in |
| No pilot hole | Extractor walks, scars workpiece | Requires a core drill bit to fix |
| Changing gears while spinning | Grinding noise from gearbox | Worn transmission, loss of torque |
Drill Settings: Low Gear, High Torque, Reverse
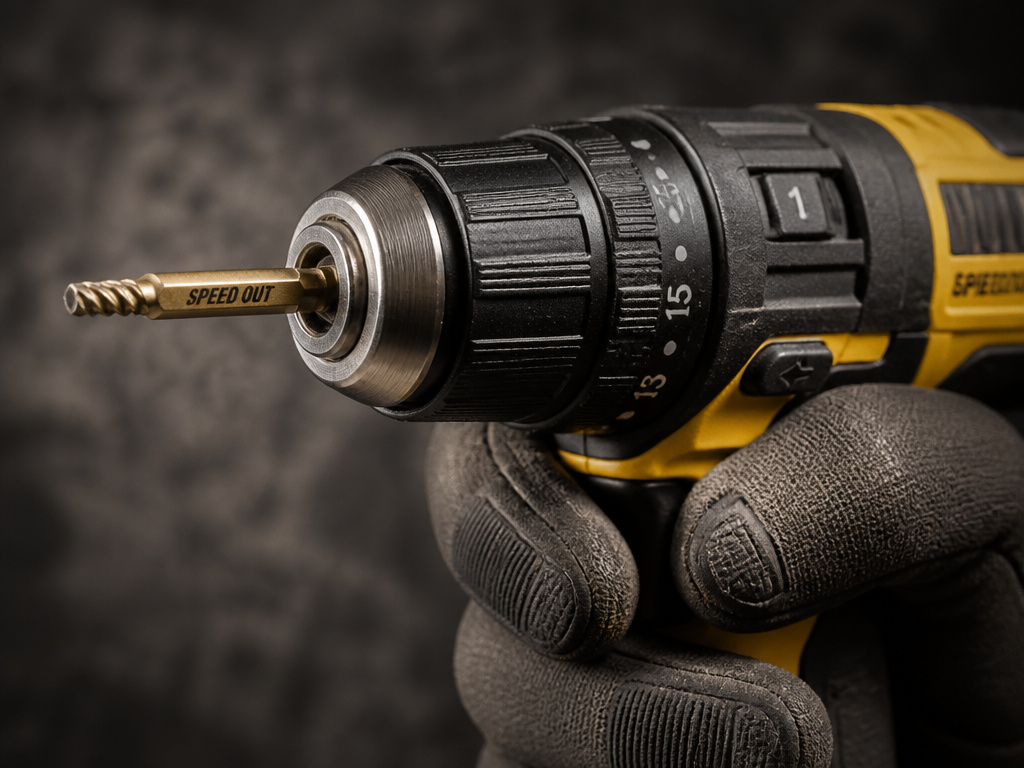 Your drill’s configuration is a lock. Get one setting wrong and the bit won’t turn the screw.
Speed and Gear Selection
You need torque, not velocity. Always select the drill’s lowest gear setting (often marked “1” or with a drill bit icon). This gear range provides maximum rotational force at the lowest RPM. The DeWALT DCD470B delivers its 400 RPM maximum in this setting, which is ideal.
High speed (gear “2” or “3”) spins too fast. The bit deflects, the flutes skate, and you risk bending the bit if it’s not in firm contact.
The Critical Reverse Setting
The forward/reverse switch must be set to REVERSE. This seems obvious, but under stress, it’s the first thing people check after the bit fails. The left-hand flutes are cut to pull material out only when turning counter-clockwise. Forward rotation tries to drive them in like a masonry drill bit, which instantly dulls the cutting edges.
Chuck and Grip
Use a keyless chuck and tighten it by hand as hard as you can. The extractor process creates sudden, jarring resistance. A loose chuck will spin the bit inside the jaws, rounding its shank and making it impossible to remove. If your bit gets stuck in the chuck, you’ve now got two problems.
When a Speed Out Bit Isn’t the Answer
No tool fixes every problem. Know the limits before you start.
The bit needs a screw head to grip. If the screw is broken off flush or below the surface, you have no purchase. You’re now in broken drill bit extraction territory, which is a different set of tools.
Hardened steel screws or bolts can be tougher than the extractor’s metal. The bit’s flutes will dull or snap before the screw moves. For grade-8 bolts or lag screws in hardened steel, you need a drill press, a left-hand cobalt drill bit, and penetrating oil, not a hand-held extractor.
Severely corroded or thread-locked screws may have more holding power than the extractor’s grip. The bit will strip the head before breaking the bolt’s bond. In these cases, drilling out the entire screw with a progressively larger bit is the only path, followed by re-tapping the hole or using a plug.
Safety: The Two Risks Nobody Mentions
Power tool safety talks about eye and ear protection. This job has two unique hazards.
Free-Spinning Bit Bend
DeWALT manuals state it clearly: “Never operate at higher speed than the maximum speed rating of the drill bit. At higher speeds, the bit is likely to bend if allowed to rotate freely without contacting the workpiece, resulting in personal injury.”
A Speed Out bit is long and tapered. At high RPM in reverse with no load, like when you’re positioning it before applying pressure, it can whip like a fishing rod. If it contacts the workpiece off-angle, it can snap. The broken piece becomes a high-speed projectile. The fix is simple: keep the bit in contact with the work before you pull the trigger, and always use the lowest speed.
Metal Dust and Seizure
The extraction process creates fine, sharp metal dust. This dust is a respiratory irritant and can jam the drill’s chuck mechanism if it gets inside. Work in a ventilated area, and blow out your drill’s chuck and air vents with clean, dry air after the job. Letting this dust build up inside the tool is how you get a jammed drill bit scenario on your next project.
Frequently Asked Questions
Can I use an impact driver with a Speed Out bit?
No. An impact driver delivers sudden, hammering blows. These impacts will shatter the delicate cutting flutes on the Speed Out bit or snap it at the taper. You need the smooth, constant torque of a drill in low gear.
What if the Speed Out bit starts to strip the screw?
Stop immediately. Continuing will only make it worse. Your options are to drill a slightly larger pilot hole and try again with a fresh, larger-diameter Speed Out bit, or to drill out the entire screw. Drilling it out requires a bit slightly smaller than the screw’s body, drilling straight down the center, and then picking out the remaining threads.
Why did my bit snap off inside the screw?
The bit snapped because of side load or because the screw was seized beyond the bit’s tensile strength. A bent bit (from free-spinning) will snap under torque. Extraction requires a straight, axial pull. If the bit breaks, you now need a countersink bit or other tool to create a recess around the broken piece so you can grab it with needle-nose pliers.
Can I sharpen a dull Speed Out bit?
Practically, no. The complex spiral geometry of the left-hand flutes requires specialized grinding equipment to restore. A dull bit is a spent bit. Attempting to hand-sharpen it will alter the cutting angle and make it perform worse. Replace it.
Are all screw extractor bits the same?
No. “Speed Out” is often used as a generic term, but build quality varies wildly. Cheap, off-brand extractors are made from softer steel that deforms under pressure. Invest in a branded set from a known tool manufacturer. The metal hardness and flute precision are what you’re paying for.
Before You Go
The right technique turns a nightmare into a five-minute fix. Remember the triad: low speed, reverse, 1/8″ per second. The drill’s job is to deliver slow, stubborn torque. The bit’s job is to bite and wedge. Your job is to keep everything straight and patient.
When it works, the screw backs out with a satisfying pull. When it doesn’t, you now know why, the pilot hole was off, the speed was high, or the screw was never coming out with this tool. That knowledge saves the next screw, the next bit, and the rest of your afternoon.
