
DIY Guide: How to Sharpen Drill Bits with a File Correctly
This post contains affiliate links. As an Amazon Associate, we earn from qualifying purchases.
Sharpen a drill bit with a file by pushing a flat bastard file across the relief area behind the cutting edge, holding it at the original factory angle, usually 15 to 20 degrees. You must maintain that angle on both sides to keep the point centered and the bit cutting straight. This method works for standard twist drills but fails on bits without teeth or for major edge restoration.
That angle is everything. Get it wrong by even a few degrees, and the drill point drifts off-center. It will wobble in the chuck, burn through wood, and refuse to start in metal. The file doesn’t create a new edge; it re-establishes the one already there by removing a thin ribbon of metal from the relief plane.
What follows: the exact file type the pros use, the four-step push-only technique from a university extension guide, the single visual mistake that ruins every sharpening attempt, and when to put the file down and grab a Dremel instead.
Key Takeaways
- Use a Nicholson flat bastard file, its aggressive, single-cut teeth are designed for metal removal, not finishing.
- File at the original factory relief angle, typically 15 to 20 degrees, and push only, never pull.
- The most common error is sweeping the file back at the end of the stroke, which dulls the opposite cutting edge.
- This method is for maintenance, not resurrection. A badly chipped or misshapen bit needs a grinder.
- Always clamp the drill bit immovably. Hand-holding introduces angle variation that guarantees an off-center point.
The Anatomy That Matters
Forget the flute and the shank for a minute. When filing, you are interacting with two precise planes: the cutting lip and the relief area. The cutting lip is the sharp edge that shears material. The relief area is the sloped surface behind it. Its job is to prevent the drill’s body from rubbing against the work piece, which creates friction, heat, and a stalled bit.
The relief area prevents contact with the metal being cut as a hole is drilled, which reduces drag and friction. We file each of the relief areas to sharpen the drill bit, maintaining the same angle as these planes. . GIA Bench Tip #1: How To Sharpen A Drill Bit
If you file the cutting lip itself, you flatten it. You need to file the relief area to bring the cutting edge forward again. That’s the core mechanical truth every other step depends on.
Point angle is the included angle between the two cutting lips, often 118 degrees. Relief angle is the slope behind each lip. Your file must follow this existing relief angle. Guessing creates a dual-angle mess that won’t cut.
| Drill Bit Part | Function | What Happens If Wrong |
|---|---|---|
| Cutting Lip | Shears material | Filed flat = no cutting, only rubbing |
| Relief Area | Provides clearance behind lip | Angle too steep = weak edge; angle too shallow = friction and heat |
| Point (Web) | Centers the bit before cutting | Off-center = wobble, oversized holes |
| Flute | Evacuates chips | Clogged = bit binds, overheats |
The Right File for the Job
Not all files are equal. A mill bastard file has two sets of crossing teeth for rapid stock removal on softer metals. For sharpening a hardened steel drill bit, you need a single-cut file. Its teeth are parallel rows cut at an angle, designed to shave a controlled curl of metal.
The Nicholson flat bastard file (6-inch) is the standard recommendation in the UCANR tool sharpening PDF. “Bastard” denotes a medium coarseness, aggressive enough to work but not so rough it gouges. The “flat” profile lets you register the entire face against the drill’s relief area for consistent angle control.
Diamond files and needle sets are for deburring or fine work, not for reshaping a drill’s primary geometry. If you try, you’ll be filing for twenty minutes and accomplish nothing but polishing a dull edge.
Skip the extended-round file. Its curved face cannot maintain a flat plane against the relief area, guaranteeing a convex, useless surface. The flat bastard file is a non-negotiable.
The 4-Step Filing Method
This process is adapted from the GIA drill bit sharpening tutorial and the UCANR guide. It assumes a standard twist drill bit that is dull but not deformed.
Before you start: Clamp the drill bit shank in a vise or a dedicated holding jig. The bit must not move. Wear safety glasses, filing produces sharp, needle-like metal shavings that fly.
Step 1: Identify and Match the Angle
Look at the bit. The relief area is a flat, polished-looking surface behind the cutting lip. Lay your Nicholson file against it. The goal is to match that exact slope. If you can’t see it, start with the file at a 15 to 20-degree angle relative to the drill’s axis. This is the typical factory setting per the UCANR guide.
Step 2: The Push Stroke
Place the file at the correct angle, braced against the relief area near the cutting lip. Apply moderate pressure and push the file forward along the length of the relief area. Do not rock the file. Do not pull it back while in contact with the metal.
Hold the file at this angle and, pushing only – never pulling – file in smooth, even strokes, bracing a finger as a backstop on the blade so that it maintains the file at the proper angle. . UCANR Tool Sharpening for Single Beveled Tools
Lift the file, return to the starting position, and repeat. You are not trying to remove a lot of material. After 3-5 firm strokes, you should see a fresh, bright metal surface on the relief area.
Step 3: Check for a Burr and Flip
After working one side, feel the opposite cutting lip with your fingernail. A sharp edge will scrape off a bit of nail. You might also feel a slight raised burr on the underside of the edge you just filed. That’s a good sign, it means you’ve brought the cutting edge forward.
Now, rotate the drill 180 degrees in the clamp. Repeat the process on the second relief area, using the exact same angle and stroke count.
Step 4: Deburr and Test
Both sides are filed. A small wire edge or burr often remains where the new relief area meets the cutting lip. Lightly run the corner of your file flat against the unchamfered side of the cutting lip once or twice to knock this off. Do not file into the new cutting edge.
Test the sharpness by lightly scraping your thumbnail perpendicular to the edge. It should bite and peel off a tiny curl. Then test the bit in a piece of scrap softwood. It should start cleanly without walking and produce fine, curly chips, not powder.
Common Mistakes and How to Spot Them
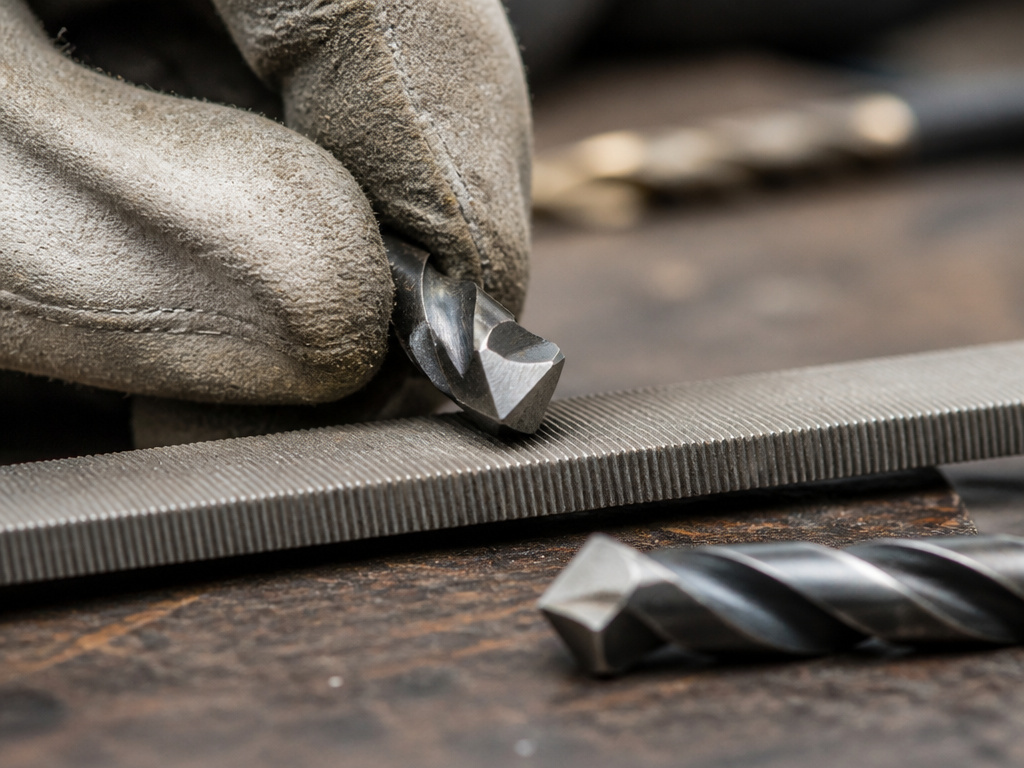 Filing seems simple. That’s why the errors are so consistent.
Where this goes sideways: Sweeping the file back at the end of the stroke. Your natural motion is a push-and-drag. That return drag, with the file’s teeth still engaged, rounds over the freshly sharpened cutting edge you just created. The bit feels sharp to the nail test but drills like a blunt pencil.
The off-center point. This happens when you file one side more than the other, or at a steeper angle. The visual check is simple: look straight down at the tip. The two cutting lips should appear symmetrical, meeting at the exact center of the web. If one lip looks longer or more prominent, the point is off-center. It will drill an oversized hole.
Polishing, not sharpening. If you use a fine file or too-light pressure, you’re just burnishing a dull edge. The relief area will get shiny, but the cutting lip won’t advance. You need to see a visible new facet on the relief area.
The fix for a swept-back edge or off-center point is the same: go back to the grinder. A file cannot add metal back. You must grind the entire tip back past the mistake and start over. This is why the bench grinder is the tool for major corrections.
When Filing Won’t Work (And What to Do Instead)
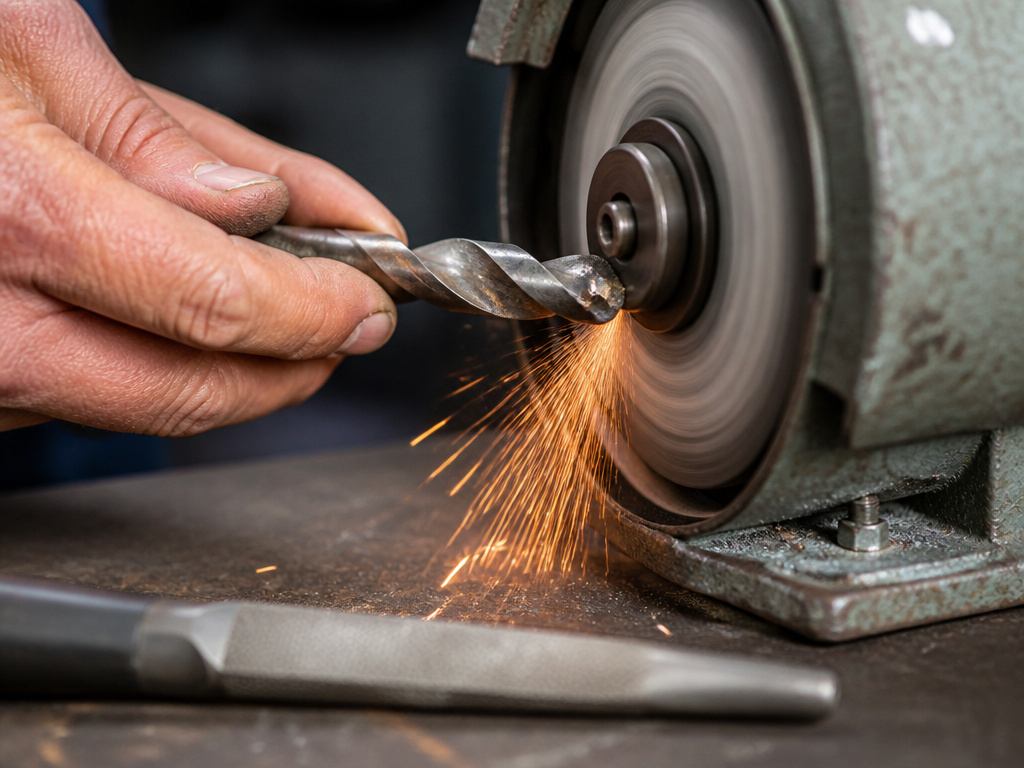 A file is a precision tool for maintenance. It is not a rescue device.
Major damage. A chipped cutting lip, a bent tip, or a drill that’s been ground completely flat require the aggressive, controlled removal of a grinder method. The Lisle 9100 Drill Grinder or a steady hand on a bench grinder can re-establish the basic geometry a file can then refine.
Drills with no teeth. Some specialty bits, like certain Forstner styles, have a smooth, non-toothed cutting rim. The woodgears.ca source is clear: “If your drill has no teeth, then a small stone on the end of a Dremel is best.” A file cannot create a cutting edge on a smooth surface.
Severe wear. If the relief area is gone, rounded over from years of improper sharpening, you must grind back to fresh metal to re-create it. Filing a rounded surface just follows the curve, perpetuating the problem.
For these jobs, our guide on sharpening drill bits with a grinder walks through the aggressive restoration process.
File Sharpening vs. Grinder Sharpening
Choosing between a file and a grinder isn’t about preference. It’s about the state of the bit and the tolerance of your work.
| Aspect | File Sharpening | Grinder Sharpening |
|---|---|---|
| Best For | Touch-ups, maintaining sharpness | Major reshaping, correcting errors |
| Material Removal | Slow, controlled (thousandths of an inch) | Fast, aggressive (can overheat) |
| Risk of Error | Off-center point, swept-back edge | Overheating (losing temper), incorrect drill bit angles |
| Skill Required | Patience, angle consistency | Hand-eye coordination, heat management |
| Tool Cost | Low ($8-$15 for a good file) | Moderate ($50+ for a decent grinder) |
If you’re maintaining a set of bits after every few projects, the file is your go-to. If you’re salvaging old, abused bits from a garage sale bin, start at the grinder. Many workshops use both: the grinder sets the geometry, the file fine-tunes and maintains it. Understanding drill bit materials also informs this choice, cobalt bits are harder and more resistant to filing, often needing a grinder.
Maintaining Your Edge and Your Tools
A sharp bit stays sharp longer with proper handling and storage. After sharpening, a quick pass with a cleaning drill bits protocol removes metal filings and oils. For bits showing discoloration, removing rust before sharpening is essential; filing over rust just gums up the file’s teeth.
Store your bits in a dedicated rack or case, not loose in a drawer where they knock against each other. That constant micro-impact is what dulls edges between uses. Your file needs care too. Clean its teeth regularly with a file card or brush to prevent “pinning”, clogging with metal chips that scratch the work piece.
Know your bits. The technique here applies to standard twist drills. Split point bits and other common bit types have different geometries that may require specialized jigs or stones.
Frequently Asked Questions
Can you really sharpen a drill bit with just a file?
Yes, for maintenance. A Nicholson flat bastard file pushed at the existing 15-20 degree relief angle can restore a dull edge in under a minute. It cannot fix a chipped or misshapen bit, that requires a grinder to remove more material.
What is the correct angle for sharpening a drill bit with a file?
Match the existing relief angle behind the cutting lip. If it’s not visible, use 15 to 20 degrees, which is the standard factory setting for single-bevel tools as specified in the UCANR tool sharpening guide. The file follows this slope; it does not create the primary cutting edge.
Why does my drill bit still not cut after I’ve filed it?
You likely made the “sweeping back” error. Dragging the file back at the end of the stroke rounds over the new cutting edge. Alternatively, you may have only polished the relief area without actually advancing the cutting lip. Check for a fresh, distinct facet on the relief area and a slight burr on the opposite side.
How many times can you sharpen a drill bit with a file?
Dozens of times, as long as you’re only touching up the relief area. Each filing session removes a tiny amount of metal. Eventually, the flute will shorten enough to affect chip clearance, or the web will thicken, requiring a grinder to thin it. For a typical 1/4″ bit, you might get 30-40 touch-ups before noticing performance drop.
Is it better to sharpen drill bits by hand or with a machine?
“Better” depends on goal and volume. Hand filing is superior for learning geometry, preventing heat damage, and doing quick touch-ups. It’s the foundation of all sharpening by hand skills. Machine grinding (with a tool like the Lisle 9100) is faster, more repeatable for high volume, and necessary for correcting major flaws. Most proficient shops use both.
Before You Go
A file turns a dull bit into a serviceable one in five minutes. The rules are non-negotiable: clamp the bit, use a flat bastard file, push only at 15-20 degrees, and never drag back. This is maintenance, not magic.
When the bit is chipped, bent, or has no teeth, put the file down. That’s grinder territory. For everything else, the slow wear after drilling twenty holes in pine or metal, the file is the smart, quiet, controlled choice. It teaches you to see the angles your drill already knows. Keep the bit clean, store it right, and that single file will keep a whole set cutting for years.
