
Guide: How to Remove Rust from Drill Bits Safely & Easily
This post contains affiliate links. As an Amazon Associate, we earn from qualifying purchases.
To remove rust from drill bits, submerge them in undiluted white vinegar for 30 minutes to 24 hours, scrub with a brass wire brush, rinse, dry thoroughly, and apply a protective oil. The soak time depends on rust severity, and skipping the final oiling step guarantees flash rust will form within hours.
That oiling step is the whole game. Rust removal is a chemical reversal, but it leaves the steel surface exposed and chemically active. Without a protective barrier, moisture in the air starts a new oxidation cycle immediately. You can do everything else perfectly and still watch orange spots bloom by the next morning if you skip the oil.
What follows: the exact vinegar-to-oil sequence, the tools that won’t wreck your bit’s geometry, and the three specific situations where the standard advice fails completely. We’ll cover PVD-coated bits, deep pitting, and what to do when a garage acts like a swamp.
Key Takeaways
- Soak time is critical: 30-60 minutes for light surface rust, up to 24 hours for heavy corrosion. Leaving bits in vinegar for multiple days causes pitting.
- Use a brass brush, not steel. A brass wire brush removes rust without scratching the hardened steel of the cutting flutes.
- Dry completely before oiling. Any residual moisture trapped under oil will cause worse rust underneath the coating.
- Inspect the cutting edges after cleaning. If rust has eaten into the flute geometry or created deep pits, the bit is a safety risk and should be replaced.
- For bits with a black PVD (vapor-deposited) coating, avoid vinegar. The acetic acid can corrupt the coating. Use a mild solvent or mineral oil instead.
Why Drill Bits Rust in the First Place
Steel contains iron. Iron plus oxygen plus water equals iron oxide, which you see as rust. Your workshop environment dictates the speed. A garage with a concrete floor pulls ground moisture into the air. Basements have high humidity. Temperature swings cause condensation on cold metal overnight.
Where this goes sideways: Skin contact. The oils and salt in sweat accelerate oxidation on bare metal. Handling a bit after a sweaty afternoon and tossing it back in the box leaves enough residue to start the process.
There’s another factor: wear. Most quality bits have a rust-resistant coating. Drill through abrasive materials like masonry or metal, and that coating wears off the flutes first. That exposed steel is the entry point. A bit doesn’t rust all at once. It starts along the cutting edges where the protection is gone.
The 7-Step Vinegar and Oil Method (And When to Skip It)
This is the default for standard high-speed steel (HSS) bits. It uses household chemicals and simple tools. The sequence matters more than the ingredients.
Before you start: Wear chemical-resistant gloves and safety glasses. Vinegar is a mild acid, but it can irritate skin. The scrubbing phase flicks rust particles. You want eye protection.
Step 1: Submerge in White Vinegar
Use a glass or plastic container. Pour in enough undiluted white vinegar to completely cover the bits. The acetic acid breaks the bond between the iron oxide and the steel.
Step 2: Set the Timer
Light surface rust often wipes away after 30 minutes. For crusty, flaky corrosion, plan on 12 to 24 hours.
Never leave bits in vinegar for multiple days without checking. The acid that dissolves rust will eventually attack the steel itself, creating microscopic pits. Check every few hours for severe cases.
Step 3: Scrub with a Brass Brush
Pull the bits out one at a time. Scrub along the flutes with a brass wire brush. Brass is softer than hardened steel, so it won’t scratch or dull the cutting edge. A toothbrush works for tight spots.
Step 4: Rinse Under Warm Water
This step removes all residual acid. Skipping it means the chemical reaction continues on the metal, promoting flash rust. Rinse until the water runs clear.
Step 5: Dry Thoroughly
Pat the bits dry with a clean cloth. Then, let them air-dry completely or use a hair dryer on a low, cool setting. Any hidden moisture is the enemy.
Step 6: Apply a Protective Coating
This is the non-negotiable finish. Use a light machine oil, WD-40, or even mineral oil. Apply a thin coat over the entire bit with a rag. The oil displaces water and creates a barrier.
Step 7: Store Correctly
Put the oiled bits back in a dry, organized case. A foam-padded Dewalt bit case or a Hansen-style socket index works.
| Step | Tool/Material | Critical Detail | Risk If Skipped |
|---|---|---|---|
| Soak | White vinegar | Use undiluted | Incomplete rust removal |
| Scrub | Brass wire brush | Softer than steel | Scratched flutes, dulled edge |
| Rinse | Warm water | Remove all acid | Acid continues etching metal |
| Dry | Clean cloth / air | Zero moisture | Flash rust under oil in hours |
| Protect | Light oil (WD-40, 3-in-1) | Thin, even coat | Rust returns in 1-2 days |
The Tools That Work (And the One That Ruins Bits)
Your tool choice determines whether you restore a bit or trash it.
A brass wire brush is the gold standard for scrubbing. The bristles are stiff enough to knock off softened rust but won’t gouge the steel. A stainless steel brush is harder and can leave scratches that become new rust nucleation points.
For a light coating or sticky residue like dried acrylic, a soft-bristle toothbrush dipped in mineral spirits works. It’s a gentler approach for cleaning drill bits that aren’t heavily corroded.
Common mistake: Using steel wool or a steel wire wheel. These aggressive abrasives can permanently alter the geometry of the cutting edge. A bit that doesn’t cut cleanly generates excess heat and binds in the material.
The container matters too. Use glass or plastic. Metal containers can react with the vinegar. A wide-mouth mason jar or a plastic food storage tub is perfect.
When the Standard Vinegar Soak Fails
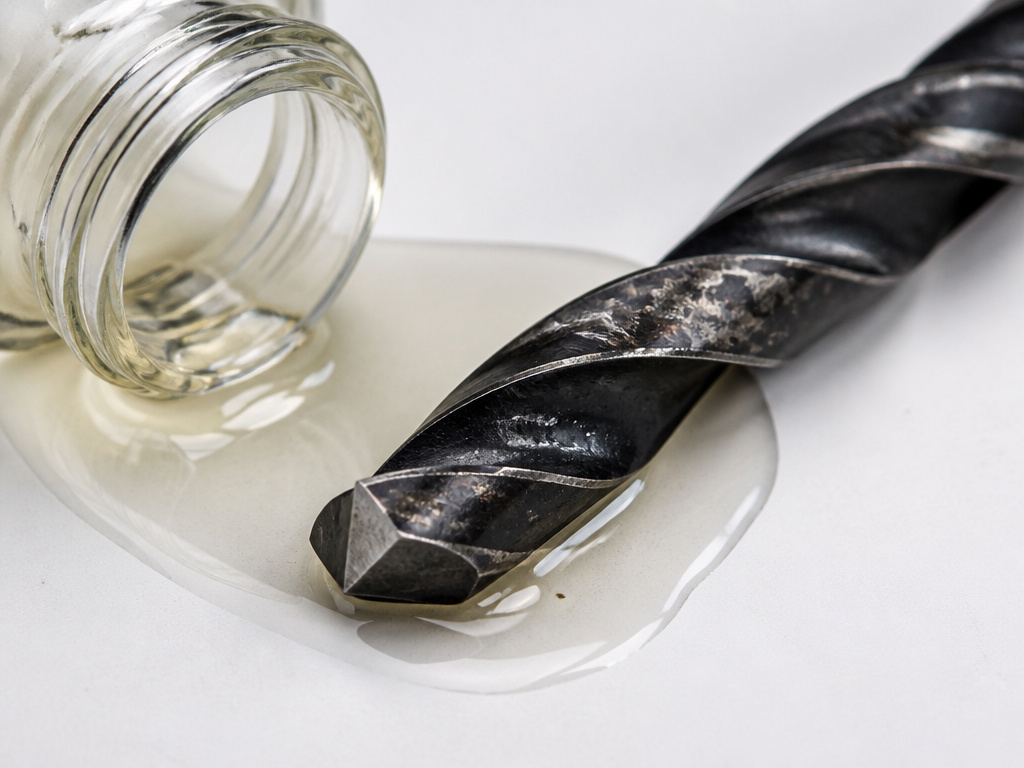
The vinegar method assumes you have a standard, uncoated high-speed steel bit. Three common situations break that assumption.
PVD-Coated Bits: Many premium bits have a thin, hard black coating applied via physical vapor deposition (PVD). It reduces friction and increases wear life. Strong acids like vinegar can “corrupt” this coating, leaving it cloudy and less effective. For these, skip the vinegar. Use a soak in mineral oil or a commercial rust remover labeled safe for coated tools.
Deep Pitting: Surface rust cleans off. Corrosion that has eaten deep into the steel, creating pits along the flute, is different. You can clean the pit, but the structural weakness remains.
If cleaning reveals deep pitting or chips on the cutting edge, retire the bit. A compromised bit can snap under torque, sending sharp shrapnel toward you.
“Pure” Acetone with Water: Some woodturners suggest acetone for cleaning. A note on the Penturners forum drill bit cleaning thread warns that many “pure” acetone products actually contain trace water. Soaking a bit in this overnight can cause water-based corrosion inside the container, making the problem worse.
The Post-Cleaning Inspection: Is Your Bit Actually Saved?
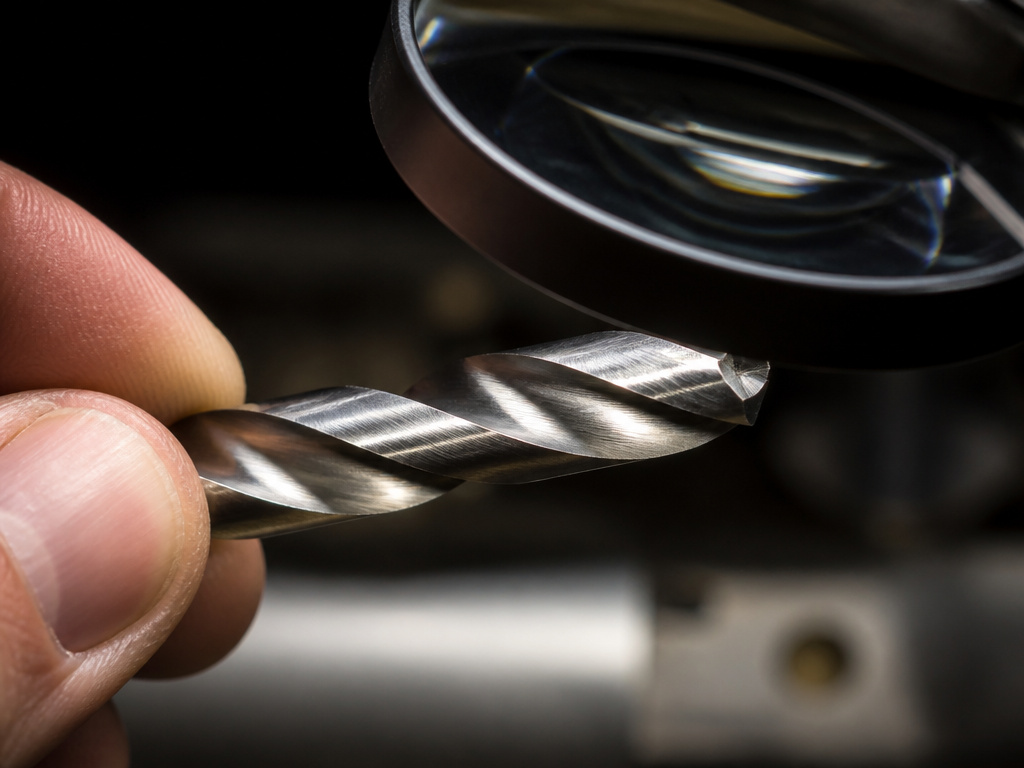
Cleaning reveals the truth. After the bit is dry and before you oil it, hold it under a bright light.
Look at the cutting edges. Are they still sharp and continuous, or are they rounded and dulled by corrosion? Run your fingernail down a flute. Does it catch on deep pits? Spin the bit in your fingers. Does it look straight, or is there visible pitting near the shank?
A bit that passes visual inspection might still fail a performance test. Try drilling a scrap piece of softwood. If it bites cleanly and ejects chips, it’s back in service. If it smokes, binds, or produces powder instead of chips, the geometry is damaged. At that point, you’re looking at sharpening drill bits or replacement.
| Problem | Visible Sign | Can It Be Fixed? | Next Action |
|---|---|---|---|
| Light Surface Rust | Orange film on flutes | Yes | Clean with vinegar & oil |
| Dull Cutting Edges | Rounded, shiny edges | Maybe | Requires sharpening with a grinder |
| Deep Flute Pitting | Crater-like holes along flute | No | Replace bit |
| Bent Shank | Bit doesn’t spin true | No | Replace bit |
| Chipped Cutting Lip | Missing fragment at tip | No | Replace bit |
Storing Bits So Rust Doesn’t Come Back
Cleaning is a repair. Proper storage is prevention. The goal is to block moisture and prevent physical damage.
A dedicated drill bit case with individual slots is the best start. It keeps bits from rattling against each other, which causes nicks. The case itself should live somewhere dry. If your garage or basement feels damp, that’s not dry enough.
For high-humidity environments, use silica gel desiccant packs. Toss a few into your bit case or toolbox drawer. They absorb ambient moisture. Recharge them in the oven every few months.
Avoid storing bits directly on concrete floors or against exterior walls. These surfaces are often colder than the air, leading to condensation. A wall-mounted rack or a shelf unit keeps them elevated and air-circulated.
What about magnetizing drill bits? A magnetized bit holds ferrous shavings, which can hold moisture against the steel. It’s a handy feature for retrieval, but demagnetize bits before long-term storage.
Frequently Asked Questions
Can I use Coke or other acids to remove rust?
Yes, but it’s messy and less predictable. The phosphoric acid in cola works, but the sugar leaves a sticky residue that you must scrub off thoroughly. White vinegar is cheaper, easier to rinse, and gives more consistent results.
Will removing rust make my drill bit as good as new?
No. Rust removal restores the surface, not the material. If the corrosion has weakened the steel or altered the cutting geometry, the bit will not perform like new. It might be usable for less precise tasks, but for critical work, a cleaned bit is not a substitute for a sharp, undamaged one.
How do I clean a drill bit that’s also clogged with material?
Address the clog first. Use a manual sharpening pick or a stiff wire to clear packed wood or metal shavings from the flutes. Then assess the rust. Trying to soak a clogged bit just traps acidic solution in the debris, causing uneven cleaning.
Is a rusty drill bit dangerous to use?
It can be. Surface rust increases friction, causing overheating. Severe rust can hide microfractures. A bit that snaps under load can shatter. If you have any doubt after cleaning, especially about removing a broken drill bit later, err on the side of caution and replace it.
What’s the best oil to use after derusting?
Light machine oil (like 3-in-1) or a water-displacing spray (WD-40) works perfectly. The goal is a thin, non-sticky film. Avoid heavy greases, as they attract dust and grit, which accelerates wear during the next use.
The Bottom Line
Rust on a drill bit is a fixable problem, not a death sentence. The vinegar-and-brush method works for probably 80% of the bits in your box. Success hinges on the details: timing the soak, using the right brush, and never, ever skipping the oil.
The other 20% — the coated bits, the deeply pitted ones, the family heirlooms — need a gentler hand. Know when to step off the standard path. And know when to let go. A cleaned bit that wobbles in the chuck or chips on soft pine is telling you it’s done. Listen to it.
Your best defense is a simple habit. Wipe the shank clean after each use, as the Bosch manual advises. Give it a quick spray of oil before it goes back in the case. That takes ten seconds. Reconstituting a crusty bit takes an hour. The math is simple.
