
How to Drill Through Steel Correctly | The Ultimate Setup Guide
This post contains affiliate links. As an Amazon Associate, we earn from qualifying purchases.
Drilling through steel requires matching three things: the right drill bit material (cobalt or carbide), the correct speed (under 500 RPM for 1/2″ bits in mild steel), and a steady, firm feed pressure. Skip any one, and the bit dulls, snaps, or just burns without cutting.
That match-up is the whole game. A bit that’s too soft for the material glazes over. A speed that’s too high generates heat faster than the coolant can carry it away, and the steel work-hardens into something even tougher. A hesitant feed lets the bit rub instead of cut, which does the same thing.
What follows breaks down the three variables into a setup you can use on a drill press or a steady-handed cordless drill. We’ll cover the bit types that actually work, the math for speed, the feel for feed, and the specific mistake that snaps bits on the final push-through.
Key Takeaways
- Bit material decides the ceiling. For most shop steels, a 135-degree split-point cobalt bit is the default. For hardened steel or production runs, solid carbide or indexable-insert drills are the only choice.
- Speed is a calculation, not a guess. For a 1/2” (12.7mm) HSS or cobalt bit in mild steel, start at 500 RPM. Halve the speed for stainless; quarter it for hardened alloys like Hardox 500.
- Feed pressure cannot be timid. You must push hard enough to make a continuous, curled chip. A fine powder means you’re rubbing, not cutting, and work-hardening the steel.
- The breakthrough snap is predictable. The moment the drill’s tip exits the metal, relief pressure can catch the leading edge and snap it. Disengage feed for one second just before breakthrough, then re-engage.
- Coolant is non-optional for anything but a single hole. Use an 8-12% coolant mix or cutting oil. In a pinch, a wax stick or even consistent drips of water are better than dry drilling.
The 3-Step Setup: Bit, Speed, and Feed
Get these three in line before you touch the trigger. Most failed holes trace back to a mismatch here.
Step 1: Selecting the Drill Bit – Material and Geometry
The wrong bit won’t get better if you go slower. It will just fail more slowly.
For low-carbon mild steel (A36, 1018), a quality High-Speed Steel (HSS) bit can work. But the moment you hit a harder patch, an alloy, or need more than two holes, HSS quits. The default pick for most DIY and pro shops is an M35 cobalt steel bit. The 5-8% cobalt alloy holds its edge at the higher temperatures generated by steel.
For rational production, a microalloyed (HSS-E) drill or a cobalt alloyed (HSS-Co) drill is recommended. – SSAB Hardox Machining Recommendations
For stainless steel, tool steel, or high-strength alloys like Hardox, step up to a solid carbide drill or an indexable-insert drill. Carbide’s hardness withstands the abrasion, but it’s brittle – it demands a rigid, precise setup (think drill press or mill, not a hand-held drill).
The point angle is your cutting geometry. A 135-degree split point is the modern standard for steel.
- A 118-degree point is the classic “wood and general purpose” angle. It tends to “walk” more on curved steel surfaces and requires higher thrust to penetrate.
- The 135-degree point is a shallower, flatter angle. It slices a thinner chip with less effort, stays centered better, and is less likely to grab on breakthrough.
| Drill Bit Type | Best For Steel Up To… | Hand-Held Friendly? | Failure Mode If Misused |
|---|---|---|---|
| HSS (High-Speed Steel) | Mild Steel (~300 Brinell) | Yes | Dulls rapidly, melts edge on hard spots. |
| Cobalt (M35, M42) | Alloy Steel, Stainless (~400 Brinell) | Yes, with care | Work-hardens material if fed too slowly; snaps if flexed. |
| Solid Carbide | Hardened Steel, Hardox (500+ Brinell) | No – requires rigid setup | Shatters from vibration or lateral force. |
| Indexable Insert | Production runs in any steel | No – machine-only | Chipped insert from chip packing; expensive to replace. |
Your choice of drill bits for steel hinges on the steel grade and your tool’s stability. For a deep dive on the toughest options, see our breakdown of the strongest drill bits.
Step 2: Calculating Speed (RPM) – The Formula
Speed kills drill bits. Running too fast is the single fastest way to turn a $15 cobalt bit into a smoking, blue, useless stick.
The target is Cutting Speed (Vc), measured in surface feet per minute (SFM) or meters per minute (m/min). It’s how fast the circumference of your drill bit travels past the work surface. You then back-calculate the RPM for your specific bit diameter.
A safe starting Vc for cobalt drilling mild steel is 100 SFM (30 m/min). For stainless, drop to 50 SFM (15 m/min). For hardened hardened steel, you might be as low as 25 SFM (7.5 m/min).
The formula is:
RPM = (3.82 x SFM) / Drill Diameter (in inches)
RPM = (1000 x Vc in m/min) / (π x Drill Diameter in mm)
Example: Drilling a 1/4” (6.35mm) hole in mild steel with a cobalt bit (100 SFM target):
RPM = (3.82 x 100) / 0.25 = 382 / 0.25 = ~1,500 RPM
Example: Drilling that same hole in stainless steel (50 SFM target):
RPM = (3.82 x 50) / 0.25 = 191 / 0.25 = ~750 RPM
Notice the halving. If your drill has variable speed, set it. If it’s a single-speed drill, you’re likely running too fast for steel – you’ll need to use pecking and generous coolant to manage heat.
Common mistake: Running a 3/8” bit at full cordless drill speed (2000+ RPM). At that diameter, you want about 800 RPM for mild steel. The excess speed creates instant heat, dulling the bit on the first hole.
Step 3: Applying Feed Pressure – Reading the Chips
Feed is how hard you push. Too little, and the bit rubs. Too much, and you overload the motor or break the bit. The gold standard is a tight, continuous chip.
- Good: A curled, silvery chip, like a tiny spring. It should be warm, not scorching hot.
- Bad: A fine, glittery powder. This means you’re grinding, not cutting. You’re work-hardening the steel, making it tougher.
- Bad: A long, stringy, blue chip. This means too much speed and/or not enough feed pressure.
On a drill press, you control feed with the lever. On a hand drill, you use arm pressure. It should feel firm and steady, with no bouncing. If the drill motor boggs down significantly, you’re feeding too fast – ease up slightly.
For deep holes (more than 3x the bit diameter), you must peck drill: drill in about one diameter’s depth, pull out completely to clear chips, re-enter, and repeat. Packed chips will snap a bit.
The Breakthrough Snap – And How to Beat It
You’ve drilled a perfect hole. The chips are flowing. The drill is about to punch through the back side. This is the moment a bit snaps, 9 times out of 10.
Why? As the drill’s tip exits, the thin remaining web of metal flexes. This sudden flex can catch the drill’s cutting lips asymmetrically, applying a sideways snap force. For a brittle carbide bit or a thin 1/8” cobalt bit, it’s often game over.
The fix is procedural: Disengage feed for one second just before breakthrough.
On a drill press, stop feeding downward the moment you see the first hint of the tip breaking through (a small bulge or pucker on the exit side). Hold it there, letting the drill spin for a full second to cleanly cut through the remaining membrane. Then finish the feed. This relieves the spring-back pressure.
On a hand drill, you need to anticipate it. Reduce pressure significantly as you feel the cut is about to complete. It’s a feel you learn after the first snapped bit.
Drilling Hardox and High-Strength Steels
This is a different league. Steels like Hardox 400, 500, and Tuf are wear plates designed to resist abrasion. Their Brinell hardness (400-500+ BHN) is far beyond mild steel.
The SSAB machining guide is the bible here. Its recommendations are specific and non-negotiable.
- Bits: HSS is only suitable up to 500 Brinell, and only under unstable machine conditions. For good conditions, use solid carbide or indexable inserts. For a drilling hardened steel project, your bit choice is the most critical factor.
- Speed (Vc): For Hardox 500, cutting speed is 3–5 meters per minute. That’s 10-16 SFM. For a 10mm (0.394”) drill, that’s roughly 95-160 RPM. This is slow.
- Feed (fn): Feed per revolution for a 10mm drill in Hardox 500 is 0.08-0.12 mm/rev. This is a firm, deliberate push.
- Coolant: An 8-12% coolant mix is mandatory. Flood cooling is best.
- Setup: The workpiece must be rigidly clamped. Any vibration or chatter will destroy the bit. Use a backing plate under thin material to prevent exit-side deformation.
Where this goes sideways: Drilling thin Hardox plate (under 8mm) with a standard twist drill. The high point pressure before the outer lips engage can deform the plate. SSAB recommends an indexable insert drill that starts cutting at the periphery to avoid this.
Coolant and Lubrication – Your Bit’s Lifespan
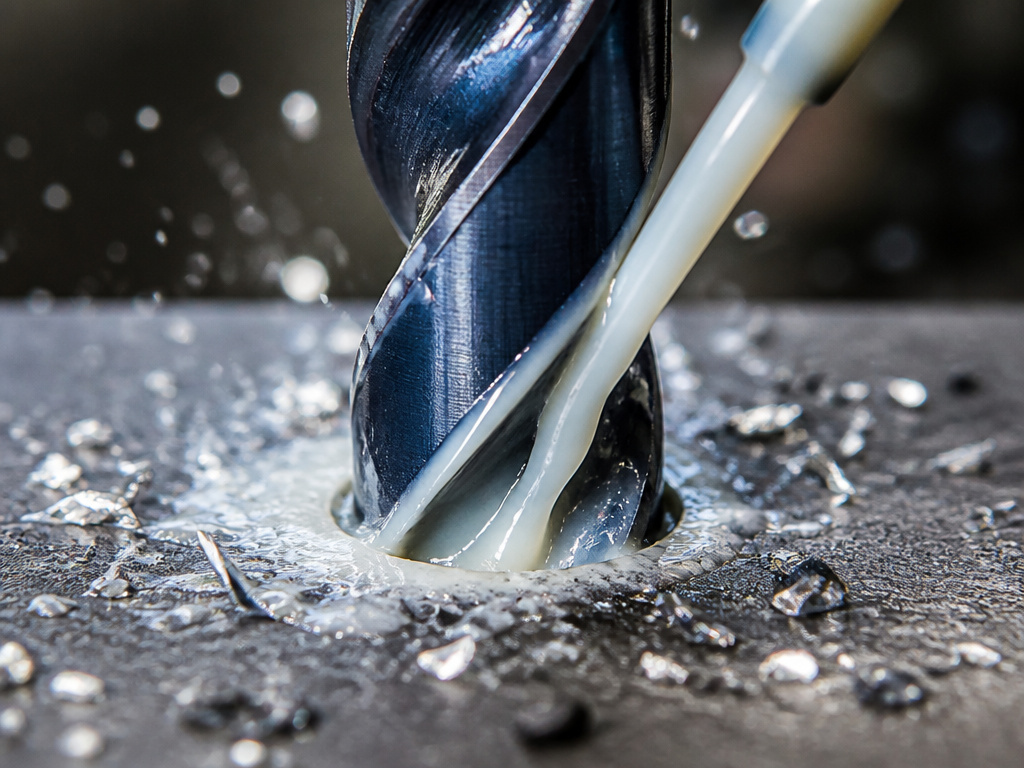
Dry drilling steel is borrowing trouble. Coolant does three jobs: cools the bit, lubricates the cut, and flushes chips.
- Cutting Oil or Tapping Fluid: Best for hand operations. It sticks to the bit and workpiece. Brands like Tap Magic or WD-40 Specialist Cutting Oil work.
- Soluble Oil (Coolant Mix): The standard for drill presses and mills. Mix 8-12% with water. It provides the best heat transfer.
- Wax Lubricant: A handy alternative for hand drilling. A quick rub of the bit with a dedicated cutting wax (like DMLS) works surprisingly well.
- In a Pinch: Even a steady drip of water from a sponge is better than nothing. It prevents the bit from reaching critical tempering temperatures.
The Bosch guide states coolant can extend bit life by a factor of six. That’s the difference between drilling five holes and thirty.
Diagnosing Problems (The Squeak, The Smoke, The Snap)
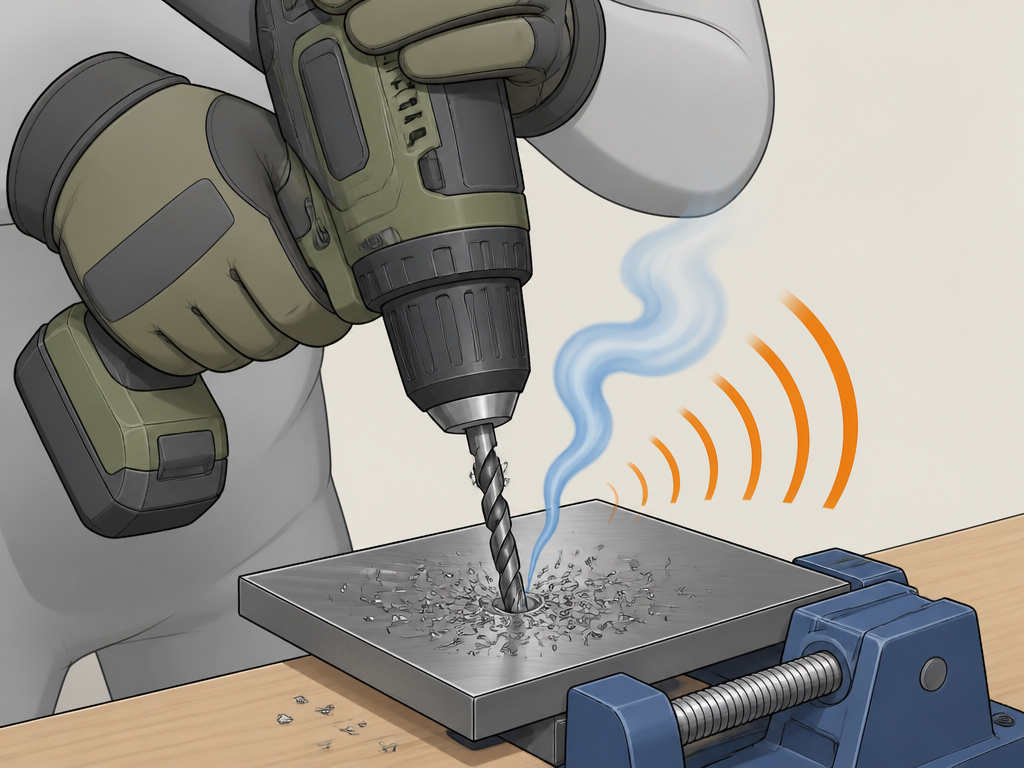
You’ll know when it’s going wrong. Here’s what the symptoms mean and the immediate fix.
| Symptom | Likely Cause | Immediate Action |
|---|---|---|
| High-pitched squeaking | Chips are packing in the flutes, rubbing. | STOP. Retract the bit fully to clear all chips. Increase feed rate slightly when re-entering. |
| Blue or black smoke | Speed is too high and/or coolant is absent. | Stop. Reduce RPM by at least 25%. Apply generous coolant. The bit is already damaged. |
| Bit snaps at startup | Bit walked off-center, creating side load. | Use a center punch. Start with a 135-degree split-point bit to reduce walking. Consider a pilot hole. |
| Bit snaps at breakthrough | Spring-back force caught the tip. | Next time, use the disengage feed technique described above. |
| Hole is oversized/oval | Workpiece or bit is vibrating (chatter). | Clamp workpiece rigidly. Ensure drill chuck is tight. Shorten bit length if possible. |
| No chip, just powder | Feed pressure is too light; bit is rubbing. | Increase feed pressure decisively to form a curled chip. |
If you’re facing a particularly resilient material like spring steel, the margin for error is even smaller. The material’s tendency to flex and work-harden demands perfect technique.
The Professional Edge: Runout, Pecking, and Tool Holders
If you’re moving beyond the occasional hole, these three factors separate clean, consistent results from frustration.
- Machine Runout: This is how much your drill chuck or spindle wobbles. Excessive runout makes one cutting lip do all the work, killing the bit fast. For carbide drills, 0.0012” (0.03mm) or less is preferable. Check your drill press with a dial indicator.
- Peck Drilling Cycle: For holes deeper than 3x the diameter, program (or manually perform) a peck cycle. Drill one diameter deep, retract fully to clear chips, repeat. The MA Ford deep-hole drilling guide recommends starting with a pilot hole 1.5-3x the diameter deep to guide the final drill.
- Tool Holders: In a mill or CNC, use a collet chuck (like an ER style), not a jaw chuck. It provides superior grip and concentricity. For drilling metal on a production scale, this is a basic upgrade.
The debate between cobalt vs carbide drill bits often comes down to this environment. Carbide needs the precision a collet provides; cobalt is more forgiving in a standard chuck.
Frequently Asked Questions
What is the best drill bit angle for steel?
135-degree split-point** drill bit is the best general-purpose angle for steel. It requires less thrust, stays on center better, and reduces the chance of grabbing on breakthrough compared to the older 118-degree standard. The differences between 118 and 135 degree bits are significant for steel work.
Can I drill steel with a regular cordless drill?
Yes, but you must control speed and pressure. Use a variable-speed drill and run it at its lowest speed setting. Use a cobalt bit, apply firm and steady pressure, and use cutting oil. For holes larger than 1/4” or in hard steel, a drill press is strongly recommended.
Why does my drill bit keep getting stuck and snapping?
This is usually chip packing. You’re drilling a hole deeper than the bit’s flutes can evacuate chips. The packed chips create immense friction, welding the bit in place, and the torque snaps it. Solution: peck drill. Drill a short depth, pull out fully to clear chips, and repeat.
How do I know if my speed is too high?
The steel or the bit will discolor. A hint of straw yellow is okay. Blue or purple means the bit is overheated and has lost its temper (hardness). It’s now permanently softer and will dull immediately. Black smoke means you’re burning the steel and the bit.
Is there a difference between drilling stainless and mild steel?
Absolutely. Stainless steel work-hardens rapidly when rubbed. You must use a sharper bit (cobalt or carbide), run at half the speed of mild steel, and maintain constant, adequate feed pressure to cut under the hardened layer. Lubrication is critical. Our guide on techniques for drilling stainless steel covers the specific regimen.
The Bottom Line
Drilling steel isn’t about brute force. It’s about matching a sharp, hard bit to a calculated speed and then having the confidence to push hard enough to make it cut. Start with a cobalt bit, do the RPM math, and use oil. Listen to the cut – a steady hiss is good, a squeal means stop. Remember the one-second pause at breakthrough. It saves bits.
For your next project, the choice between cobalt and HSS bits is simple: spend a few dollars more for cobalt. It’s the single easiest upgrade for reliable steel drilling. If you’re moving into tool steel or armor plate, then the conversation shifts to selecting bits for hardened metal and the rigid setup they demand.
