
Drilling Out a Broken Screw: Essential Techniques and Sizing
This post contains affiliate links. As an Amazon Associate, we earn from qualifying purchases.
To drill out a broken screw, you need a left-hand drill bit, a center punch, and a steady hand. The drill bit’s diameter must be a maximum of half the diameter of the broken screw. For a 12 mm screw, that’s a 6 mm bit. Drill a centered pilot hole, then either let the left-hand bit’s reverse action pull the screw out or follow up with a screw extractor turned counterclockwise.
That half-diameter rule is the whole game. It leaves enough of the screw’s wall for the extractor to bite into without expanding and locking the fastener in place forever. Most people grab a bit that’s close in size, jam it in, and wonder why the extractor just spins.
What follows is the difference between a clean pull and a ruined workpiece. We’ll walk through the three tool paths, left-hand bit only, left-hand bit plus extractor, and the Milwaukee power-tool method that contradicts every other manual. You’ll also get the edge-case fixes for when the screw is proud of the surface or the extractor snaps inside the hole.
Key Takeaways
- The drill bit for a broken screw must be no larger than half the screw’s diameter. A larger bit removes the material the extractor needs to grip.
- A left-hand drill bit (reverse thread) can often remove the screw on its own as it drills, eliminating the need for a separate extractor.
- The Milwaukee 49-57-9001 screw extractor is one of the few rated for use in an impact driver on low speed, but most extractors should be turned by hand or with a drill on low speed only.
- If a screw extractor breaks off inside the screw, the project is essentially lost; this is why steady, straight pressure matters more than speed.
- For screws broken flush or below the surface, you must create a starter dimple with a center punch to keep the drill bit from wandering.
The 0.5x Rule for Drill Bit Size
The diameter of the left-hand cutting twist drill should be a maximum of half the diameter of the broken screw. For a 12 mm diameter screw, the twist drill should be a maximum of 6 mm.
That instruction from tool manufacturer RUKO isn’t a suggestion. It’s the physical limit for a successful broken screw removal. The goal is to drill a clean pilot hole deep into the screw’s core, leaving a thick enough wall of metal for the extractor’s flutes to engage.
Drill with a bit larger than half the screw’s diameter, and you risk two things. First, you weaken the screw wall so much that the extractor’s expansion splits it, jamming everything permanently. Second, you increase the chance of drilling into the parent material’s threads, which means you’ll be re-tapping the hole afterward.
| Screw Size (Diameter) | Max Drill Bit Size | Common Extractors Needed |
|---|---|---|
| 6 mm (approx. 1/4″) | 3 mm | #2 or small easy-out |
| 8 mm (approx. 5/16″) | 4 mm | #3 extractor |
| 10 mm (approx. 3/8″) | 5 mm | #3 or #4 extractor |
| 12 mm (approx. 1/2″) | 6 mm | #4 extractor or large set |
The table assumes you’re using a dedicated left-hand drill bit. If you only have a standard right-hand bit, the rule still applies, but you lose the chance the screw will back out during drilling.
What You Actually Need in Your Kit
You can’t improvise this job. Having the right tool for each stage prevents the one mistake that wrecks the workpiece. Skip the center punch, and the drill bit walks off the screw’s hardened steel into the softer surrounding material. That’s a ten-minute fix turned into an hour of damage control.
The Non-Negotiable Tools:
- Center Punch: A sharp, hardened punch. Don’t use a nail.
- Left-Hand Drill Bits: A set covering sizes from 1/8″ to 1/2″. The Neiko 10194A Titanium set is a reliable starter.
- Screw Extractors: A spiral-fluted set like the Alden 4500P Pro-Grabit. For a powered option, the Milwaukee 49-57-9001 set includes bits rated for impact drivers.
- Variable-Speed Drill/Driver: Reversible, with a clutch. A brushless model like the DeWalt DCD791 offers better low-speed control.
- Safety Glasses: Metal shavings from drilling hardened steel are needle-sharp.
- Penetrating Oil: PB Blaster or Liquid Wrench. Not WD-40, it’s a water displacer, not a true penetrant.
Before you start: The drill bit, extractor, and screw will get hot enough to burn skin. Wear gloves when handling them after drilling. A broken screw is under tension; drilling can release it suddenly. Secure the workpiece in a vise or clamp it to a bench.
The screw extractor bit is your last line of defense, not your first. The left-hand drill bit does 75% of the work. If you’re looking at a kit, the Alden set includes both left-hand bits and matching extractors, which takes the guesswork out of sizing.
Step-by-Step: Drilling Out a Broken Screw
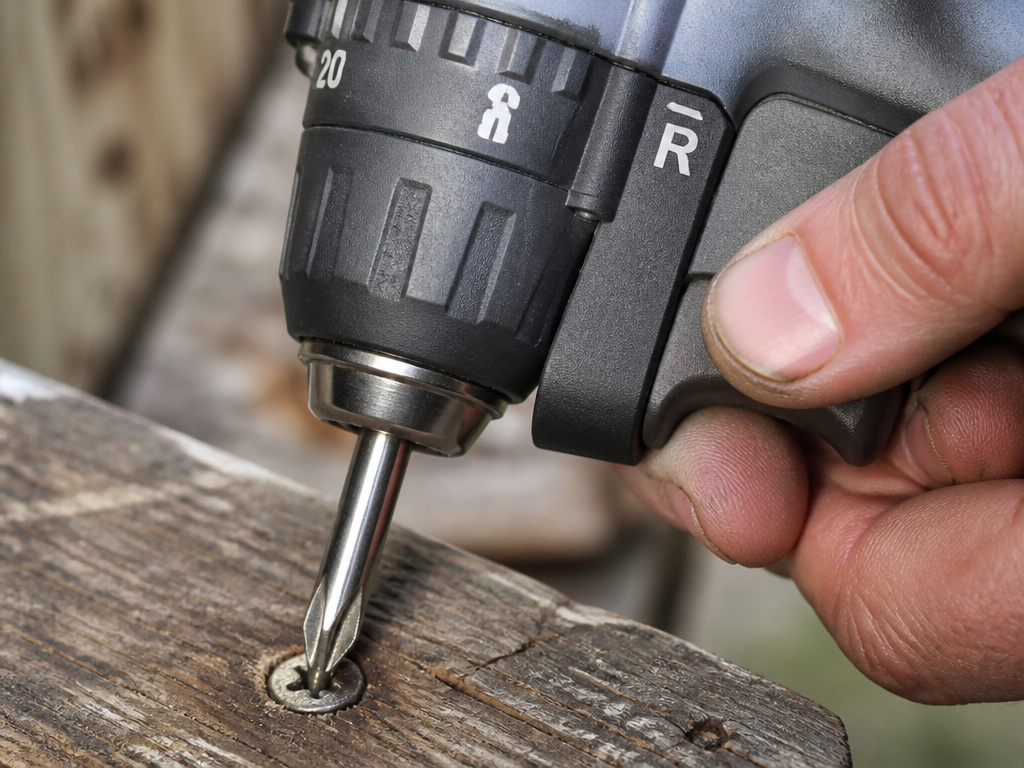
1. Prep the Screw and the Hole
Clean any debris from the broken screw’s surface. If it’s rusted, soak it with penetrating oil and let it sit for at least an hour, overnight is better for exhaust manifolds or outdoor furniture. The oil needs time to wick down the threads.
If the screw is broken flush or below the surface, you must create a starter point. Place the tip of your center punch exactly where you want the hole, dead center. Strike it firmly once with a hammer. You should see a clear dimple. This divot guides the drill bit’s tip and prevents “walking.”
2. Drill the Pilot Hole with a Left-Hand Bit
Insert your left-hand drill bit into the chuck. Set your drill to reverse (counterclockwise rotation). The flutes on a left-hand bit are designed to cut when turned backwards. Start at a slow speed with firm, straight pressure.
The goal is to drill deep enough to give the extractor plenty of bite, usually about a quarter-inch into the screw is sufficient. Use cutting fluid if you have it; it keeps the bit cooler and extends its life. Let the bit do the work. Forcing it heats and dulls the cutting edges.
Common mistake: Switching to forward drill mode. A left-hand bit in forward rotation just polishes the inside of the hole and overheats almost immediately. The drill’s direction collar is your most important setting.
3. Extract the Screw
You have two paths now. Often, the left-hand bit’s reverse action will catch and wind the screw right out as you drill. If it doesn’t, switch to the extractor.
Using a Spiral Extractor (Manual Method):
Select an extractor that fits snugly into the pilot hole you just drilled. Tap it into the hole with a hammer until it’s fully seated. Attach a tap wrench or a sturdy adjustable wrench to the extractor’s square shank. Turn it counterclockwise with steady, increasing pressure. The extractor’s tapered, reverse-threaded flutes will bite into the screw’s walls and pull it out.
Using a Power Extractor (Milwaukee Method):
The Milwaukee 49-57-9001 instructions are unique. They specify using the drill/driver for both steps. After pre-drilling with side A of the bit in reverse/high speed, you flip it to side B, keep the drill in reverse, switch to low speed, and drive the extractor in. The key is low speed and steady, straight pressure. This method works because their extractor bits are hardened for impact use, but most generic extractors are not.
Where this goes sideways: Cranking an extractor with a high-speed drill. The sudden torque can snap the brittle extractor tip off inside the screw. Once that happens, the hardened steel of the extractor is nearly impossible to drill through. The project is often scrapped.
When the Standard Procedure Fails
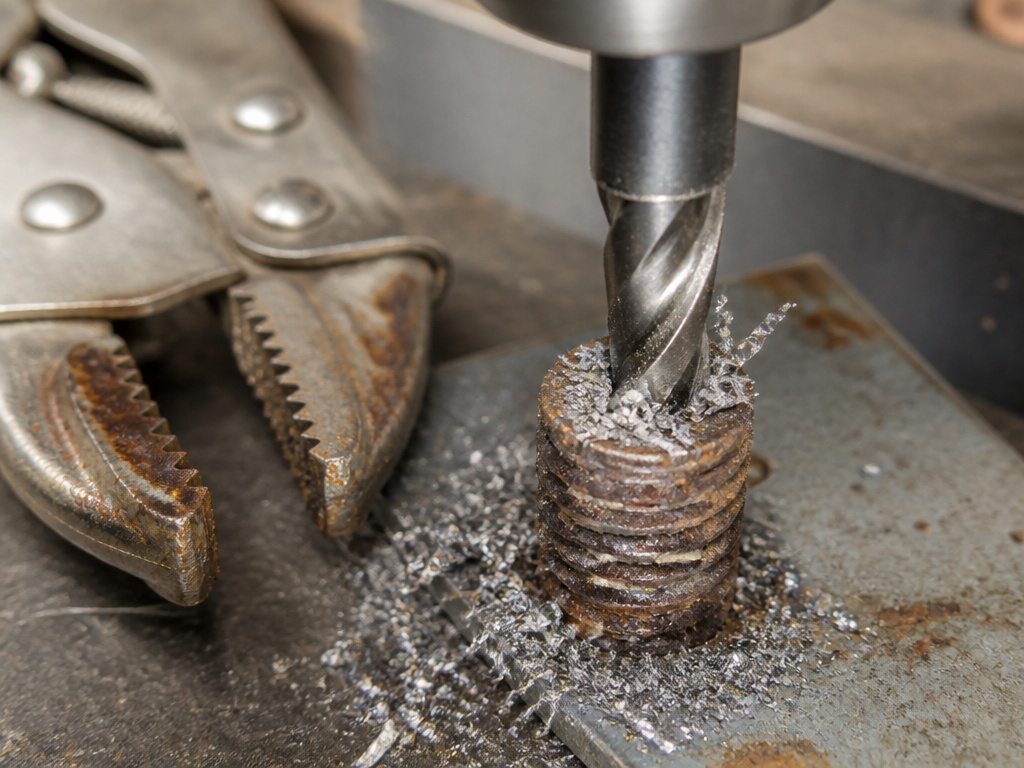
The screw is protruding or uneven.
If the broken end is proud of the surface and jagged, a center punch can slip. Use a file or a grinder to flatten the top as much as possible, then re-center your punch. For a slightly protruding screw, you can sometimes skip drilling and use locking pliers or a small pipe wrench to grip the shank and turn it out.
The extractor spins but doesn’t grip.
This means the pilot hole is too large. The extractor is expanding the remaining screw wall until it strips. Your only option now is to drill the entire screw out with a bit sized to the screw’s outer diameter, which will destroy the original threads. You’ll need to insert a thread repair insert like a Heli-Coil afterward.
The screw is heavily rusted and seized.
Penetrating oil is step one. Step two is applying heat carefully with a propane torch to the surrounding metal, not the screw itself. The metal expands, breaking the rust bond. Let it cool, then try extraction. The cycle of heat, cool, and oil often breaks the toughest seizures.
Left-Hand Bit vs. Screw Extractor: Which Path Wins?
The cleanest win is when the left-handed drill bit removes the screw on its own. It requires no tool change and puts no expanding force on the screw. This works best on screws that broke from overtightening, not from corrosion.
| Method | Best For | Risk If Chosen |
|---|---|---|
| Left-Hand Bit Only | Fresh breaks, softer metals (aluminum) | Bit can dull on hardened steel without extraction. |
| Left-Hand Bit + Extractor | Rusted, seized, or hardened steel screws | Extractor breakage if pilot hole is off-center. |
| Power Extractor (Milwaukee) | High-volume repair, accessible screws | Over-torque can damage threads in soft material. |
For a one-time DIY job, a left-hand bit set with matching extractors is the smart buy. The Neiko or Alden kits cover most sizes. If you’re dealing with small stripped screws in electronics, you need a micro-extractor set, the standard spiral tools are too large.
The powered screw extractors like the Milwaukee are for pros who know how to manage drill speed. For everyone else, the manual method with a tap wrench is safer and provides better feedback. You feel the screw start to turn.
How to Avoid Breaking Screws in the First Place
Drilling out a screw is failure recovery. It’s better to not get there.
- Use the correct driver bit. A worn Phillips or Torx bit rounds out the head, leading to cam-out and excessive torque that snaps the shank.
- Drill a pilot hole in hardwoods or metal. This is not optional. The pilot hole should be slightly smaller than the screw’s core diameter.
- Don’t fight a spinning screw. If a screw starts spinning in its hole without tightening, the threads are stripped. Stop. Back it out and use a larger screw or a thread repair.
- Lubricate threads when driving into metal. A drop of motor oil or a dedicated anti-seize compound cuts friction dramatically.
If you do end up with a stripped screw head that you can’t turn, address it before you shear it off. Use a rubber band for grip, a manual impact driver, or an extractor bit while the head is still intact. Once it’s broken off flush, the job gets five times harder.
Frequently Asked Questions
Can you drill out a broken screw with a regular drill bit?
You can, but it’s harder. A standard right-hand drill bit only cuts material away. It won’t help pull the screw out. You must then use an extractor. A left-hand bit combines drilling and extraction into one step, making it the better tool for the job.
What if I don’t have a left-hand drill bit?
Follow the same procedure with a standard bit. The critical steps remain: center punch, drill a pilot hole no larger than half the screw’s diameter, then use a spiral screw extractor turned counterclockwise by hand with a wrench. The process just has one more step.
How do you remove a broken screw that’s below the surface?
You must drill. Start with a center punch to create a dimple. Use a left-hand drill bit in reverse to drill a pilot hole. If the screw doesn’t back out, switch to a spiral extractor. For screws deep below the surface, you may need an extra-long drill bit or a manual screw extractor with an extension.
Why did my screw extractor break?
Extractors are made of very hard, brittle steel to bite into screws. They break from side load (drilling off-center), excessive torque (using a cheater bar on the wrench), or using a power drill on high speed. Always seat the extractor straight, turn it slowly, and increase pressure gradually.
Are easy-out extractors any good?
Easy-out extractors are a common style of spiral extractor. They work well when used correctly with a properly sized pilot hole. The Irwin Hanson extractor set is a widely available and reliable example of this type. Their main weakness is the same as all extractors: they are unforgiving of user error.
The Bottom Line
Drilling out a broken screw is a salvage operation, not a standard repair. Your success hinges on three things: a centered starter hole, a left-hand drill bit no bigger than half the screw’s diameter, and the patience to use slow, steady force.
Keep a set of left-hand bits and matching extractors in your toolbox. When a screw head strips or snaps, reach for them immediately, before you make the problem worse with the wrong driver or brute force. And remember, the best fix is the one you avoid by drilling a pilot hole and using the right bit in the first place.
