
Using a Left Hand Drill Bit: Step-by-Step Instructions & Tips
This post contains affiliate links. As an Amazon Associate, we earn from qualifying purchases.
To use a left hand drill bit, set your drill’s direction selector to reverse (counterclockwise), secure the bit in the chuck so at least 1.5 inches of shank is gripped, and drill into the broken fastener at a low to medium speed with steady pressure. The reverse rotation allows the bit’s flutes to bite into the metal and often backs the fastener out before you even switch to an extractor.
That direction setting is the whole game. A left-hand bit is just a drill bit with flutes ground to cut efficiently when spun counterclockwise. Its job is twofold: drill a pilot hole for a screw extractor, and often, extract the broken bolt or screw on its own through rotational force.
The rest is matching your drill’s capabilities to the material you’re fighting. Using too high a speed on hardened steel snaps bits. Too much pressure on a small-diameter bit causes it to wander and wallow out the hole. Get the three variables wrong and you turn a simple extraction into a mess of broken tooling.
What follows: the four non-negotiable setup steps, the speed and pressure settings that keep bits intact, the head-to-head comparison of when a left-hand bit wins versus when you need a screw extractor, and the one field repair that works when everything else has failed.
Key Takeaways
- Set your drill to reverse (counterclockwise) rotation before inserting the left-hand bit. Drilling forward will dull the bit instantly.
- Secure at least 1.5 inches of the bit’s shank in the chuck jaws. A short grip lets the bit wobble, which snaps it off inside the hole.
- Start at a low speed (300-500 RPM) with firm, steady pressure. High speed generates heat that anneals the bit’s cutting edge, softening it.
- A left-hand bit often extracts the fastener on its own. If it doesn’t, you’ve now drilled a clean pilot hole for a speed-out drill bit.
- If the bit binds and stalls, stop immediately. Forcing it strips the drill’s gears or snaps the bit. Reverse the drill to clear the chips, then resume with less pressure.
The 4-Step Setup for Reverse Drilling
Getting this wrong wastes the bit and usually makes the problem worse. The steps are simple, but the consequences of skipping them are immediate.
Before you start: Remove the battery from your cordless drill. A drill left in forward rotation will spin the chuck the moment you pull the trigger, and a loose left-hand bit becomes a projectile. The Milwaukee 2606-20 manual states this explicitly: “Always remove the battery before inserting or removing bits.”
Step 1: Isolate the Direction Selector.
Find the switch above the trigger, usually marked with arrows for forward and reverse. On most models, like the Ryobi 18V drill/driver, setting this selector to the left of the trigger sets forward rotation; setting it to the right sets reverse. Some drills have a center “lock” position—use it. This physically blocks the trigger and prevents accidental startup while you’re handling the chuck.
Step 2: Open the Chuck and Insert the Bit.
Turn the chuck sleeve counterclockwise to open the jaws. Insert the left-hand bit straight in, aligning it with the drill’s axis. Don’t angle it. The Kobalt manual warns that inserting a bit at an angle and tightening the chuck can cause the bit to be thrown when the drill starts. Push the bit in until the flutes are fully inside the jaws—you want at least 1.5 inches of shank gripped. For a screwdriver bit, the hex shank must be fully seated.
Step 3: Tighten the Chuck Securely.
Turn the chuck sleeve clockwise until it ratchets and won’t turn further. Modern keyless chucks, like those on the SKIL DL527501 series, are designed to be hand-tightened. Never use pliers or a wrench; you’ll crush the chuck mechanism. A firm two-handed squeeze is enough. The ratcheting sound is normal—it’s the locking mechanism engaging.
Step 4: Confirm Reverse Rotation.
With the battery still out, pull the trigger briefly while watching the chuck. It should spin counterclockwise (reverse). If it spins forward, you missed step one. Correct the direction selector before proceeding.
The direction-of-rotation selector isn’t a suggestion. A left-hand bit run in forward rotation dulls within seconds, and the heat generated can actually weld the bit’s tip to the broken fastener, locking it in place permanently.
Speed, Pressure, and Why They Matter
A left-hand bit isn’t a magic wand. It’s a cutting tool, and it obeys the same physics as any other drill bit. The variables are speed (RPM), pressure (feed force), and material hardness. Mismatch them and you break things.
| Material | Recommended Speed | Pressure | What Happens If You’re Wrong |
|---|---|---|---|
| Soft Steel / Aluminum | Medium (800-1200 RPM) | Moderate, steady push | Too fast: bit skates, work-hardens material. Too slow: no cutting, just friction heat. |
| Hardened Steel / Bolts | Low (300-500 RPM) | Firm, constant pressure | High speed anneals the bit’s tip—it goes soft and deforms instead of cutting. |
| Stainless Steel | Very Low (200-400 RPM) | Heavy, slow feed | High speed + pressure work-hardens the stainless, making it nearly impossible to drill. |
| Cast Iron | Medium-High (1000-1500 RPM) | Light pressure, let the bit do the work | Too much pressure breaks the brittle cast iron around the hole, crumbling the edges. |
The “no-load speed” rating on your drill’s spec sheet tells you the ceiling. The Ryobi 18V drill/driver tops out at 1,100 RPM. The Kobalt 24V brushless model offers two ranges: 0-550 RPM (high torque) and 0-2,000 RPM (high speed). For extraction work, you always want the low-speed, high-torque range. High speed is for drilling wood, not fighting metal.
Pressure is about chip clearance. Push too hard and the bit’s flutes clog with metal shavings. The bit binds, stalls the drill, and either snaps or strips the drill’s gearbox. The SKIL manual notes that excessive pressure will overheat the drill, wear the bearings, and bend or burn bits. The fix is rhythm: drill for three seconds, retract to clear chips, drill again.
Common mistake: Running the drill at top speed because “faster is better.” On a broken Grade 8 bolt, 2,000 RPM heats the bit’s tip past its tempering point in under ten seconds. The cutting edge goes soft, and all you’re doing is polishing a hole.
What to listen for:
A sharp, high-pitched squeal means the bit is skating, not biting. Stop. A low groaning sound means the bit is clogged. Retract it and clear the flutes. A sudden silence followed by a click means the bit has bound and the drill’s clutch has disengaged. Don’t force it. Reverse the drill to back the bit out.
Left-Hand Bit vs. Screw Extractor: Which One When?
You have two tools for removing broken fasteners: the left-hand drill bit and the screw extractor (often called a speed-out drill bit). They are a team, not substitutes. Using one when you should use the other costs time and usually ruins the workpiece.
A left-hand drill bit is your first move. Its job is to drill a clean, centered pilot hole. The reverse rotation often grabs the broken fastener and unscrews it directly. If it doesn’t, you now have a perfect hole for the next tool.
A screw extractor is a conical, left-hand threaded tool you tap into the pilot hole. You turn it counterclockwise with a wrench or tap handle. The hardened, reverse-spiraled threads bite into the walls of the hole and mechanically back the broken piece out.
When the left-hand bit wins:
- The broken fastener is not heavily corroded or cross-threaded.
- There’s enough protruding material for the bit’s flutes to grab.
- The fastener is in a blind hole (you can’t access the back).
- The material is relatively soft (aluminum, mild steel).
When you must step up to a screw extractor:
- The left-hand bit drilled a clean hole but the fastener didn’t budge.
- The fastener is rust-welded or seized with thread-locker (like Loctite Red).
- The broken surface is flush or below the workpiece surface.
- The fastener is small (under #10 screw size) and the bit can’t get enough bite.
The transition is straightforward. If your left-hand bit reaches the desired depth without extracting the fastener, stop drilling. Remove the bit. Select a screw extractor sized for the hole you just made—the extractor package will specify the required pilot drill size. Tap the extractor into the hole firmly with a hammer. Then, using a wrench or tap handle, turn it counterclockwise with steady, increasing pressure. The extractor will seat deeper and should walk the broken piece out.
Where this goes sideways: Using a screw extractor without drilling a pilot hole first. The extractor’s tip is not a drill. Forcing it into solid metal will splay the tip, making it impossible to get a bite. It also work-hardens the metal around it, turning a simple extraction into a machinist’s nightmare.
What to Do When the Bit Binds (Or Breaks)
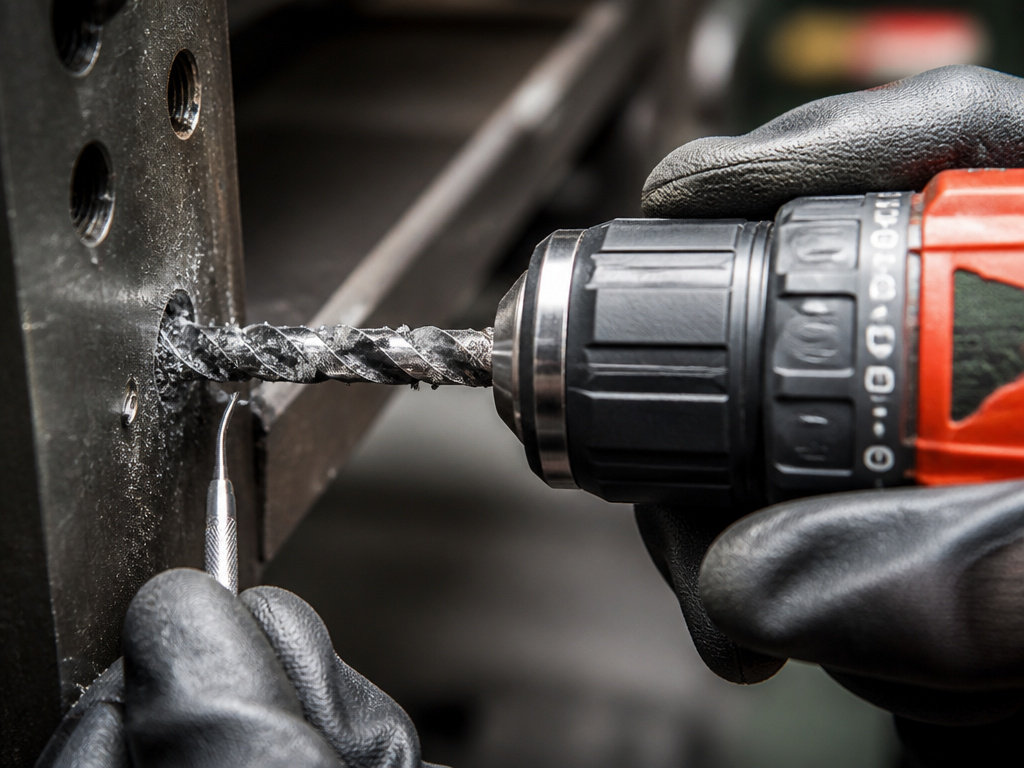 It happens. You’re drilling, applying steady pressure, and the drill suddenly groans and stops. The bit is bound in the hole. Or worse, you hear a ping and the drill spins free—the bit has snapped off inside the hole.
If the bit binds:
- Release the trigger immediately. Do not try to power through.
- Switch the drill to forward rotation. This seems counterintuitive, but it’s the fix. The Milwaukee manual explicitly says: “If the bit binds, reverse the motor to free it.” Running forward for a second helps dislodge packed chips.
- Retract the bit. Gently pull the drill back while it’s in forward. This should walk the bit out of the bind.
- Clear the flutes. Inspect the bit. Remove any packed metal chips with a pick or compressed air.
- Resume with less pressure. The bind was likely caused by chip clogging. Drill for shorter bursts and retract more often.
If the bit breaks:
You now have a piece of hardened steel embedded in your workpiece. This is where patience replaces force.
- Do not try to drill it out with another bit. A standard right-hand bit will just skate on the harder broken bit, damaging itself and enlarging the hole messily.
- Use a manual punch and hammer. If a piece is protruding, try to tap it sideways to loosen it. This rarely works, but it’s a free first attempt.
- Employ a dedicated broken bit extractor. These are small, carbide-tipped tools designed to grip the flutes of a broken bit. They require a steady hand and often a drill press for precision.
- The nuclear option: EDM. For a valuable workpiece, a machine shop can use Electrical Discharge Machining to erode the broken bit without damaging the surrounding material. This is a last resort for a critical component.
The best fix is prevention. The moment you feel the drill laboring, stop. The moment you see discoloration (blueing) on the bit from heat, stop. A broken bit is almost always the result of ignoring these two signals.
Drills That Make the Job Easier (And Ones That Don’t)
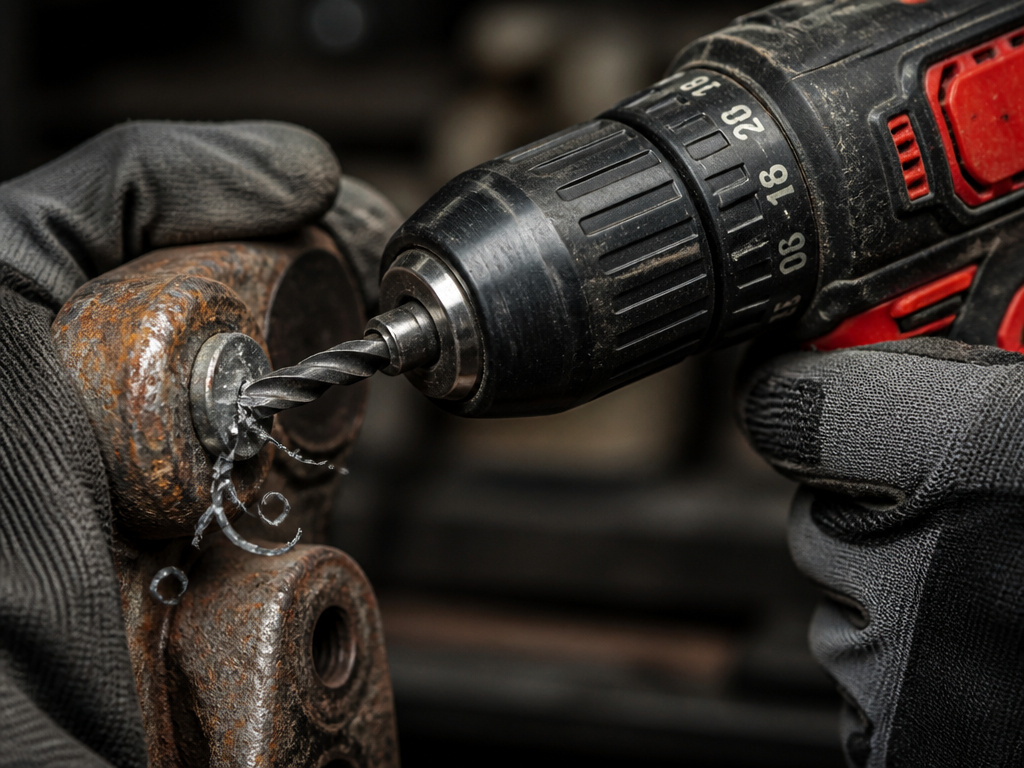 Not all drills are created equal for reverse-duty extraction work. The ideal drill has high torque at low RPM, a robust gearbox, and a sensitive clutch.
The Standouts:
- Milwaukee 2606-20: Its spindle lock allows one-handed chuck tightening for a stronger grip on the bit. The two-speed gearbox provides a true low-range, high-torque setting perfect for extraction.
- Kobalt 24V Brushless Drill: The 650 in. Lbs. Of maximum torque and a dedicated low-speed (0-550 RPM) range make it a beast for pulling stubborn bolts. The brushless motor manages heat better during prolonged use.
- SKIL DL527501 Series: With 17 clutch settings plus a drill mode, you can set a low torque limit to prevent gear damage if the bit binds. The clutch will disengage before something snaps.
The Challenges:
- Small 12V Compact Drills: They lack the torque for anything but the smallest screws. They stall easily, which can lead to over-gripping and applying excessive pressure.
- Old Brushed-Motor Drills: They overheat quickly under the constant load of drilling metal. The thermal protection will shut them down mid-job.
- Drills Without a Low-Speed Range: If your only setting is 0-2,000 RPM, you’re forced to use “trigger control” to stay slow. This is inconsistent and leads to the speed spikes that break bits.
For the most stubborn jobs, a drill press is the ultimate tool. It provides perfect vertical alignment, eliminating bit walk. You can set a precise, slow speed. The rigid setup allows you to apply immense, controlled pressure without the drill bucking. It turns a precarious hand-held operation into a predictable machining step.
Frequently Asked Questions
Can I use a left-hand drill bit in a regular drill?
Yes, any standard cordless or corded drill that has a reverse (counterclockwise) setting can use a left-hand drill bit. That reverse setting is mandatory. Using it in forward rotation will ruin the bit.
What’s the difference between a left-hand drill bit and a screw extractor?
Left-hand drill bit is designed to cut metal while spinning counterclockwise. Its primary role is to drill a pilot hole. A screw extractor is a non-cutting tool with reverse threads; you hammer it into a pre-drilled hole and turn it with a wrench to mechanically grip and remove the broken fastener. They are used in sequence.
Why did my left-hand bit snap off?
The most common causes are excessive side pressure (bit not aligned straight), too high a drill speed for the material, or insufficient shank gripped in the chuck allowing flex and wobble. A bit that binds and is forced will also snap at its weakest point, usually just above the flutes.
Can I sharpen a left-hand drill bit?
You can, but it requires a bench grinder and a steady hand to maintain the reverse flute geometry. For most DIYers, it’s more cost-effective to replace a dull left-hand bit. Attempting to sharpen it on a standard wheel will likely ruin the cutting angle.
Do I need special safety gear for this?
Yes. Always wear safety glasses or goggles. Drilling metal, especially hardened fasteners, can throw off sharp, hot chips. Gloves are recommended to protect your hands from sharp workpiece edges and heat, but ensure they are snug-fitting to avoid getting caught in the rotating chuck.
The Bottom Line
A left-hand drill bit is the right first tool for a broken bolt. Set your drill to reverse, grip the bit deep in the chuck, and drill slow and steady. Half the time, the fastener comes out with the bit. The other half, you’ve made a perfect starter hole for a screw extractor.
The drill matters. Pick one with a dedicated low-speed, high-torque range. The SKIL, Kobalt, and Milwaukee models listed here handle the load. A drill press turns a fight into a procedure.
When the bit binds, don’t fight it. Reverse the drill direction to clear it, then carry on with less pressure. A broken bit in the hole is a much harder problem than a stuck bolt.
Your next broken bolt is a nuisance, not a crisis. You have the sequence now.
