How to Cut a 45-Degree Angle with a Circular Saw (Step-by-Step Guide)
This post contains affiliate links. As an Amazon Associate, we earn from qualifying purchases.
Cutting a 45-degree angle with a circular saw requires matching three things: the bevel setting (tilt the blade), the guide fence position (offset from your mark), and the blade depth (about 1/4 inch deeper than the material). A speed square marks the line, a clamped straight edge guides the cut, and a sacrificial board underneath prevents tear-out.
Most people grab the saw, set the bevel, and run it freehand along a penciled line. That’s a recipe for a wobbly, inaccurate cut that won’t fit tight in a joint. The saw’s base plate is wider than the blade, so if you just follow the line by eye, the blade cuts into your final piece. You have to account for that offset.
This guide walks through the two main types of 45-degree cuts, bevels and miters, and the exact steps to get them dead-on every time, using tools you probably already have.
Key Takeaways
- You need a guide. Freehanding a 45-degree cut with a circular saw is a guaranteed miss. A clamped straight edge or a speed square used as a fence is non-negotiable.
- Know your saw’s offset. Measure from the blade to the edge of the saw’s shoe. That number determines where you place your guide fence relative to your marked cut line.
- Blade choice matters more than you think. A 24-tooth framing blade will shred plywood on a 45. Use a sharp, 40-tooth or higher carbide-tipped blade for clean cuts.
- Test on scrap first. Your first attempt on the good piece is your last. Always make a practice cut on an offcut to verify your setup.
- The sacrificial board is not optional. It supports the fibers on the underside of the cut, preventing tear-out and splintering that ruins the visible edge.
Before You Start: Safety First
Before you start: A circular saw is unforgiving. The blade spins at over 5,000 RPM, and kickback happens in a fraction of a second. Always wear safety glasses, wood chips fly sideways on angled cuts. Use hearing protection; the whine of a saw at a bevel is sharper and louder. Secure your workpiece with clamps. If the board moves, the saw binds, and the saw wins. Every time.
What You’ll Need
You don’t need a shop full of specialty tools. Here’s the short list.
- Circular saw. Corded or cordless doesn’t matter, as long as it has a functional bevel adjustment. A 6-1/2 inch blade is fine for most trim and framing lumber.
- Speed square. This is your marking and layout lifeline. The 45-degree flange is cast and dead accurate. An Empire or Swanson 7-inch model is under $15.
- Clamps. At least two. F-style or quick-release clamps hold your guide fence and secure the workpiece to your bench.
- Straight-edge guide. A 4-foot level, a known-straight piece of plywood, or a dedicated track. Your saw’s shoe rides against this.
- Sacrificial board. A scrap of 1/2-inch plywood or MDF wider than your workpiece. This goes underneath to protect your work surface and the back side of your cut.
- Pencil. A carpenter’s pencil with a sharp, flat edge gives a finer, more visible line than a round pencil.
- Masking tape. Apply it directly over your cut line on the top face of the workpiece. The tape holds the wood fibers together, dramatically reducing splintering as the blade exits.
Setting the Saw for a 45-Degree Cut
This is where the first major mistake happens. People look at the scale, twist the knob, and think they’re set. Not quite.
Locate the bevel adjustment lever, usually a large knob or a lever at the front or rear of the saw near the shoe. Unlock it, tilt the saw’s base until the pointer aligns with the 45-degree mark on the scale, then re-lock it firmly. On many saws, like the Dewalt DCS570, there’s a positive stop at 45 degrees, you’ll feel a click. Don’t just eyeball it; use the scale.
Now, adjust the blade depth. Loosen the depth adjustment lever, typically on the saw’s guard. Lower the blade until the teeth extend about a quarter-inch past the thickness of your material.
For a 3/4-inch thick board, you want the blade teeth to protrude about 1 inch below the shoe. Too shallow, and you’ll burn the wood and stall the saw. Too deep, and you increase kickback risk and create more tear-out.
A fresh, sharp blade is the difference between a clean, glue-ready joint and a ragged mess that needs filling. That old 24-tooth framing blade you used for decking? It will rip and tear the wood fibers on a 45-degree cut, especially in plywood or MDF. Switch to a finish blade with more teeth.
| Blade Type | Teeth Count | Best For 45-Degree Cuts On… | Why It Works |
|---|---|---|---|
| Framing/ Rip Blade | 24 | Avoid for angles | Aggressive teeth designed for fast, straight cuts with the grain. Tears cross-grain cuts. |
| Combination Blade | 40-50 | Softwood, hardwood, plywood | A balanced tooth design that handles crosscuts and rips reasonably well. A good all-rounder. |
| Fine-Finish/ Crosscut Blade | 60-80 | Plywood, MDF, melamine, plastics | High tooth count produces a smoother cut with minimal tear-out on veneers and fragile materials. |
| Carbide-Tipped Blade | 40+ | Everything | The carbide teeth stay sharper far longer than steel, especially when cutting manufactured boards. |
I learned the blade lesson the hard way on a set of maple cabinet face frames. I used a semi-dull combination blade because it was already in the saw. The cut looked okay from the top, but the back side was so frayed and torn I had to recut every piece, wasting a full sheet of expensive plywood. Now I keep a dedicated 60-tooth Freud Diablo blade just for angled and finish cuts.
How to Cut a 45-Degree Bevel
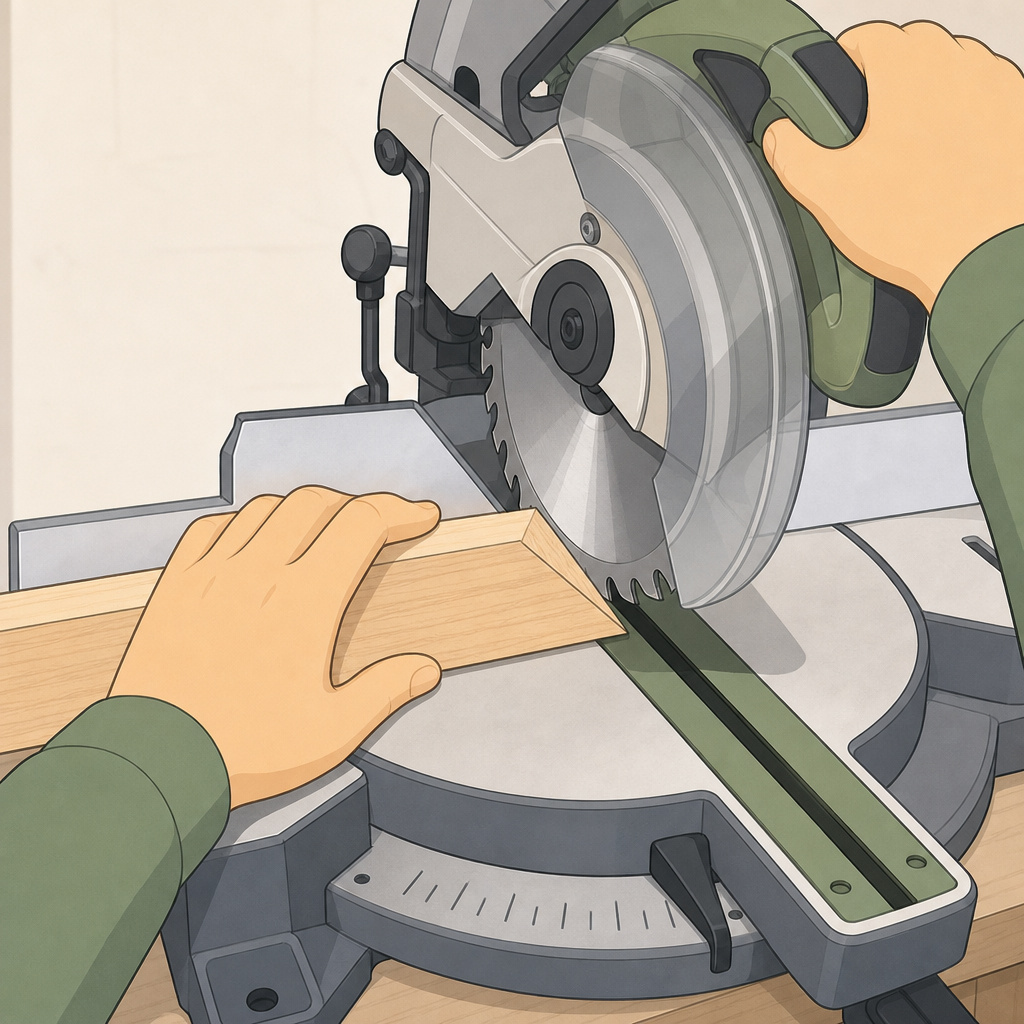
A bevel cut angles through the thickness of the material. Picture the blade tilted to 45 degrees, slicing down through the edge of a board. This is common for creating a sloped edge on a shelf or a chamfer.
- Mark and prepare. Place your workpiece on the sacrificial board. Apply a strip of masking tape along the exact path of your intended cut. Use your speed square to draw a sharp, clear line at 45 degrees across the board’s face. This line is your target, not where the saw’s edge goes.
- Find your saw’s offset. This is the critical step everyone skips. With the saw unplugged or the battery removed, measure the distance from the blade, on the side that will face your guide, to the outer edge of the saw’s shoe (base plate). On my Makita XSH03Z, that’s exactly 1-3/8 inches. Write this number down; it’s your offset.
- Set the guide fence. Measure your offset distance (e.g., 1-3/8″) from your marked line, moving away from the side of the line where your final piece will be. Mark that spot. Clamp your straight-edge guide (a level works perfectly) exactly along this second line. The saw’s shoe will ride against this guide, positioning the blade directly over your original cut line.
- Set the saw. Adjust the bevel to 45 degrees and lock it. Set the blade depth as described earlier.
- Make the cut. Position the saw at the start of your line with the shoe firmly against the guide fence. Start the saw, let it reach full speed, then engage the cut with steady, even pressure. Don’t push or force it. Let the blade feed itself. Keep the shoe flat against the guide for the entire pass.
I won’t cut bevels on plywood without a zero-clearance insert on my saw’s shoe. You can make one from thin hardboard. It supports the thin veneer right up to the blade, eliminating almost all bottom-side tear-out. It takes five minutes to make and saves hours of sanding.
How to Cut a 45-Degree Miter
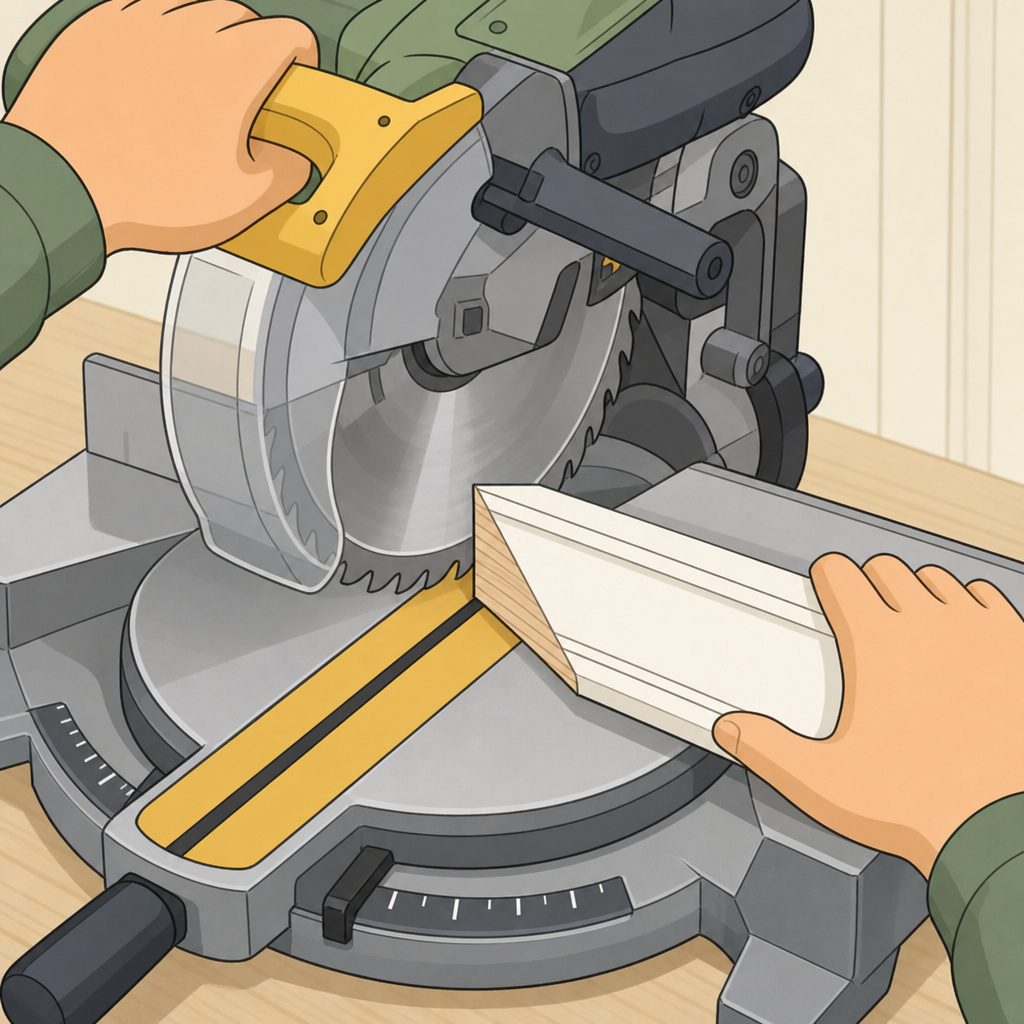
A miter cut angles across the face of the material, like you’d see on a picture frame. The saw blade stays vertical (0-degree bevel), but you cut across the board at a 45-degree angle. This is trickier because you’re guiding the saw along a diagonal.
- Mark the line. Again, tape over the cut line. Use the speed square’s 45-degree edge to draw a long, diagonal line across the board’s width.
- Use the square as your guide. This is the pro trick. Instead of measuring an offset and clamping a separate fence, you can use the speed square itself as the guide. Hold the square’s fence firmly against the edge of the board, aligning its 45-degree lip with your pencil line. The saw’s shoe rides against the square’s thick body.
- Check for clearance. Before you start the saw, ensure the blade guard can retract fully without hitting the square. Some saws have a bulky guard that might interfere. If it does, revert to the clamped straight-edge method using your offset measurement.
- Cut. With the shoe pressed firmly against the square, start the saw and make the cut in one smooth motion. The square keeps the saw perfectly on track.
The main challenge here is keeping the square from slipping. For cuts longer than your square, or if you’re nervous, go back to the clamped guide method. You can also build a simple miter jig from scrap plywood for repeatable accuracy, which is perfect for projects needing multiple identical cuts like trim work or a simple picture frame.
Common Mistakes and How to Avoid Them
Getting a clean 45 isn’t just about the steps. It’s about sidestepping the pitfalls that turn a perfect joint into firewood.
- Ignoring the offset. This is the number one reason for inaccurate cuts. If you don’t account for the distance from the blade to the shoe edge, your cut will be off by that exact amount. Measure it once, write it on a piece of tape, and stick it to your saw’s motor housing.
- Forcing a dull blade. A dull blade requires more pressure to feed, which flexes the material and the saw itself, throwing off the angle. It also burns the wood and creates a ragged edge. If you smell burning or see smoke, stop. The blade is done.
- Skipping the sacrificial board. The tear-out on the underside of your workpiece will be ugly. That sacrificial board supports the wood fibers all the way through the cut. It’s cheap insurance.
- Not checking the bevel lock. After you set the angle and lock the lever, give the saw shoe a firm wiggle. If it moves, the lock isn’t fully engaged. A mid-cut shift from 45 to 47 degrees ruins the piece.
- Rushing the start. Starting the saw with the blade already touching the wood causes it to buck and jump, marring the entry point. Always let the motor reach full speed before you begin the cut.
When a Miter Saw is the Better Choice
Let’s be honest. While a circular saw can do this, a miter saw is built for it.
If you’re cutting more than a couple of 45s, or if absolute precision is critical for something like crown molding, a miter saw is the right tool for the job. The fixed fence and pivoting head guarantee a straight, repeatable cut every time with less setup. The circular saw method shines when the workpiece is too large for your miter saw, or you’re on a jobsite without one.
Frequently Asked Questions
Can I cut a 45-degree angle without a speed square?
You can, but it’s far less accurate. A combination square or a protractor can work, but a speed square is purpose-built for this, with a built-in 45-degree edge you can trust. In a pinch, you can use a piece of paper folded diagonally to create a 45-degree angle, but that’s for rough work only.
Why does my 45-degree cut keep coming out at 47 degrees?
Check two things. First, your bevel scale might be off. Verify the angle with a digital protractor or a precise drafting triangle. Second, and more likely, you’re not holding the saw shoe perfectly flat against your guide fence throughout the cut. Any tilt or twist during the push will change the effective cutting angle.
How do I account for the blade kerf?
The kerf is the width of material the blade removes. For a tight-fitting joint, you must cut on the correct side of your line.
Always cut on the waste side, the side of the line that won’t be part of your final piece. For a 45-degree miter that will meet another 45 to form a 90-degree corner, both pieces should have their cuts made so the blade kerf is on the outside of the joint. If you cut directly on the line, your final assembled piece will be short by the width of two kerfs.
My cut is clean on top but torn out underneath. What did I do wrong?
This is almost always a blade issue, it’s either dull, has too few teeth, or is installed backwards. First, confirm the correct blade direction (teeth should point upward at the front of the saw). If that’s correct, switch to a sharp, high-tooth-count blade and ensure you’re using a sacrificial board underneath.
Can I cut a 45 in metal or plastic with a circular saw?
Yes, but you need the right blade. For aluminum or thin steel, use a carbide-tipped blade designed for non-ferrous metals. For plastics like acrylic, use a fine-tooth (80+ tooth) blade and go very slowly to prevent melting. The basic circular saw safety tips apply doubly here, wear a full face shield and heavy gloves.
Before You Go
Cutting a true 45-degree angle with a circular saw is entirely possible, but it demands respect for the process. It’s not a freehand skill. Your success hinges on three non-negotiable steps: marking accurately with a speed square, accounting for your saw’s unique offset when setting the guide, and using a sharp, appropriate blade.
The difference between a joint that fits tight and one that needs a tube of filler is about five minutes of careful setup. Always run a test cut on scrap. That practice piece tells you everything your eyes can’t see about your setup before you commit to the good wood.
