The Correct Way to Cut a 45 Degree Angle With a Miter Saw
This post contains affiliate links. As an Amazon Associate, we earn from qualifying purchases.
To cut a 45-degree angle with a miter saw, you must verify the saw’s calibration is square, mark the workpiece clearly, set the miter lock to 45 degrees, clamp the board securely, then make the cut with steady pressure. The blade must be sharp and the workpiece must not move. Test cuts on scrap wood are non-negotiable for precision work.
A tight, seamless 45-degree joint starts with a perfect cut. Most people think that just setting the saw to 45 does the work. The real problem is usually saw calibration, workpiece movement, or blade selection. You can dial in the angle perfectly every time if you follow the sequence that accounts for the tool’s mechanics, not just the number on the dial.
Getting this wrong means gaps in picture frames, uneven trim corners, and wasted material. The process below fixes that.
Key Takeaways
- Calibration is King: Your saw’s 45 mark is rarely perfect out of the box. You must check it with a reliable square before any critical cut.
- Movement Ruins Angles: Even slight workpiece shift during the cut creates an off-angle. Always use clamps, never hold the piece by hand alone.
- Blade Choice Matters: A general-purpose blade with a low tooth count tears wood fibers at steep angles. Use a fine-tooth blade (80+ teeth) for cleaner 45-degree cuts.
- Test First, Cut Second: Never cut your final workpiece first. Use scrap from the same material to verify the angle setting and your technique.
- The Cut Itself is Simple: The actual cutting motion is a small part. Ninety percent of the work happens in the setup: calibration, marking, and securing.
What You Need: Tools and Safety Gear
You need more than just the saw. Skipping any of these compromises safety or accuracy.
* Miter Saw: Any type works, but a compound miter saw offers more versatility. Ensure it’s rated for the size of your workpiece.
* Sharp, Fine-Toothed Blade: A 80-tooth or 100-tooth crosscut blade produces the cleanest edge on molding and trim. A dull or coarse blade splinters the exit side of the cut.
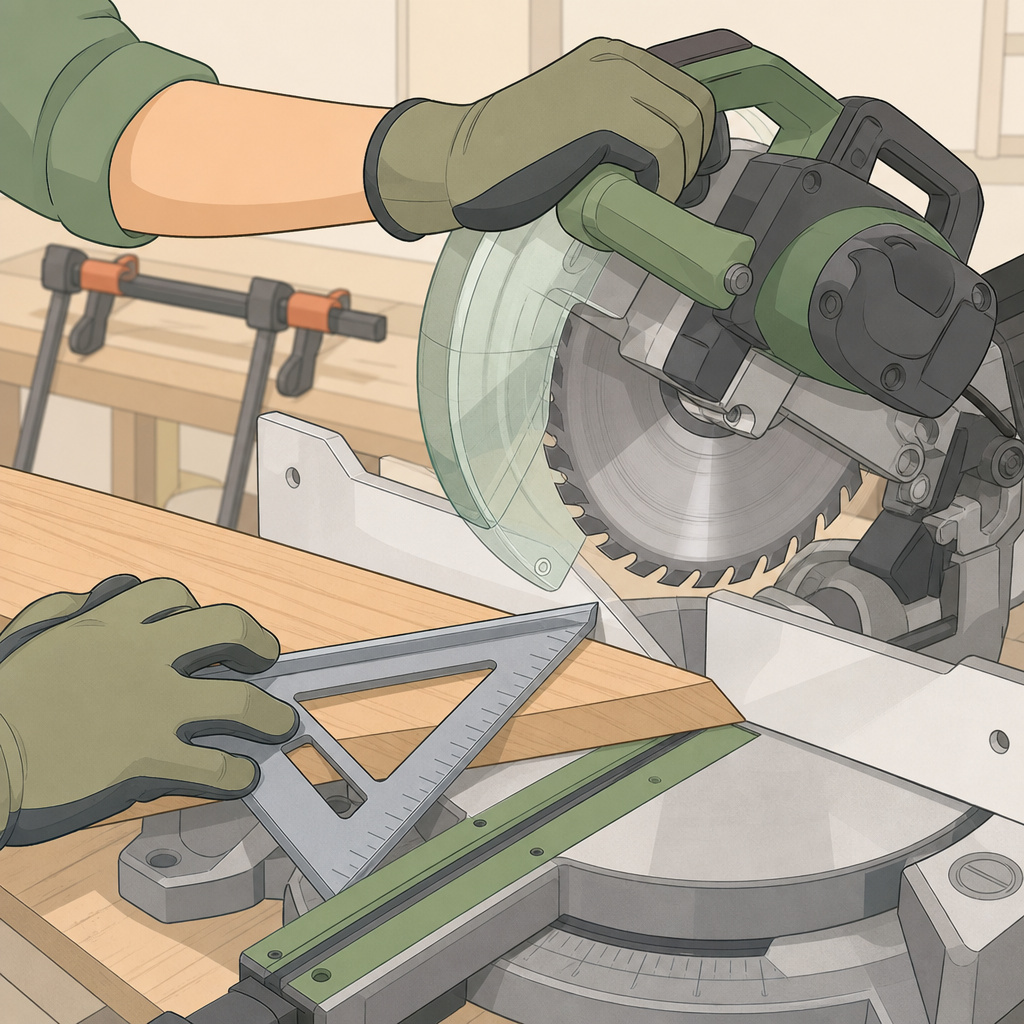
* Combination Square or Speed Square: This is your truth-teller for checking the saw’s 45-degree setting against the blade itself. Do not trust the scale alone.
– Clamps: One or two quick-release F-clamps or a dedicated saw clamp. Your hands are for guiding, not holding.
– Pencil and Tape Measure: For clear, fine marking.
– Safety Gear: Safety glasses are mandatory. Hearing protection is recommended. Avoid loose clothing and secure long hair.
Step-by-Step Guide to Cutting a Precise 45-Degree Miter Cut
Follow these steps in order. Rushing to the cut guarantees error.
Step 1: Verify and Calibrate Your Miter Saw
This is the step most people skip. Every time.
1. Unplug the saw. Pull the power cord from the outlet.
2. Check the 0-degree stop. Rotate the saw base until it clicks into the 0-degree detent. Place your combination square’s blade against the saw fence and the square’s head against the saw blade (not a tooth). There should be no gap. If there’s light, your fence isn’t square to the blade. Consult your saw’s manual for adjustment procedures.
3. Check the 45-degree setting. Unlock the miter mechanism and rotate the saw left to the 45-degree mark. Lock it. Now, the combination square’s 45-degree corner between the square’s head and the saw blade. Again, seek no gap. If the angle is off, note the error. Some saws have calibration screws to adjust the pointer or positive stops.
You are not trying to make the saw perfect forever. You are learning its error. If the 45 setting shows a 1-degree error, you’ll know to set it to 46 to get true 45. Document this.
Step2: Mark the Workpiece Clearly
Vague marks lead to vague cuts.
– Use a sharp pencil or a knife for a fine line.
– For a standard miter cut (angled across the face of the board), draw the line across the top face and down the leading edge.
– Mark an “X” on the waste side of the line. This prevents cutting the wrong piece.
Step3: Position এবং Clamp the Workpiece
This is where angles go wrong. The board must be immobile.
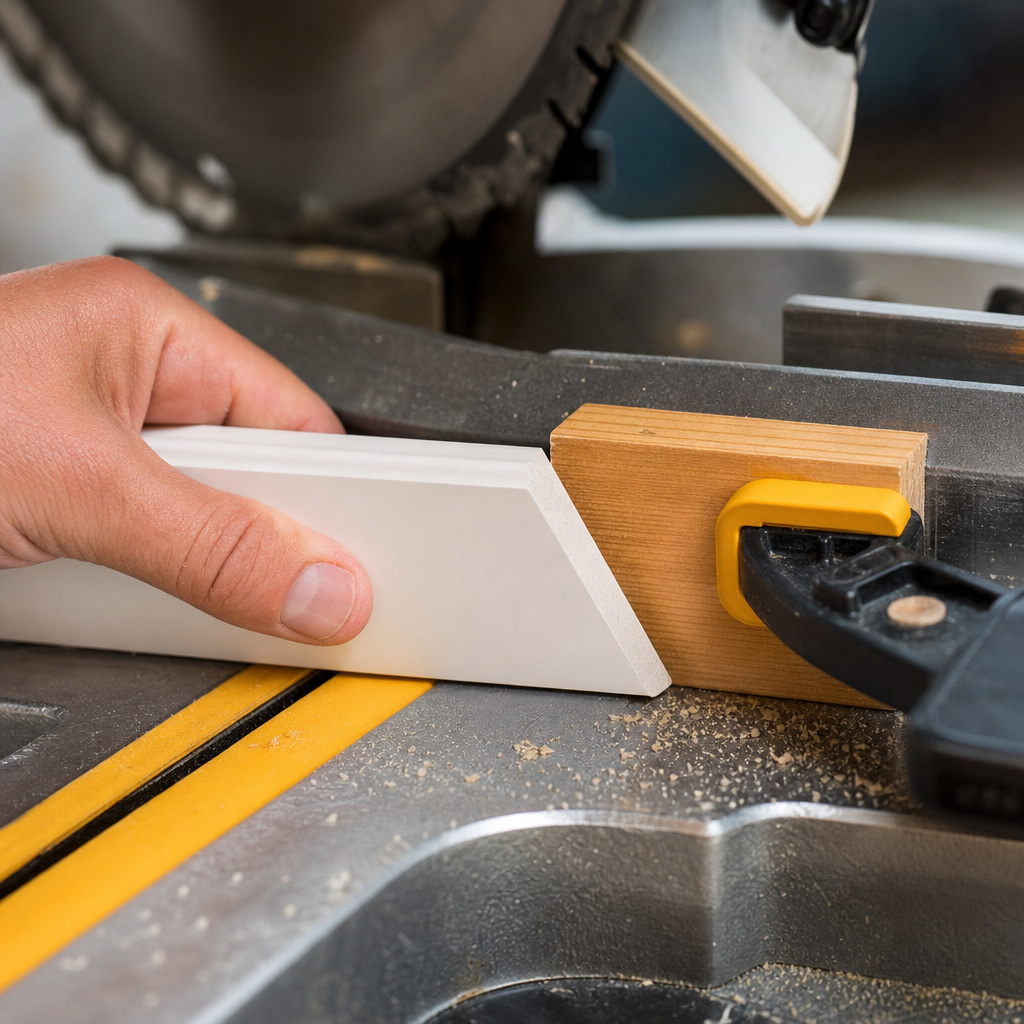
1. Place the board flat on the saw table. Hold it firmly against the fence along its entire length. The fence is your reference surface; losing contact twists the cut.
2. Apply a clamp to the board and the saw table. Position the clamp so it doesn’t interfere with the saw arm’s travel or the blade’s path. Tighten it until the wood cannot slide or rock.
If cutting a long piece, support the outer end with a roller stand or scrap piece cut to the same height as the saw table. Letting it sag changes the angle.
Step4: Make the Cut With Controlled Technique
Now the easy part.
1. Don your safety glasses and hearing protection.
2. Start the saw and let the blade reach full operating speed. You should hear the motor pitch level out.
3. Lower the blade smoothly into the workpiece. Do not force it. Let the teeth do the cutting.
4. Once through, hold the saw down position for a second after the blade stops spinning. This prevents kickback and ensures a cleaner exit.
5. Raise the blade back to its full upright position.
Step5: Inspect the Angle এবং Make Test Cuts
Your first cut should never be on your good wood.
– Take a piece of scrap from the same material and thickness.
– Cut it following the exact process above.
– Take the two cut pieces and fit them together. They should form a perfect 90-degree corner. Check this with your square.
– If the angle is off, determine if it’s over or under. Adjust the miter setting slightly (e.g., 45.5 degrees) and try again. This trial run saves your expensive oak or finished trim.
Why These Specific Steps Matter: The Mechanics Behind the Cut
Why not just set the saw and go? Because tools and wood are physical things.
Saw scales drift. Vibration and wear knock miter saw detents out of true. A saw that cut 45 degrees last month may now cut 44.5. The combination square check removes this variable.
Wood moves during cutting. The blade’s rotation exerts lateral force. Without a clamp, the workpiece can pivot slightly against the fence, turning a 45-degree cut into a 43-degree cut. The gap in your joint won’t come from the saw being wrong, but from the board creeping.
Blade deflection happens. A dull blade or one with too few teeth will deflect, or bend, under load, especially on angled cuts. This deflection creates a slightly beveled edge, not a straight 45. A sharp, fine-tooth blade resists this.
These are not theories. These are the reasons projects fail. The steps directly counter each one.
Common Mistakes to Avoid When Cutting 45-Degree Angles
I’ve taught enough beginners to see the patterns. Here’s what goes wrong.**
1. Trusting the Scale Blindly. The most frequent error. The pointer and scale are guides, not gospel. Always verify with a square.
2. Not Clamping. People think they can hold a small piece. You cannot. Hand pressure is uneven and changes mid-cut. Always clamp.
3. Cutting Too Fast. Pushing the blade through causes tear-out and can deflect the blade, ruining the angle. Smooth and steady wins.
4. Using a Dull or Wrong Blade. A framing blade (24 teeth) on oak trim will shred the end grain. The cut edge looks furry and the angle feels off even if it’s accurate. Match the blade to the material.
5. Not Accounting for Saw Kerf. The blade removes material (the kerf). If you mark a line and cut directly on it, your finished piece will be slightly short. For precise work, mark then set the blade so the kerf falls on the waste side, your cut line stays on the good piece.
Advanced Tips for Perfect 45-Degree Joints
For picture frames or fine cabinetry, even the best setup needs refinement.
Use a Stop Block for Identical Lengths. Clamp a block of wood to the saw fence. After cutting the first 45 on your workpiece, butt the next piece against the block. This guarantees both pieces are exactly the same length, which is as crucial as the angle for a tight joint.
Back Cut Technique for Hardwoods. On very hard wood, the blade can burn the exit edge. Make the cut almost through, then stop. Flip the workpiece and finish the cut from the opposite side. This scores a cleaner edge with no tear-out.
Shim for Micro-Adjustments. If your test cut shows a half-degree error and your saw’s detent won’t allow that fine adjustment, place a thin shim (like a playing card) between the saw fence and the workpiece during the test cut. This subtly alters the effective angle.
Frequently Asked Questions
Q: Can I cut a 45-degree angle without a miter saw?
Yes, but not as easily. You can use a circular saw with a speed square guide, a table saw with a miter gauge. The principle is the same: secure guide, secure workpiece, cut. The miter saw is simply the tool built for this exact task.
Q: Why does my 45-degree cut produce a gap even when the saw is calibrated?
The most likely culprit is workpiece movement. The second is blade deflection from a dull blade. The third, less obvious, is that the two mating surfaces are not perfectly flat. A slight bow in the board will create a gap at the center of the joint. Joint the edges before cutting angles.
Q: How do I cut the opposite 45-degree angle on the same board?
Simply rotate the miter saw base to the other side. Most saws cut 45 degrees both left and right. Remember, for a 90-degree corner, you need one left 45 and one right 45. Mark which is which.
Q: My miter saw has a positive stop at 45, but the cut is still off. What gives?
Positive stops wear out. The detent mechanism can become rounded with use, allowing the saw to settle slightly before or after the true 45. Use the stop to get close, then fine-tune the angle while watching the scale, and lock it. Always verify with a square.
Q: Is a digital angle finder better than the saw’s scale?
Digital gauges that attach to the saw can be highly accurate, but they also need calibration against a known square. They are excellent for eliminating scale parallax error and for making fine adjustments. For most hobbyists, a well-calibrated saw with a physical square check is sufficient.
The Bottom Line
Cutting a perfect 45-degree angle isn’t about strength or advanced skill. It’s about accepting that your tools need verification and your workpiece needs immobilization. The process is methodical: check your saw’s truth with a square, clamp everything down, make test cuts, then proceed with confidence. The difference between a wobbly joint and a seamless one is about ten minutes of setup. That’s the trade. Skip that setup, and you’ll spend hours filling gaps with putty. Do it right the first time. Your future self, holding that perfect picture frame, will thank you.