
How to Use a Drill Bit Correctly in Three Simple Steps
This post contains affiliate links. As an Amazon Associate, we earn from qualifying purchases.
To use a drill bit, you match three things: the bit type to the material, the bit to the chuck with at least 15mm of insertion, and the drill’s speed to the bit’s diameter. A 10mm high-speed steel bit in mild steel needs about 1780 RPM; a 6mm diamond bit in porcelain needs under 4000 RPM. The wrong speed burns the bit within seconds.
That match between bit, tool, and material is the whole operation. A drill is just a motor. The bit does the cutting, and its geometry, the flute angle, the point grind, dictates how it interacts with wood, metal, or stone. Ignore that geometry and you turn a precision tool into a blunt, smoking stick.
What follows: the three-step physical process every drill bit shares, the specific speed tables for common bits, the edge cases that break standard rules, and the mistakes that send people back to the store for a new bit before the project is done.
Key Takeaways
- Insert at least 15mm of the bit’s shank into the chuck. Less than that lets the bit wobble, which rounds out the chuck jaws and ruins the bit’s cutting edges.
- Speed kills bits faster than pressure. A 10mm HSS bit in steel needs ~1780 RPM; running it at 3000 RPM generates enough heat to soften the steel in under 30 seconds of continuous drilling.
- Never drill an old hole with a new bit. The worn pattern at the bottom of the old hole forces the new bit’s cutting lips to strike unevenly, chipping the edges immediately.
- For stainless steel, you must use cutting oil and start with low RPM in a clockwise rotation. Dry drilling at high speed work-hardens the surface, making it impossible for the bit to cut further.
- Diamond core bits for tile and stone must be kept in constant circular motion while drilling. Holding them still in one spot overheats the diamond matrix and glazes the bit, rendering it useless.
The Three-Step Process for Using Any Drill Bit
The physical act is the same for a $2 twist bit and a $80 carbide-tipped masonry bit. You insert it, you set the drill, you apply force. The difference between a clean hole and a ruined workpiece lives in the specifics of each step.
A keyless chuck must grip at least 15mm of the bit’s smooth shank. Inserting the fluted cutting section into the jaws damages both the bit’s geometry and the chuck’s grip, leading to irreversible slippage under load. Always hand-tighten the chuck clockwise until firm resistance is met, then give it one final hard twist to seat it.
Step one is insertion. With the battery out, rotate the chuck collar counterclockwise to open the jaws. Slide the bit in until the chuck’s jaws are gripping only the smooth, cylindrical shank. For a standard Ryobi 18V drill, that’s a minimum of 15mm. Listen for the sound of metal on metal, not metal on flutes. Snap the battery in.
Step two is direction and speed. Set the drill’s direction to forward (clockwise). The gear selector behind the chuck chooses torque range: Position 1 (0-450 RPM) for high-torque driving or hard materials, Position 2 (0-1700 RPM) for faster drilling in softer woods or metals. Your trigger is a variable speed control, start slow.
Step three is contact. Place the bit’s point on your marked spot, holding the drill perpendicular to the work surface. Squeeze the trigger gently until the bit begins to cut, then increase pressure steadily. Let the bit’s flutes pull the material out; forcing it only generates heat.
Speed & Pressure: The Numbers That Matter
Your drill’s trigger isn’t a light switch. It’s a heat control. Every bit material and diameter has a maximum cutting speed, measured in surface feet per minute (SFM) or meters per minute. Exceed it, and friction heat will destroy the bit’s temper or melt its binding agent.
The Bosch technical guide provides the foundational math: cutting speed determines RPM. For a 10mm (roughly 3/8″) high-speed steel bit drilling into mild steel, the recommended cutting speed is about 30 meters per minute.
| Bit Diameter | Material | Target Cutting Speed | Approx. RPM (for reference) |
|---|---|---|---|
| 3mm (1/8″) | Soft Wood | 30-45 m/min | 3000-4500 |
| 10mm (3/8″) | Mild Steel | 25-30 m/min | 800-950 |
| 6mm (1/4″) | Aluminum | 60-90 m/min | 3200-4800 |
| 12mm (1/2″) | Hardwood | 20-30 m/min | 500-800 |
Common mistake: Running a small-diameter bit too slow. A 3mm bit in wood needs high RPM to clear chips; running it at 1000 RPM lets the flutes clog and burn the wood.
The numbers get extreme with specialty bits. The OWIM diamond drill bit manual states a maximum rated rotation speed of 13,300 RPM for their bits. But the working speed is much lower, for their 6mm bit, the maximum cutting speed is 4.1 meters per second, which translates to roughly 3900 RPM. Crank a corded drill to its max 3000 RPM on a 16mm diamond bit, and you’ll still overheat it if you don’t keep it moving.
Pressure is the partner to speed. Let the bit cut. You’ll feel it pulling itself in. Pushing harder doesn’t make it go faster; it deflects the bit, widens the hole, and snaps small diameters. The only time you lean in is with large masonry bits, where the drill’s hammer action needs your weight to keep the carbide engaged.
Which Drill Bit for Which Material?
A bit is a single-purpose tool. The steel alloy, tip geometry, and flute design are engineered for one material family. Using a wood bit on metal doesn’t just give a rough hole, it work-hardens the metal and can snap the bit.
- Wood Bits (Twist & Spade): Have a sharp, centered spur and aggressive flutes to pull out long chips. Use them only on wood and some plastics. In metal, the spur skates and the flutes clog.
- Metal Bits (HSS Twist): Made of high-speed steel with a 118-degree point. The flutes are designed for short, curly chips. They can handle wood in a pinch, but will wander in softwood without a pilot hole.
- Masonry Bits (Carbide Tipped): Have a brazed carbide tip for grinding through aggregate. The flutes are straight to channel dust. Used in a rotary-only drill on concrete, they’ll dull immediately; they require a hammer drill’s impact action.
- Tile/Glass Bits (Diamond or Spear Tip): Have an abrasive surface, not cutting flutes. They grind material away. They require constant cooling (water) and must be used without hammer action.
For flat-bottomed holes like for hinge cups, you need a Forstner bit. For enlarging existing holes in thin metal, a step drill bit is the only clean choice. The decision isn’t just about the hole you want now, but about preserving the bit for the next ten holes.
The Edge Cases That Wreck Standard Procedure
 Manuals bury the critical warnings in the back. These aren’t best practices; they are failure conditions written after the first batch of bits came back shattered.
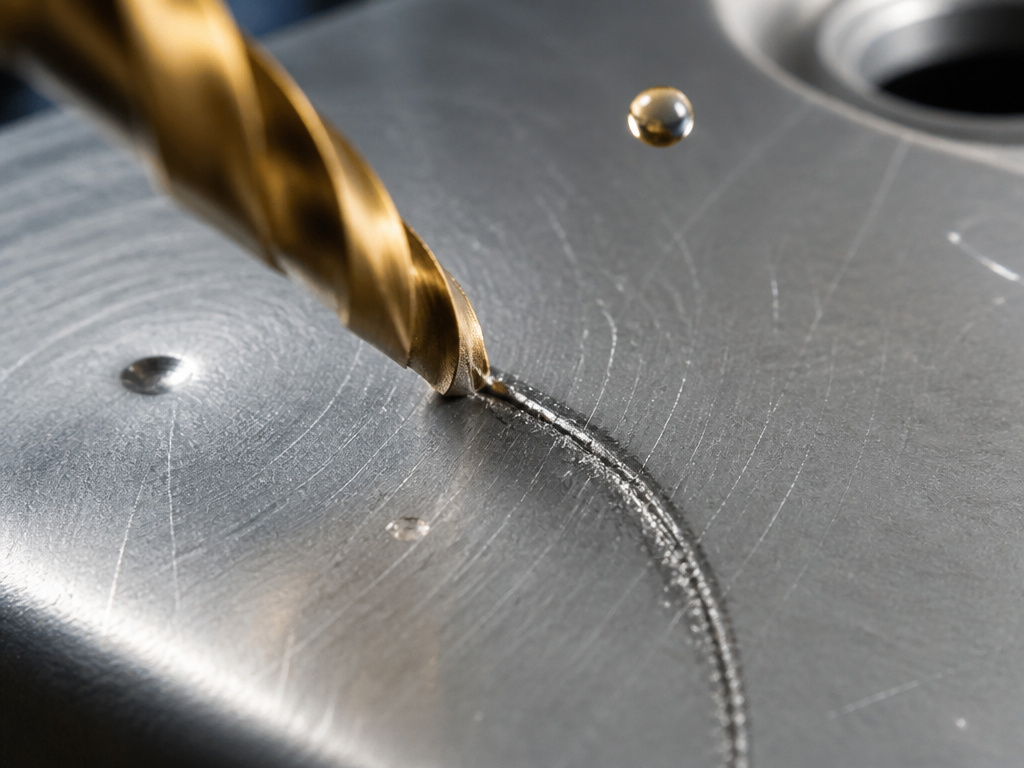
Stainless steel is the classic trap. The ITM drill/tap bit manual is explicit: apply oil to the tip, use low RPM, and start with a clockwise rotation. Why? Stainless work-hardens. A dry, high-speed bit will polish and harden the surface spot until the bit spins uselessly, creating a hardened crater that’s nearly impossible to drill through. You must keep the bit cutting and the oil flowing.
Drilling old holes is forbidden in professional contexts. The Sandvik rotary drill bit catalog states it plainly: “Never drill an old hole with a new bit.” The old hole has a worn, irregular bottom. A new bit’s sharp, symmetrical cutting lips will strike that uneven surface with unequal force, chipping the edges on first contact. If you must re-drill, use the old, already-worn bit.
Long drill bits and hard, smooth surfaces demand setup. The Ryobi P209D manual warns that long bits can bend and whip, causing injury. For glass, tile, or hardened steel, you must use a center punch to create a dimple for the bit point to sit in. Without it, the bit will skate across the surface, scarring your workpiece and potentially shooting sideways.
Where this goes sideways: Storing a drill with a bit in the chuck. Humidity and temperature changes can cause microscopic corrosion between the bit shank and the chuck jaws. That “cold weld” seizes the bit, and you’ll need vice grips and heat to remove it, often ruining the chuck.
How to Handle a Drill Bit When Things Go Wrong
 Bits break. They overheat, snap, or get stuck. Your reaction in the first ten seconds determines whether you salvage the tool or the workpiece.
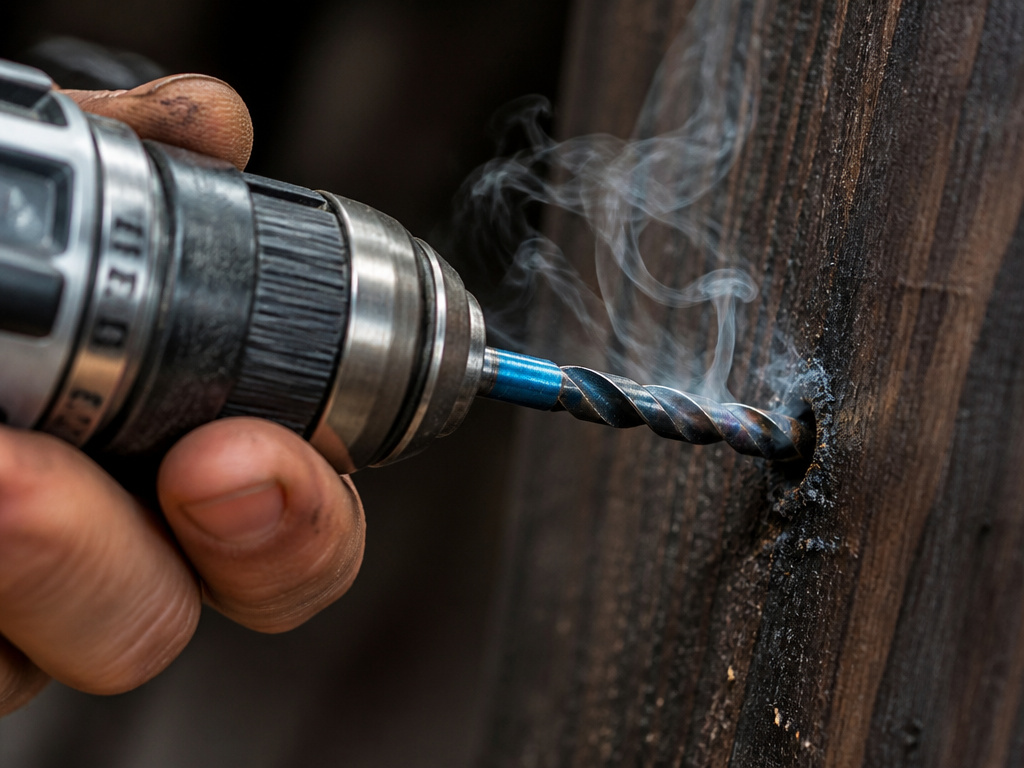
A smoking bit means immediate stop. That’s the smell of ruined temper. The steel has turned blue because it exceeded its critical temperature. It’s now softer and will dull almost instantly. Let it cool completely, don’t quench it in water, as that can cause micro-cracks. That bit is now for softwood only.
A stuck bit often means packed flutes. In deep wood or aluminum, chips can compact in the flutes, locking the bit in the hole. Reverse the drill direction (counterclockwise) and pull gently. The reverse rotation can help back the packed chips out. For metal, a shot of lubricant like WD-40 into the flutes can break the friction.
A wandering bit is a pilot hole problem. If the bit won’t start where you punched, your drill isn’t perpendicular. The point is skating. Stop, recenter, and try again at the lowest possible speed with firm, perpendicular pressure. For large-diameter bits (over 1/2″), always drill a small pilot hole first to guide it.
If the bit snaps off in the hole, you’re in extraction territory. This is when you need specialized tools like a screw extractor or a left-handed drill bit. Forcing the issue with pliers usually just widens the damage.
Frequently Asked Questions
Can I use a hammer drill setting with any bit?
No. Only use the hammer setting with masonry bits specifically designed for impact. Using hammer action on a standard HSS twist bit or a wood bit will shatter the cutting edges or split the bit’s body. The carbide tip on a masonry bit is brazed to withstand the pounding; the hardened steel of a twist bit is brittle under impact.
Why does my drill bit keep slipping in the chuck?
You’re not inserting enough of the shank. The chuck jaws need clean, parallel metal to grip. If you only insert 5-10mm, the leverage from drilling allows the bit to twist inside the jaws, rounding them off. Ensure a full 15mm of insertion and tighten the chuck by hand firmly, then give it a final hard twist.
How do I stop a drill bit from overheating?
Use the correct RPM and apply cutting fluid. For metal, that’s cutting oil or even a simple spray lubricant. For masonry, pull the bit out every 10-15 seconds to clear dust, which acts as an insulator. For wood, clear the chips frequently. Heat is a function of friction and clogged flutes.
What’s the difference between a drill bit and a driver bit?
Drill bit cuts new material to create a hole. A driver bit (like a Phillips or Torx) fits into a fastener’s head to turn it. They are not interchangeable. A driver bit in a chuck will spin uselessly; a drill bit used as a driver will strip the screw head and likely snap.
Is a more expensive drill bit always better?
For a specific job, yes. A cobalt steel bit for stainless steel is worth three times the price of a standard HSS bit because it retains its hardness at high temperatures. For drilling twenty holes in pine, a basic HSS bit is perfect. Match the bit’s cost to the material’s difficulty and the number of holes needed.
Before You Go
Using a drill bit correctly comes down to respecting its limits. It’s a consumable cutting tool, not a blunt poker. Match its material to your workpiece, run it at the speed printed on the chart, and keep it cool.
The Ryobi P209D with a set of Bosch HSS bits handles 90% of home shop tasks. For tile, get the OWIM diamond core bits and remember the circular motion. For stainless, get the ITM drill-tap combo and a bottle of cutting oil.
Insert 15mm, start slow, and let the bit do the work. Force is the enemy of precision. A drill bit that’s allowed to cut cleanly will outlive your project and be ready for the next one.
