
What Is a Countersink Drill Bit Used For? | Core Functions
This post contains affiliate links. As an Amazon Associate, we earn from qualifying purchases.
A countersink drill bit creates a conical recess around a pilot hole so a flathead screw or bolt sits flush with or below the material surface. Its primary uses are countersinking screws for a smooth finish, deburring drilled holes for safety, and preparing holes for threading. The bit’s angle, commonly 82° for ANSI screws or 90° for ISO metric screws, must match the fastener’s head, or the screw won’t seat properly and the joint weakens.
That angle specification isn’t a suggestion. It’s the line between a screw that sits flush and one that sits proud. The wrong angle creates a wedge point instead of a full bearing surface.
What follows is a breakdown of the three jobs a countersink actually does, the physical specs that make it work, and the shop-floor mistake that reworks 500 parts at a time. You’ll know which angle to reach for, when to use a pilot hole, and why a regular twist drill is the wrong tool for this job.
Key Takeaways
- A countersink’s angle, 82° or 90°, must match the screw head’s angle. Mixing them prevents the screw from seating fully and concentrates clamping force on a tiny edge, weakening the joint.
- Beyond screws, a 60° countersink is the standard tool for deburring, which removes sharp, hazardous metal shreds from drilled hole edges.
- Never use a regular twist drill as a countersink. It won’t cut a clean cone, is difficult to control, and often damages the workpiece.
- For hard materials like metal or hardwood, run the countersink at a low speed to prevent chatter, overheating, and premature tool wear.
- The most reliable results come from drilling the pilot hole and cutting the countersink in the same setup to ensure perfect alignment.
The Three Core Jobs of a Countersink Drill Bit
A countersink isn’t a single-purpose tool. It solves three distinct problems in the shop: hiding screw heads, removing dangerous burrs, and setting the stage for strong threads.
Countersink angles are standardized for specific applications: 60° for deburring, 75° for rivets, 82° for ANSI flathead screws, 90° for ISO metric screws, and 180° for flat countersinks used with hex-head bolts. This comes directly from tool manufacturer RUKO’s technical documentation.
1. Countersinking Screws for a Flush Finish
This is the use everyone pictures. You drill a pilot hole for the screw’s shank, then use the countersink to cut a cone-shaped recess at the top. The head of a flathead screw drops into this cone, ending up level with the surface.
The flush finish isn’t just for looks. A protruding screw head is a snag hazard, can damage other parts, and creates a weak point where stress concentrates. In furniture, a flush screw means drawers slide smoothly. On machinery, it means no parts catch on rotating components.
The angle match is non-negotiable. An 82° screw in a 90° hole contacts only the inner rim of the cone. The outer part of the screw head hangs in space. Clamping force concentrates on that small ring, and preload drops faster under vibration. Get it wrong, and you’ve built a weak joint.
2. Deburring for Safety and Cleanliness
When you drill a through-hole in metal, the exit side often has a sharp, ragged edge of displaced material called a burr. This isn’t just ugly, it’s a legit injury risk. A 60° countersink is the standard tool for shaving this burr away cleanly.
Deburring also has a practical function. A clean hole edge makes it easier to start a tap for threading or to insert a bolt. It’s a one-minute step that professionalizes any metalworking project. You can technically deburr with any countersink angle, but the 60° profile is purpose-built for it.
3. Preparing for Threading and Assembly
A slightly widened, chamfered hole entrance guides a tap straight and helps prevent cross-threading. It also makes it easier to insert bolts and pins during assembly. While not always called “countersinking,” this chamfering operation uses the same tool and principle.
For a shop working with diverse fasteners, understanding these three jobs means reaching for the right countersink angle without a second thought.
The Anatomy of a Countersink Bit
Knowing the parts explains why a countersink works and how to choose a good one. It’s more than just a pointy drill bit.
| Part | Function | Common Variants & Notes |
|---|---|---|
| Cutting Edges / Flutes | Shear material to form the cone. | Most have 3 edges for a smooth cut. Single-flute for soft materials; multi-flute for metal. |
| Shank | Secures the bit in the drill chuck. | Cylindrical (most common), Morse taper (for drill presses), bit shank (prevents slipping in hand drills). |
| Included Angle | Defines the slope of the cone. | 82° (ANSI standard), 90° (ISO metric), 60° (deburring). This is the bit’s most critical spec. |
| Pilot (on some models) | A guide that fits into the pre-drilled hole. | Ensures the countersink is perfectly centered on the pilot hole for alignment. |
The shank type matters for control. A standard cylindrical shank is fine for a drill press. For a handheld drill, a bit shank or 3-face shank has flat sides that resist turning in the chuck, giving you more stability.
The cutting edges are typically made of High-Speed Steel (HSS) for general use, or cobalt or carbide for hard metals and production work. A sharp edge is everything. A dull countersink will tear material rather than cut it, leaving a rough surface that increases friction under the screw head.
Countersink vs. Counterbore vs. Other Drill Bits
Drill bits are designed for specific holes. Using the wrong one makes the job harder and the result worse.
Where this goes sideways: Using a regular twist drill as a countersink. The drill’s point wants to dig in and drill deeper, not cut a wide, shallow cone. You’ll fight for control, the “cone” will be ragged, and you’ll likely over-deepen the pilot hole in the process.
A counterbore makes a flat-bottomed, cylindrical recess for a socket-head cap screw or bolt head. It uses a pilot drill and a separate end mill-like tool. The symbol on a drawing is a square-bottomed “⌴”, while a countersink’s symbol is a cone “⌵”. They are not interchangeable.
A Forstner bit also cuts flat-bottomed holes, but it’s for wood and is designed to bore large-diameter holes cleanly, not to create a recess for a fastener.
The countersink’s unique job is that conical shape. For clean screw installation, it has no direct substitute in your basic drill bit arsenal.
How to Choose the Right Countersink Bit
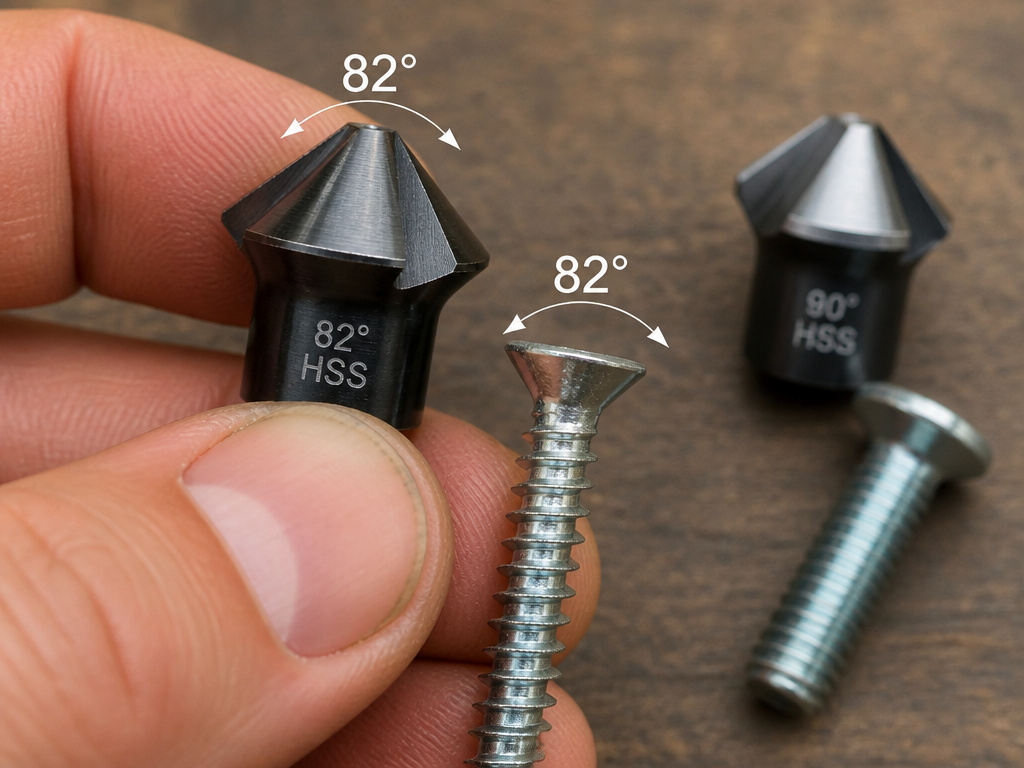 Your material and fastener decide the bit. This isn’t a one-size-fits-all purchase.
Match the Angle to Your Fastener. This is rule one. Check your screw head. Most flathead wood and machine screws in the US are 82°. Many metric screws are 90°. If you’re working from a drawing, it will specify the angle. Stocking both an 82° and a 90° bit covers the vast majority of needs.
Select the Material and Coating.
- Wood & Plastic: A standard HSS countersink bit is perfect. No fancy coating needed.
- Soft Metals (Aluminum, Brass): HSS or HSS with a titanium nitride (TiN) coating for better wear resistance.
- Hard Metals (Steel, Stainless): Opt for cobalt steel (HSSCo) or carbide. These hold an edge under the higher heat and pressure.
Consider the Tool Style.
- Single-piece Countersink: The standard. Use after drilling a pilot hole.
- Combination Drill-Countersink: Has a twist drill tip and countersink flutes in one tool. Drills the pilot and cuts the cone in one step. Excellent for speed and guaranteed alignment.
- Piloted Countersink: Has a small guide tip that fits into the pre-drilled hole. This is the best choice for ensuring the cone is perfectly concentric with the pilot hole, which is critical for precision metalwork.
For most DIYers, a set of good-quality HSS bits covering 60°, 82°, and 90° angles is the smart starting point. If you drill metal often, adding a cobalt 82° bit is a wise upgrade.
Common Mistakes and How to Avoid Them
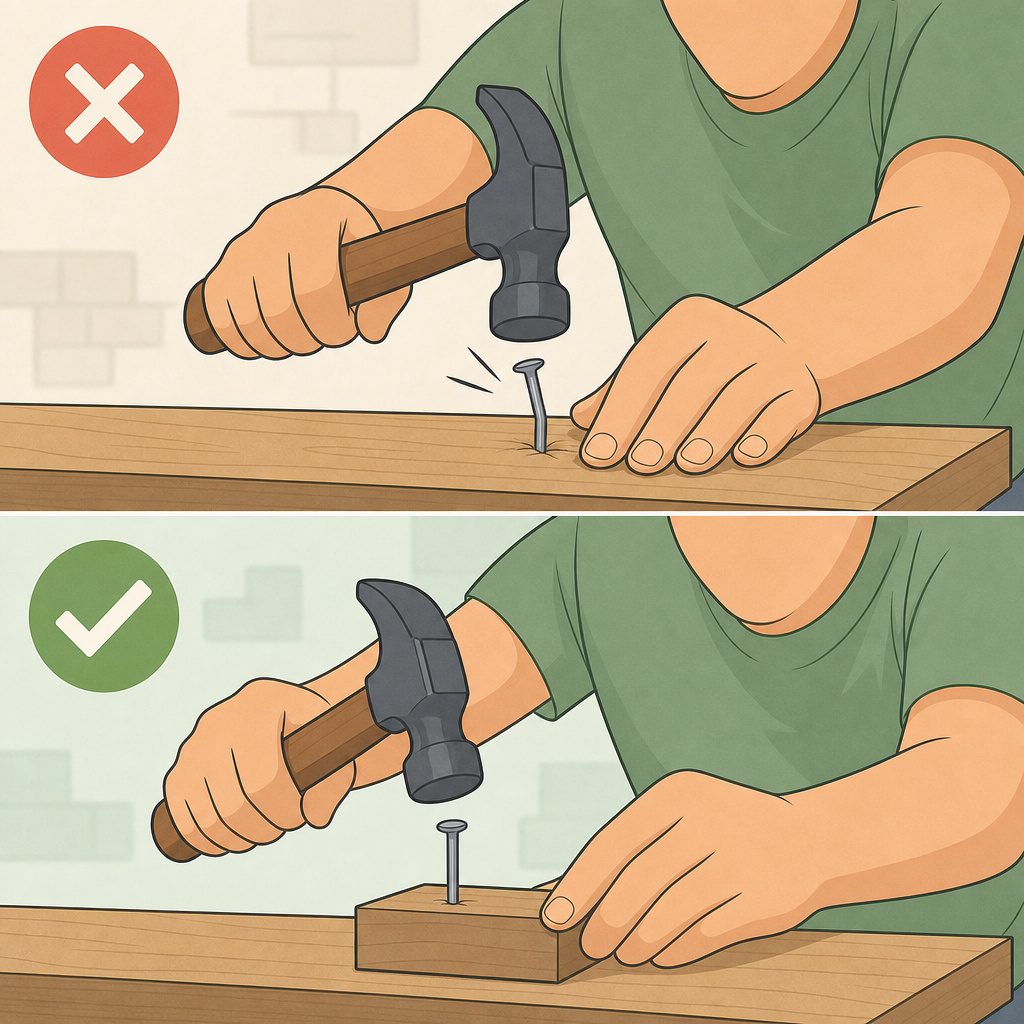 Even with the right bit, technique matters. These errors show up in home shops every day.
Mistake 1: Angle Mismatch. We’ve covered it, but it’s the king of errors. A batch of 500 aerospace panels was once scrapped because 82° tooling was used on 90° fasteners. Every screw sat proud. Always verify the angle.
Mistake 2: Running Too Fast in Hard Material. In metal, high speed generates heat. Heat work-hardens the material ahead of the cutting edge. The tool then hits a harder surface, generates more heat, and the cycle ruins the bit and the hole. For stainless steel or titanium, use a very low speed.
Mistake 3: Poor Alignment (Runout). If the countersink cone isn’t perfectly centered on the pilot hole, the screw seats crooked. This puts a bending load on the screw shank, a classic stress riser. The fix is to drill and countersink in the same setup, or use a piloted bit. The target for precision work is less than 0.05 mm of runout.
Mistake 4: Ignoring Burrs. In thin sheet metal, the countersink can leave a burr at the outer edge of the cone where material peels over. A second, very light pass or a dedicated deburring tool cleans this up. A sharp countersink bit produces fewer burrs to begin with.
The part nobody mentions: Countersink depth is often specified by the major diameter (the wide top of the cone), not just depth. Measuring diameter with a countersink gauge is more reliable than trying to gauge depth in a tapered hole.
Frequently Asked Questions
Can I use a regular drill bit as a countersink?
You can try, but you shouldn’t. A twist drill is designed to cut straight down. It won’t produce a clean, uniform cone, is extremely difficult to control for depth and angle, and will likely damage the workpiece. A proper countersink drill bit is cheap, effective, and built for the job.
What speed should I run my countersink bit at?
It depends entirely on the material. For softwoods and plastics, a medium to high speed (1,500-2,000 RPM) is fine. For hardwoods and metals, start very slow. The goal is a smooth cut without chatter. When in doubt, start slower, you can always increase speed, but you can’t un-burn a bit.
Do I always need a pilot hole?
For countersinking a screw, yes. The pilot hole guides the screw’s shank and prevents splitting in wood. The countersink then enlarges the top of that hole. Some combination bits have an integrated drill tip to do both at once. For deburring an existing hole, you obviously don’t need a new pilot hole.
What’s the difference between a countersink and a counterbore?
Countersink makes a conical recess for a flathead screw. A counterbore makes a cylindrical, flat-bottomed recess for a socket-head or hex-head bolt. They use different tools and fasteners. Knowing when to use a Forstner drill bit (for large, clean flat-bottom holes in wood) or a counterbore is part of choosing the right tool.
How do I know what size countersink to use?
The countersink’s major diameter (the wide end) should be slightly larger than the screw head’s diameter. Many bits are adjustable or come in sets matched to common screw sizes. For precision work, refer to a chart or the fastener manufacturer’s specs to get the exact major diameter for a perfect flush fit.
The Bottom Line
A countersink drill bit turns a protruding screw into a flush, professional finish. Its job breaks down into three clear tasks: hiding screw heads, removing dangerous burrs, and prepping holes.
The single most important spec is the angle. Match the bit’s angle to the screw’s head, 82° for common US flatheads, 90° for metric. Getting this wrong is the most frequent shop error, and it directly weakens the joint. Don’t use a twist drill as a substitute.
For reliable results, drill your pilot hole and cut the countersink in the same operation. Keep the speed low for metals, and always deburr a metal hole for safety. Start with a basic set covering 60°, 82°, and 90° angles, and you’ll handle 95% of the countersinking tasks in any wood or metal project.
