
How to Use a Table Saw: A Step-by-Step Guide
This post contains affiliate links. As an Amazon Associate, we earn from qualifying purchases.
Using a table saw correctly requires three non-negotiable actions: adjusting the blade height to 0.125 inches above your workpiece, verifying the rip fence is perfectly parallel to the blade, and keeping your hands behind a push stick once they get within six inches of the spinning blade. Skip any one, and you’re inviting kickback or worse.
Most people think the hardest part is feeding the wood straight. That’s not it. The real problem happens before you even turn the saw on, a fence that’s a hair out of alignment, or a blade cranked up too high. Those setup errors create binding, and binding creates a violent, fast kickback that can happen in a quarter-second. You won’t have time to react.
This guide walks through the physical steps of ripping and crosscutting, but it spends more time on the setup and safety checks that prevent disaster. We’ll cover the parts you can’t ignore, the tools that make the job safer, and what to do when the wood doesn’t cooperate.
Key Takeaways
- Set the blade height to extend only 0.125–0.25 inches above your material. More blade exposure increases the risk of severe injury without improving the cut.
- The rip fence must be parallel to the blade. Measure from a blade tooth to the fence at the front and back of the blade; a difference of even 0.020 inches can cause binding.
- Never use the rip fence as a stop for crosscutting. This traps the offcut between the blade and fence, guaranteeing a kickback. Use a miter gauge or crosscut sled instead.
- A push stick is mandatory for any cut where your hand comes within six inches of the blade. Your grip strength is no match for kickback forces.
- For cuts longer than 24 inches, you must have outfeed support. Letting a long piece tip off the back of the table is a common cause of blade binding and workpiece damage.
The Non-Negotiables: Safety and Setup
Before you touch the power switch, you need to be dressed for the job and the saw needs to be tuned. This isn’t optional prep work; it’s what separates a controlled cut from an emergency room visit.
Wear safety glasses that wrap around the sides. Regular eyeglasses won’t stop a splinter coming in from the side. Use hearing protection, a table saw runs at about 100 dB, and sustained exposure damages your hearing permanently.
Do not wear gloves. They reduce your grip feel and can get caught in the blade or drive your hand into it. Loose sleeves, dangling jewelry, and headphones with cords are all banned in the shop when the saw is running.
Before you start: A table saw blade rotates toward you at over 100 mph. Kickback can launch a piece of wood backward with enough force to break ribs. The riving knife prevents the kerf from closing on the blade, which is the primary cause of kickback. Never operate the saw without it installed and aligned.
Your stance matters. Stand to the left of the blade’s path, not directly behind it. If a piece does kick back, it will travel in a line back toward the fence. Standing to the side keeps you out of the line of fire. Keep your feet planted and balanced so you can maintain steady feed pressure without leaning over the table.
Parts You Must Know (And Not Remove)
You can’t use a tool correctly if you don’t know its parts. More importantly, you need to know which parts you should never, ever remove for convenience.
- Table and Trunnions: The flat surface you work on. The trunnions inside the cabinet connect the motor and blade assembly to the table, allowing for height and tilt adjustments. If the table isn’t level or the trunnions are loose, your cuts will never be square.
- Rip Fence: The long guide that locks parallel to the blade for rip cuts. The locking mechanism must hold it rigidly. A fence that deflects under pressure will ruin your cut and can cause kickback.
- Miter Gauge: The guide that slides in the table slots for crosscuts. The stock gauge that comes with most saws is often sloppy. An aftermarket gauge or a homemade crosscut sled is a worthwhile first upgrade.
- Blade Guard: The clear plastic shield that covers the blade. It seems like an obstruction, but it stops your hand from drifting over the blade. Use it.
- Riving Knife: The thin metal plate mounted just behind the blade. It keeps the kerf (the cut) from closing up and pinching the blade, which is what launches wood back at you. This is not optional equipment.
- Anti-Kickback Pawls: The little toothed devices that sit behind the riving knife. They allow wood to feed forward but dig in if it tries to shoot backward. They look insignificant but they work.
- Throat Plate: The removable insert around the blade. The stock plate has a wide opening that can let small offcuts fall in and get thrown. A zero-clearance throat plate, which you make yourself from plywood, supports the wood right up to the blade and prevents this.
Choosing and Installing the Right Blade
The blade that came with your saw is almost certainly a mediocre combination blade. For clean, safe cuts, you need a blade designed for the task.
A general-purpose blade like a Freud 10″ 40T (40-tooth) is fine for plywood and crosscuts. For ripping solid wood, you want a blade with fewer, larger teeth, like a Diablo 10″ 24T (24-tooth), that clears chips aggressively. Using a fine-tooth crosscut blade for ripping hard maple will cause the blade to overheat, the motor to bog down, and increase the chance of kickback.
Installing the blade is straightforward but critical. Unplug the saw. Use the arbor wrench to loosen the arbor nut (it’s reverse-threaded on most saws, so turn clockwise to loosen).
The blade teeth should point downward at the front of the table. The flat side of the blade’s center hole goes against the arbor flange. Tighten the nut firmly. A loose blade wobbles, makes terrible cuts, and is dangerous.
How to Make Your First Rip Cut
A rip cut is cutting a board to width, with the grain. It’s the most common table saw task, and it’s where most beginners make their first major mistake: setting the fence wrong.
Setting the rip fence involves more than just locking it at your desired width. You must account for the blade’s kerf, the width of the cut itself, typically 0.125 inches for a standard blade. If you measure 3 inches from the fence to the blade tooth, your cut piece will be 2.875 inches wide. Measure from the fence to the blade body, not a tooth, for the final width of your workpiece.
Here is the step-by-step sequence for a safe, accurate rip cut.
- Measure and Set the Fence: Loosen the fence, align it to your measurement on the scale, and lock it down. Then, verify with a tape measure. Measure from a blade tooth to the fence at the front of the blade, and again at the back of the blade. They must be equal. If the fence is even slightly farther away at the back, the wood will bind against the blade. Adjust the fence’s alignment screws if your saw has them.
- Adjust the Blade Height: Crank the blade so it extends 0.125 to 0.25 inches above the thickness of your board. You should see about the height of a dime above the wood. This limits the exposed blade, reduces the chance of severe contact, and yields a cleaner cut with less tear-out.
- Position the Workpiece and Yourself: Place the board flat on the table, snug against the fence. Your front hand should be on the board to guide it, your back hand ready to push. Stand to the left, with your body not directly behind the board.
- Start the Saw and Begin Feeding: Turn on the saw and wait for the blade to reach full speed, you’ll hear the motor pitch level out. With steady pressure, push the board forward, keeping it firmly against the fence and down on the table.
- Use a Push Stick: The moment your guiding hand gets within six inches of the blade, pick up your push stick. Finish feeding the board with the push stick. Do not reach over the blade.
- Support the Outfeed: As the board passes through the blade, keep pushing until it is completely clear. For boards longer than your table, have an outfeed roller, table, or a helper ready to support the end so it doesn’t drop and bind.
- Retrieve the Pieces: Turn off the saw. Do not reach for the offcut or the main piece until the blade has stopped completely. Use a push stick to clear small offcuts from the table.
I learned the importance of outfeed support the hard way. I was ripping a 6-foot piece of oak on a DeWalt DWE7491RS, a solid jobsite saw. I was focused on my feed hand and forgot to set up a stand behind the saw.
As the last foot of the board cleared the blade, the unsupported end dropped. It twisted, bound against the blade, and the saw threw it straight back into my gut. It knocked the wind out of me and left a bruise for weeks. Now, if a piece is longer than the table, I don’t even plug the saw in until the outfeed support is in place.
What About Crosscuts and Angles?
Crosscutting, cutting a board to length, across the grain, uses a different guide and presents a unique danger. You must never use the rip fence as a length stop for a crosscut.
Why? When you crosscut against the miter gauge, the piece between the blade and the fence becomes trapped. As the cut finishes, that trapped offcut can get pinched between the blade and fence and turn into a projectile. The rule is absolute: use the miter gauge or a crosscut sled, never the rip fence, for crosscutting.
A crosscut sled is a simple jig you can build that rides in the table slots and holds your workpiece securely. It’s safer and more accurate than a miter gauge for most cuts. For cutting angles on a table saw, you’ll use the miter gauge’s angle settings or the saw’s bevel function to tilt the blade.
| Cut Type | Primary Guide | Key Safety Rule | Common Mistake |
|---|---|---|---|
| Rip Cut (Width) | Rip Fence | Fence must be parallel to blade. | Measuring fence from blade tooth without accounting for kerf. |
| Crosscut (Length) | Miter Gauge or Sled | Never use rip fence as a stop. | Letting the offcut pinch between blade and fence. |
| Bevel Cut (Angled Edge) | Rip Fence (for rip) or Miter Gauge (for cross) | Lower blade height even more for safety. | Not checking blade tilt with a square before cutting. |
| Dado (Groove) | Rip Fence or Crosscut Sled | Use a special dado blade set and throat plate. | Trying to make a wide groove with multiple passes of a standard blade. |
Essential Accessories You Actually Need
You can buy a million table saw jigs. You only need three things to start: a quality push stick, a combination square, and material for outfeed support.
Your push stick should be sturdy, with a hook that grips the workpiece securely. The flimsy plastic ones that come with some saws can snap. I make mine from 0.5-inch plywood. A combination square is for checking blade and fence alignment. Don’t trust the built-in scales; verify with a precise tool.
Featherboards are clamping devices that hold your workpiece against the fence. They are incredibly useful for ripping warped or twisted boards, as they apply steady pressure you can’t maintain with your hands alone. For ripping narrow stock (under 3 inches wide), a push block that spans the blade, like the Grr-Ripper, keeps your hands completely away from the danger zone.
Troubleshooting: When Things Go Wrong
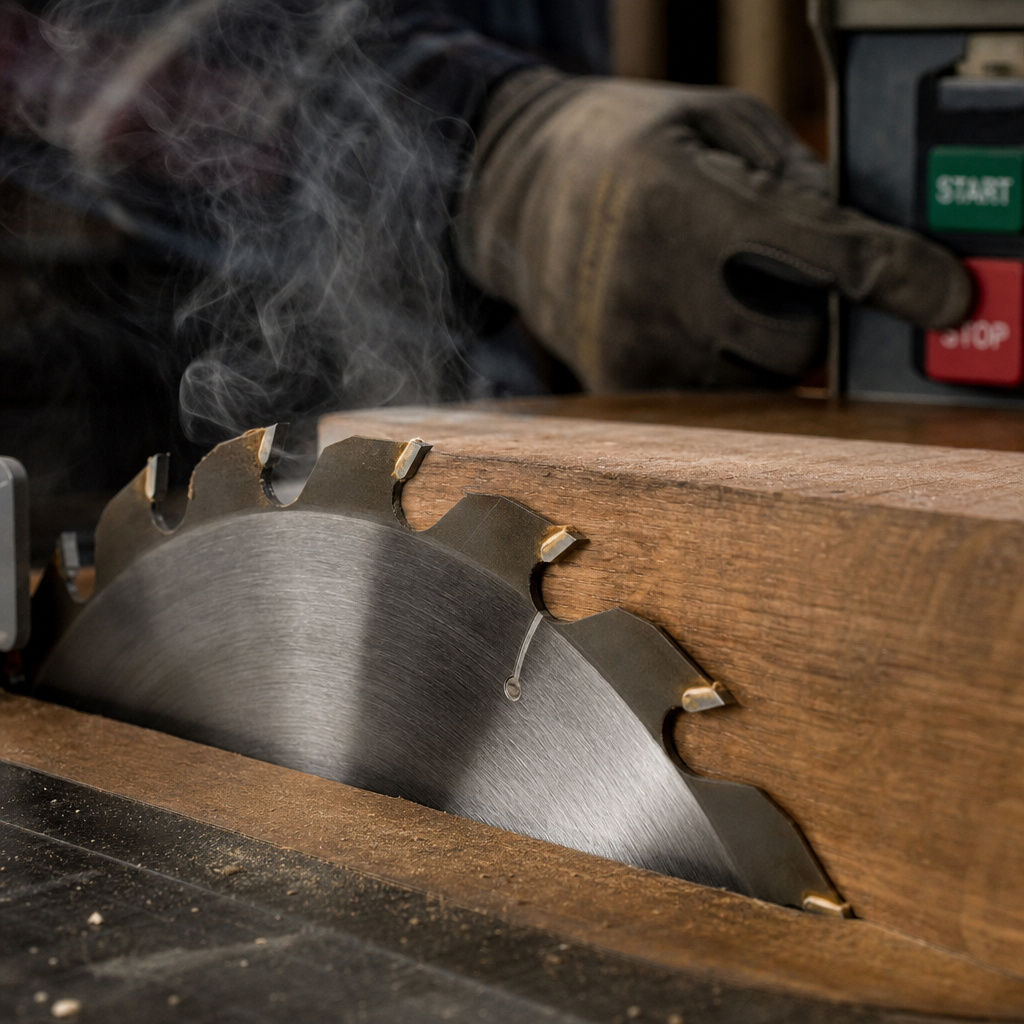
Even with perfect setup, wood can behave unpredictably. Here’s how to diagnose and react to common problems.
The motor bogs down or the blade binds.
This means the wood is pinching the blade. Do not force it. Immediately turn off the saw and wait for the blade to stop. The cause is usually a misaligned fence (wood pinching at the rear) or internal stress in the wood itself releasing as you cut. Re-check your fence alignment. For stressed wood, use a riving knife without fail, and consider making a partial cut from one end, then flipping the board to finish from the other.
The workpiece lifts or “climbs” the blade.
This is the start of kickback. Your hands are likely not applying enough downward pressure, or the wood is warped. Ensure the board is flat on the table. Use a featherboard to hold it down. If the board is severely cupped, joint one face flat on a jointer before attempting to rip it on the table saw.
The cut is burned.
The blade is either dirty, dull, or you are feeding too slowly. A dull blade creates friction and heat. Resin buildup on the teeth also causes burning. Learn the process for cleaning a table saw blade with a simple solvent. If cleaning doesn’t help, the blade needs sharpening table saw blades or replacement.
| Symptom | Likely Cause | Immediate Action | Long-Term Fix |
|---|---|---|---|
| Burn marks on wood | Dull blade or slow feed rate. | Let blade cool, increase feed rate slightly. | Clean or sharpen blade. |
| Rough, torn cut | Wrong blade type or dull blade. | Finish cut carefully. | Switch to higher-tooth-count blade for crosscuts. |
| Board veers away from fence | Fence is not parallel (wider at back). | Stop, turn off saw, re-align fence. | Check and adjust fence alignment screws. |
| Kickback | Missing riving knife, misaligned fence, or using fence for crosscut. | Turn off saw, inspect for damage. | Re-install all safety equipment, review cutting rules. |
Maintaining Your Saw for Longevity and Safety
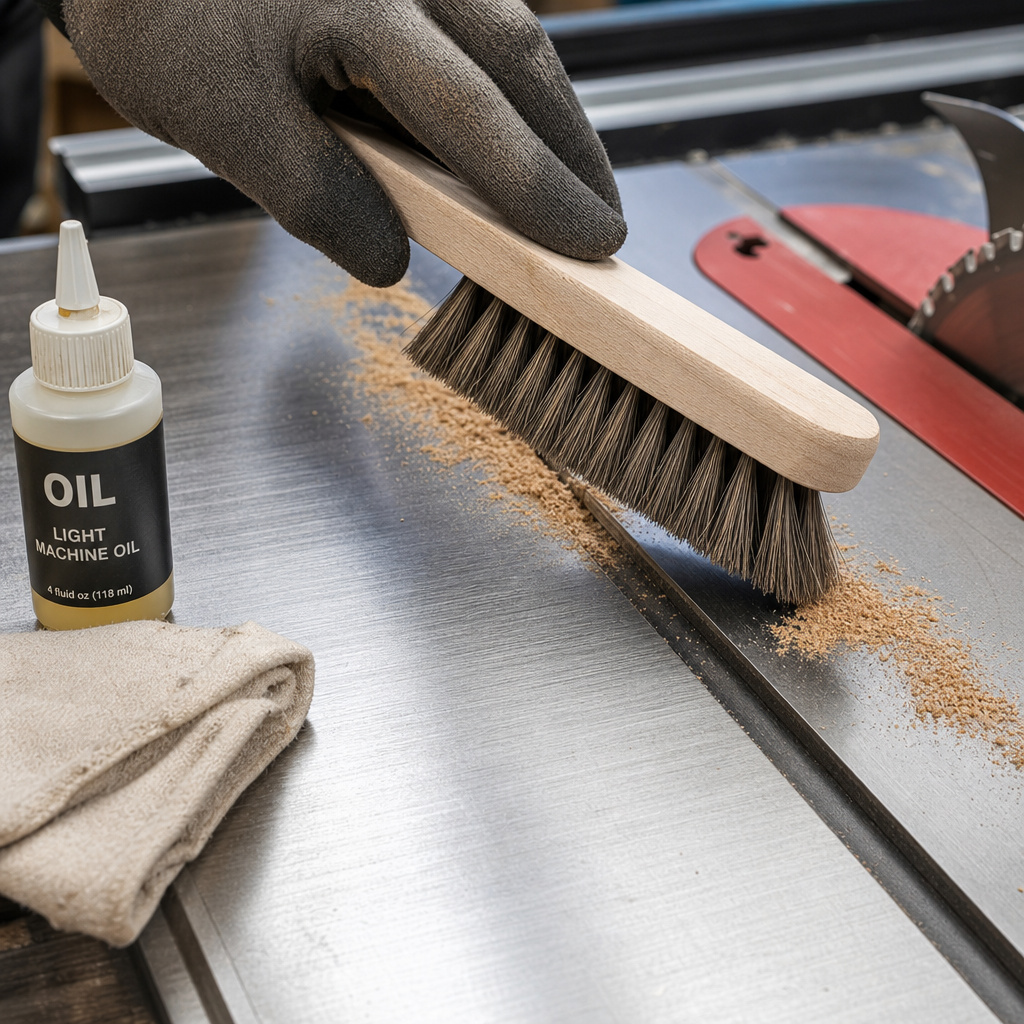
A clean, well-tuned saw is a safe saw. Sawdust and pitch interfere with moving parts and electrical components.
After every few hours of use, unplug the saw and clean the table surface with a stiff brush. Use a vacuum to remove dust from inside the cabinet, especially around the motor vents. Wipe the table surface with a light machine oil (like WD-40 Specialist Corrosion Inhibitor) to prevent rust, but wipe it completely dry before your next project to avoid staining wood.
Every six months, check the belt tension on contractor-style saws. A loose belt slips and reduces power. Check the alignment of the blade to the miter gauge slots using a dial indicator or a precise combination square. Lubricate the elevation and tilt gears with a dry lubricant like powdered graphite. This isn’t just maintenance; a saw that moves smoothly is easier to control precisely.
Frequently Asked Questions
What is the most important safety feature on a table saw?
The riving knife. It’s a simple piece of metal, but it prevents the number one cause of kickback by keeping the kerf from closing on the blade. Never operate a saw that doesn’t have one installed and correctly aligned.
Can I use a table saw without a guard?
You can, but you shouldn’t. The guard protects you from accidental contact and from flying debris. The only time removal is occasionally justified is for certain non-through cuts like dados, and even then, you must use extreme caution and specialized hold-downs. For 99% of cuts, keep the guard on.
How thin of a piece can I rip safely?
It depends on your push stick design. With a standard push stick, ripping anything narrower than about 2 inches is risky because your hand gets too close. For narrow rips (1–3 inches), use a push block that spans the blade, like the Microjig Grr-Ripper. For pieces under 1 inch wide, it’s often safer to rip a wider piece and then cut it to the narrow dimension.
My saw doesn’t have a riving knife. Can I add one?
Maybe. Many older saws were not designed for them. Some aftermarket universal riving knives exist for popular models. If you have an older saw without one, your best upgrade might be to sell it and buy a modern saw that includes this critical safety feature. It’s that important.
Why does my wood sometimes pinch the blade even with the fence set correctly?
Wood is a living material that contains internal stresses. When you cut it, those stresses can release, causing the board to bend or twist slightly, closing the kerf behind the blade. This is exactly what the riving knife is designed to prevent. If you’re getting binding with a riving knife installed, the wood may be so stressed that it’s pinching the knife itself. In rare cases, you may need to make relief cuts or choose a different piece of lumber.
What should I do if kickback happens?
Your instinct will be to look for the flying piece. Don’t. Keep your hands away from the blade and turn off the saw. Once the blade is stopped, assess. You were likely standing to the side, so you should be unharmed. Find and inspect the workpiece for damage, and carefully re-check all your setup conditions, fence alignment, blade height, riving knife, before considering another cut.
Before You Go
Using a table saw confidently comes down to respecting its power and methodically eliminating risk. Set the blade height just a fraction above your work. Take the two minutes to verify your fence is parallel. Keep that push stick in your hand before you need it. And build or buy proper outfeed support, your ribs will thank you.
Start with straight, flat, stable lumber for your first projects. Practice the motions with the saw off. Get comfortable with where your hands go and where the push stick takes over. The goal isn’t to be fast; it’s to be so consistent in your setup that the actual cut feels boringly routine. That’s when you know you’re doing it right.
