
The Right Way: How Do I Drill a Hole in a Glass Jar
This post contains affiliate links. As an Amazon Associate, we earn from qualifying purchases.
You drill a hole in a glass jar with a diamond-tipped drill bit, running at a low speed, under a constant stream of water, and with feather-light pressure. The diamond bit grinds the glass instead of cutting it, which prevents the radial cracks that shatter jars. The Dremel Glass Drilling Bit (model 26150662JB) is built for this exact job, with a 3.2mm shank and a recommended speed of 10,000 to 15,000 RPM.
That specific bit and its speed rating aren’t marketing. They are the mechanical ceiling for the friction a curved glass surface can handle before the internal stresses from heat expansion overcome the material’s strength. Skip the water, and you cross that line in about eight seconds.
What follows is the breakdown of that process: the single type of bit that works, the three settings that prevent a jar from becoming a pile of shards, and the exact point in the procedure where most DIYers push too hard and hear that sickening pop.
Key Takeaways
- Use only a diamond-coated drill bit designed for glass, like the Dremel 26150662JB. A standard twist bit will crack the jar on first contact.
- Keep the drill speed between 400 RPM for starting a pilot hole and 15,000 RPM for final drilling with a rotary tool. Speed generates heat, and heat cracks glass.
- Apply constant water lubrication. This isn’t just for cooling; it also traps glass dust and prevents the bit from loading up and skating across the surface.
- Drill tempered glass at your own peril. It is engineered to shatter into small cubes under stress, and drilling almost always triggers that failure.
- Let the tool do the work. Pressure fractures glass. If you’re not making progress, the bit is dull, not underpowered.
The Diamond vs. Carbide Decision
Forget what works on wood or metal. Glass is an abrasive, non-ductile material. A standard high-speed steel bit will dull on contact and skate, generating instant heat and a spider-web crack. You have two valid choices, and the thickness of your jar decides which one.
A diamond twist drill or a diamond round-end bur is for holes up to 1/4 inch in diameter. The diamond grit is bonded to a steel shaft, and it grinds the glass away micron by micron. This is the go-to for most jar projects, like creating a hole for a wire in a lantern or a small drain in a planter.
For anything larger than 1/4 inch, or for very thick glass, you need a diamond core drill. This is a hollow cylinder with diamond grit on the cutting edge. It removes a plug of material, which drastically reduces the pressure on the surrounding glass. It’s the only way to drill a hole for a faucet in a thick glass vessel.
Where this goes sideways: Using a carbide-tipped masonry bit because it “looks rough.” Carbide is for brittle materials like brick, not for hard, smooth glass. It will chip the entry point and almost always cause a radial crack that propagates to the bottom of the jar within two passes.
The Dremel Glass Drilling Bit (26150662JB) is a diamond twist drill. Its diamond grit runs 360 degrees around the bit, which lets you gently enlarge a hole by rasping if needed. The spec sheet calls for 10,000–15,000 RPM, which is perfect for a rotary tool on a curved jar surface.
Why Water is Non-Negotiable
The cracking sound isn’t from pressure alone. It’s from thermal shock. Friction heats the glass locally at the drill point. That tiny spot expands while the cool glass around it does not. The differential strain exceeds the glass’s tensile strength, and it fails catastrophically.
Water solves this by conducting heat away from the cutting zone. It also serves as a coolant for the bit itself; a heat-damaged diamond bit will show discoloration at the tip and stop cutting effectively. But there’s a third, less obvious job: it turns fine glass dust into slurry. Dry glass dust acts as an abrasive between the bit and the hole, increasing friction and causing the bit to bind.
You don’t need a fancy setup. A shallow dish with enough water to cover the drilling area on the jar works. For vertical surfaces, a helper with a spray bottle misting the spot is enough. Some guides recommend a drip system, but for a one-off jar project, the dish method is sufficient.
The Rio Grande instruction sheet for drilling glass is blunt: “Use plenty of lubrication, water or other coolant… To keep your drill tip cool and the hole clean.” They note that a single diamond bit might last for 50 holes in thin glass, but drilling without coolant will burn the diamond surface on the first attempt.
This is the same principle behind using coolant in metalworking. The material difference is that glass has zero tolerance for the mistake.
The 7-Step Process for Drilling a Jar
This isn’t a generic drill guide. These steps are sequenced to manage the specific stresses of a curved, brittle mason jar or bottle.
- Secure the jar. Place it in a shallow dish or pan. Surround it with a soft cloth or towel to prevent rocking. Do not clamp glass directly; use padded clamps if you must.
- Apply masking tape. Put a small “X” of tape over your drill point. This gives the bit a surface to bite into without skating.
- Mark your spot. Use a permanent marker on the tape. Stay at least 3/4 inch away from the jar’s edge or any existing seam.
- Add water. Fill the dish so the water just covers the drilling area. Top it up as you drill.
- Start the pilot hole. With your diamond bit, hold the drill at a 45-degree angle to the glass. Start at the lowest speed (around 400 RPM) and gently create a shallow groove. Then, straighten the drill to 90 degrees.
- Drill with steady, light pressure. Increase speed as needed, but never exceed the bit’s max rating. Let the weight of the tool do the work. You should see a milky slurry, not dry powder.
- Break through from the back. When the bit tip is about to penetrate the inner wall, stop. Flip the jar if you can, and finish the hole from the inside out. This prevents a large, jagged exit chip.
If you feel the bit bog down, pull it out, clear the flutes of slurry, and add more water. A bound bit is the fastest way to transfer torque stress into the glass and crack it.
Tools You Actually Need (And One You Don’t)
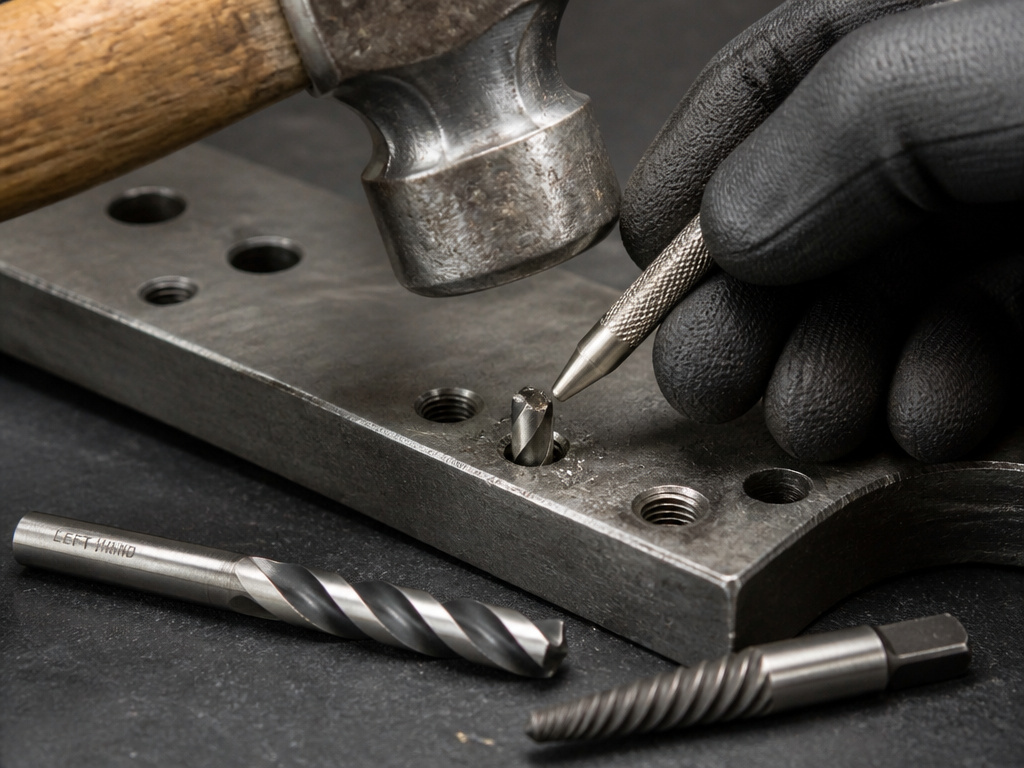 You can overcomplicate this with jigs and special presses. For drilling a few holes in jars, the list is short and specific.
| Tool | Purpose | Why It Matters |
|---|---|---|
| Variable-Speed Drill or Rotary Tool | Provides controlled RPM. | Prevents heat buildup. A cordless drill is safer around water than a corded one. |
| Diamond Drill Bit (e.g., Dremel 26150662JB) | The only bit that cuts glass cleanly. | Grinds instead of cuts; diamond coating withstands abrasion. |
| Shallow Pan or Dish | Holds water for cooling/lubrication. | Manages thermal shock and creates cutting slurry. |
| Masking Tape | Creates a non-slip surface. | Prevents the bit from skating and marring the glass on start. |
| Safety Glasses & Gloves | Personal protection. | Glass dust and slurry are sharp; a breaking jar throws fragments. |
The tool you don’t need is a hammer drill or an impact driver. The hammering action is designed to fracture masonry and will absolutely fracture your jar. Use the standard drill setting only.
A drill press is helpful for absolute perpendicular holes on flat glass, but it’s overkill for a curved jar. Your eye and a steady hand are enough if you follow the angle-start technique.
When It’s Not Just a Jar: Tempered Glass and Bottle Necks
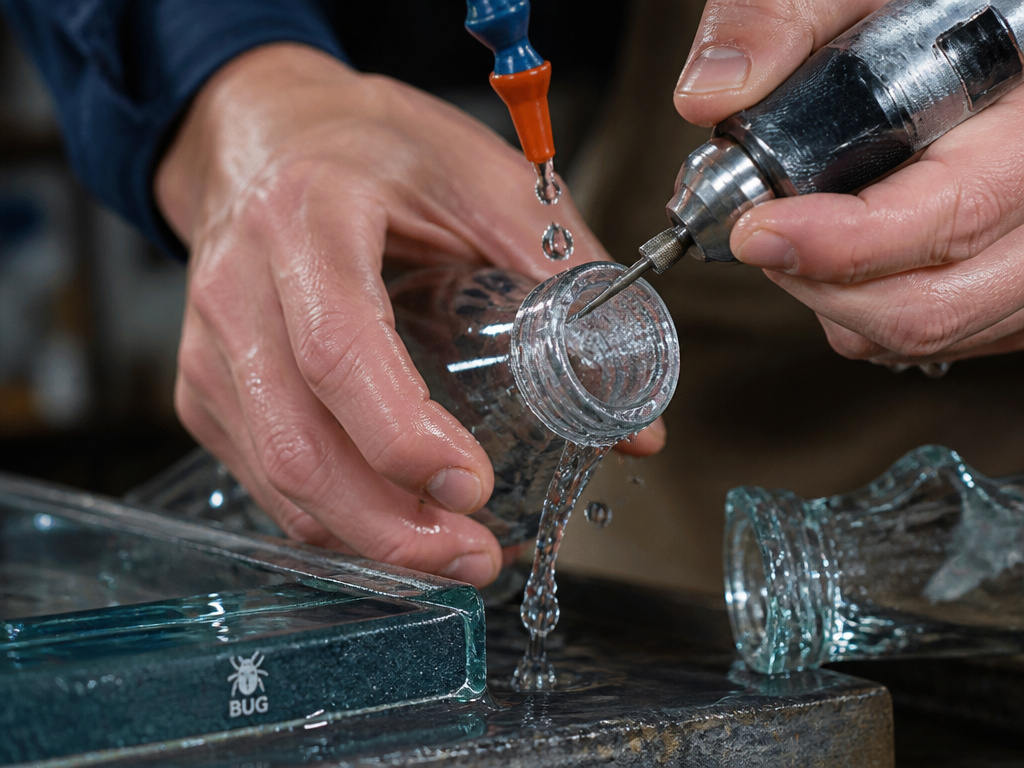 Some glass objects look drillable but aren’t. Knowing the difference saves you material and frustration.
Tempered glass is a non-starter. It is heat-treated to have uniform internal stress. Drilling disrupts that balance, and the entire piece typically shatters into small, relatively harmless cubes. You can identify tempered glass by looking for a small stamp or etching in the corner (often a “bug” with the manufacturer logo) or by viewing it through polarized sunglasses, which reveals strain patterns.
Skip this if: Your jar or bottle has a “tempered” stamp or came from a modern oven door or shower enclosure. The specialized equipment needed to drill it isn’t found in home workshops.
Bottle necks and the base of wine bottles are also high-risk zones. These areas are often thicker and have residual stress from the manufacturing molding process. They behave unpredictably under the drill. If your project requires a hole in a bottle neck, your failure rate will be higher. Drill slower, use more water, and have a spare bottle.
This is where experience with other brittle materials pays off. The process for drilling porcelain or fragile glass like sea glass follows the same rules: diamond bit, low speed, constant water. The margin for error is just smaller.
Troubleshooting: The Crack, The Chip, and The Dull Bit
You followed the steps, but something went wrong. Here’s what likely happened and how to salvage the situation—or at least the next jar.
- A radial crack appears from the hole. Stop drilling immediately. The crack will propagate. This is usually caused by excessive pressure, a dull bit, or insufficient cooling. The jar is likely a loss.
- The bit skates and won’t start. You didn’t use tape, or you’re trying to start at 90 degrees. Use the 45-degree angle start method on a taped surface to create a pilot groove.
- Small chips around the hole edge. You drilled all the way through from one side. Next time, remember to finish from the reverse side to create a clean exit.
- No progress, just white dust. The bit is dull or you’re using no water. A diamond bit should produce a slurry. Check the tip for discoloration (sign of heat damage) and replace the bit if needed.
- The bit binds and jerks. You’re pushing too hard and the flutes are clogged. Pull out, clear the debris, add water, and resume with less force.
A diamond bit isn’t immortal. According to the Rio Grande guide, a single bit might drill over 50 holes in thin glass but only a few in thick, hard material. When it stops cutting efficiently, replace it. Forcing a dull bit is how you ruin a jar and the bit.
If you find yourself without a power drill, there are alternative methods for making holes, but none are as clean or reliable for glass as a diamond bit and proper technique.
Frequently Asked Questions
Can I use a regular drill bit on a glass jar?
No. A standard high-speed steel or masonry bit will not cut glass; it will generate immediate friction heat and cause a radial crack. You must use a diamond-coated bit designed for glass or ceramic.
What is the best drill speed for glass jars?
Start very slow, around 400 RPM, to establish a pilot hole. For drilling with a rotary tool like a Dremel, you can increase to the bit’s recommended range (e.g., 10,000–15,000 RPM for the Dremel 26150662JB). The key is to avoid high speeds that generate excessive heat.
Why does my glass jar keep cracking when I drill?
The most common causes are: 1) Using the wrong type of drill bit. 2) Drilling too fast, generating heat. 3) Applying too much downward pressure. 4) Drilling without water or other coolant. 5) Attempting to drill tempered glass.
How do I drill a hole in the curved side of a bottle?
The process is the same as for a jar, but securing the bottle is trickier. Use the shallow water dish method and hold the bottle steady with a towel. Start at a 45-degree angle to create a groove before straightening the drill. The curved surface makes skating more likely, so the tape and angle-start are critical.
Is it safe to drill a hole in a mason jar lid?
Yes, the metal lid is much easier to drill than the glass jar itself. Use a standard metal drill bit, secure the lid in a vise (with wood blocks to protect it), and drill at a moderate speed. The glass jar requires the diamond-bit and water method described above.
The Bottom Line
Drilling glass is a test of patience, not force. The recipe doesn’t vary: a diamond bit, a puddle of water, low speed, and a hand that knows when to back off. The Dremel 26150662JB bit exists because it answers the specific friction problem of curved glass.
Your first jar might take ten minutes. The second will take five. The difference isn’t skill; it’s the muscle memory of what “light pressure” actually feels like when you’re waiting for a crack that never comes. That’s the point where the tool disappears and you’re just working the material.
For your next project on a different brittle surface, the principles translate. Whether you’re drilling acrylic or drilling into plastic, the enemy is always heat and the solution is always controlled speed and cooling. Glass just has the lowest tolerance for getting it wrong.
