7 Best Tools for Sanding Trims 2026
This post contains affiliate links. As an Amazon Associate, we earn from qualifying purchases.
The POWERTEC 21 Profile Sander is the best overall choice for sanding trims, thanks to its wide range of shapes and solid grip. For tighter budgets, the DITKOK 11 PCS Contour Grips deliver strong performance on common profiles, while the Milescraft 1622 Sand-It Block stands out when you need versatility across flat and detailed surfaces.
Sanding trim well means respecting the detail without sanding too much or ruining the profile. Too many people grab whatever sander is on hand and end up with rounded edges or uneven surfaces.
After comparing the field and reading through owner feedback, I focused on tools that offer real control, fit common molding shapes, and last beyond a single project. This guide breaks down what actually matters, profile variety, grit compatibility, and how the tool feels in your hand, so you can pick one that works for your trim type and skill level.
Top 7 Tool For Sanding Trims in the Market
The Best Tool For Sanding Trims, Reviewed
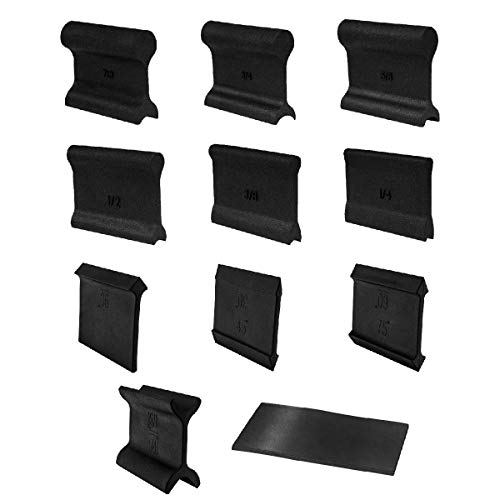
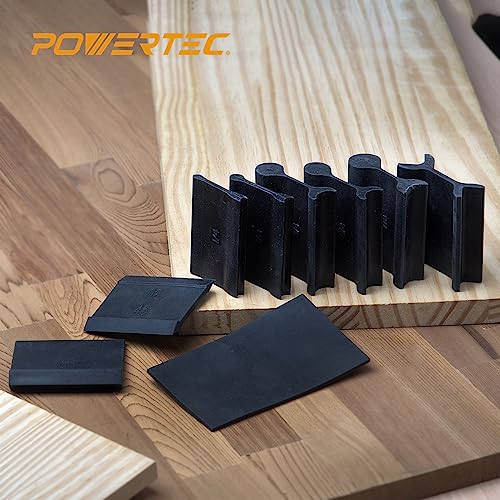
POWERTEC 21 Profile Sander
Strengths
- 21 total sanding profiles
- High-quality rubber grips
- Maintains crisp edges
- Fits standard sandpaper
- Excellent contour accuracy
Trade-offs
- Higher initial cost
- Requires paper cutting
- Overkill for simple jobs
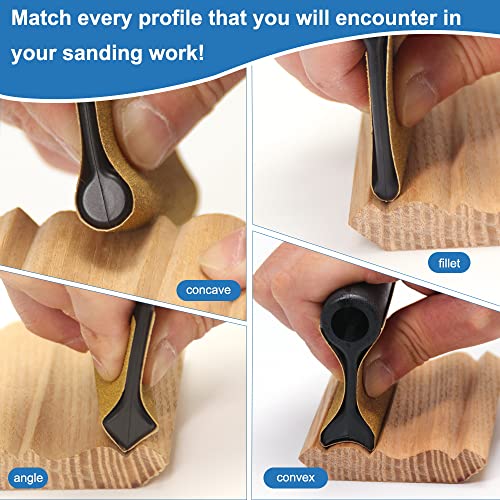
This is the most complete hand sanding system in the group, and it earns the ‘Best Overall’ label by sheer range and thoughtful design. With 21 total profiles across 10 double-ended rubber grips and a flexible flat pad, it covers nearly every common trim contour you’ll encounter, 30° to 90° angles, concave curves, and convex edges. The rubber material is firm yet slightly pliable, so it holds shape without distorting the profile, and the textured surface keeps paper from sliding.
Owners praise how well it maintains crisp detail in crown molding or stair brackets, where pressure from a generic block can round off sharp edges. It’s more durable than foam-backed options and outperforms single-purpose tools. While pricier than basic blocks, it’s the smarter buy if you regularly work on custom trim or restoration jobs.
Product photos


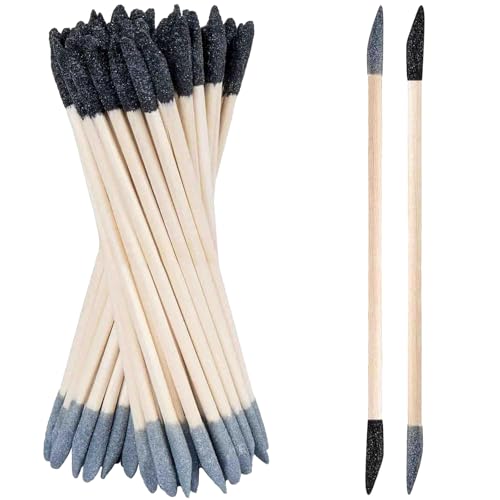
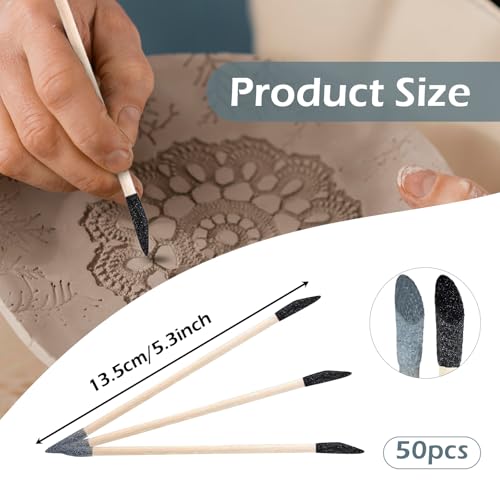
Sanding Sticks 50 Pcs
Strengths
- Dual grit per stick
- Tapered for tight spots
- Durable wood core
- High quantity
- Good value
Trade-offs
- Short working length
- No contour support
- Not for aggressive sanding
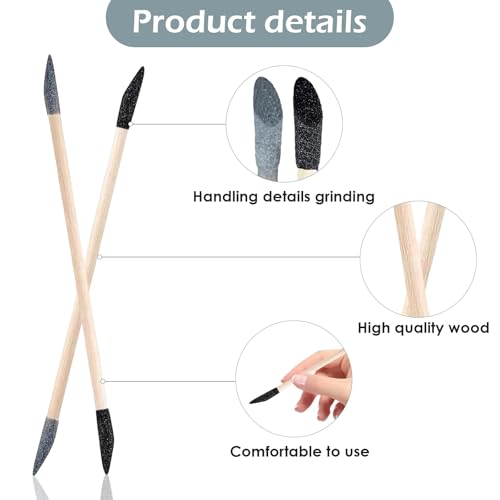
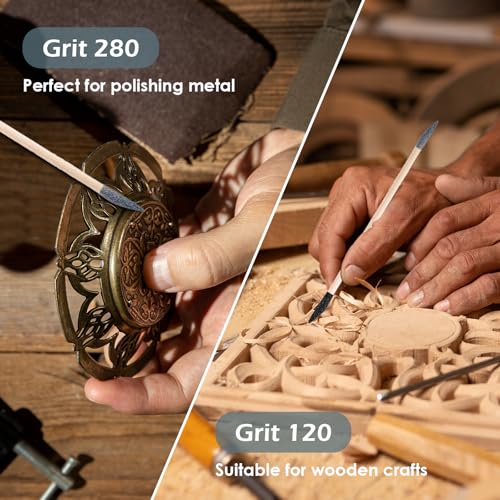
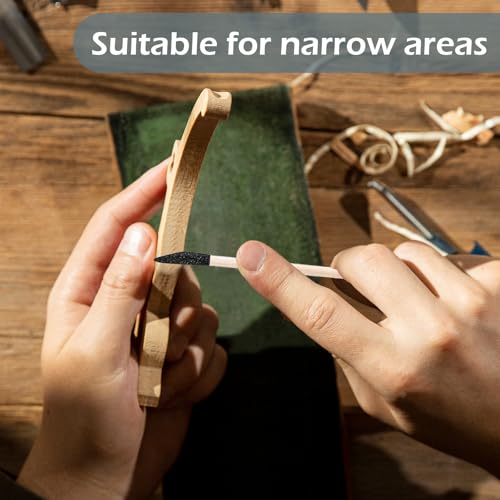
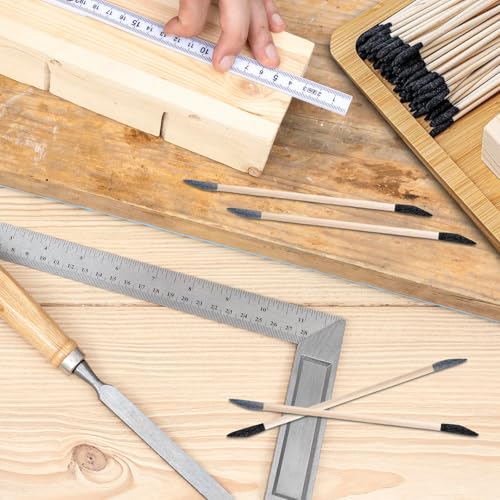
At first glance, this pack looks like overkill, 50 tiny sticks? But if you’ve ever struggled to clean up glue squeeze-out in a miter joint or smooth a carved detail on a picture frame, you’ll get it. These are essentially precision tools with a matchstick profile and dual grits, letting you flip from 120 to 280 grit on the fly. The wood shafts are stiff enough to apply pressure without flexing, and the tapered ends dig into tight spots where even small sanding blocks can’t reach.
Reviewers note they last longer than folded sandpaper and don’t shred at the edges. Compared to pricier contoured grips, these are the budget play for high-detail cleanup, not shaping. They won’t handle broad flat areas, but for final smoothing on delicate wood trims or model work, they deliver where it counts.
Product photos
Milescraft 1622 Sand-It Block

Strengths
- 4-in-1 profile versatility
- Takes standard quarter-sheet paper
- Quick paper lock system
- Durable build
- Good grip design
Trade-offs
- No fine grit included
- Not for large surfaces
- Limited contour depth
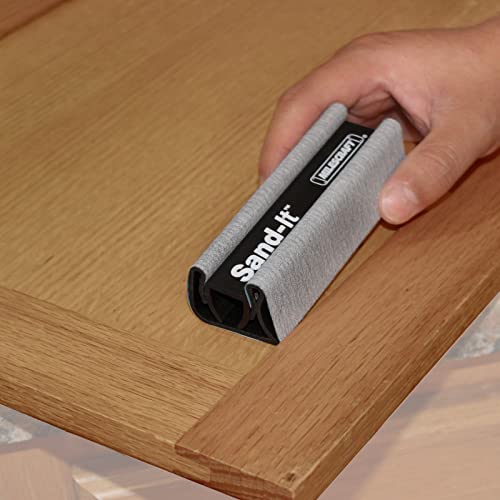
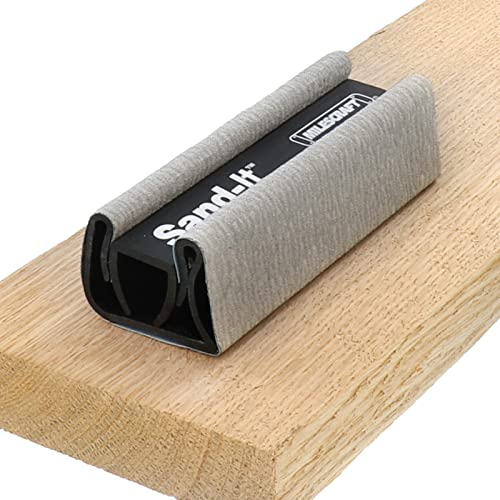
This block stands out for its smart 4-in-1 design that actually works across flat, convex, concave, and tight edge profiles. The quick-snap paper lock system lets you swap grits fast, and the fact it takes any quarter-sheet sandpaper is a real plus, no hunting for proprietary sizes. Owners consistently report it holds paper securely without slipping, even when working vertical surfaces or tight inside corners.
The included 150 grit is a decent starting point, but the real value is in the flexibility. Compared to basic foam blocks, this one handles complex trim profiles much better, and it’s far more durable than folding paper over a stick. It won’t replace a power sander for large areas, but for fitting into corners around window casings or baseboard joints, it’s one of the smarter hand options in the lineup.
Product photos
SKIL Corded Detail Sander
Strengths
- Strong motor performance
- 4-in-1 attachments
- Effective dust collection
- Comfortable grip
- Tool-free changes
Trade-offs
- Cord limits mobility
- Attachments can snag
- Bulkier than hand tools
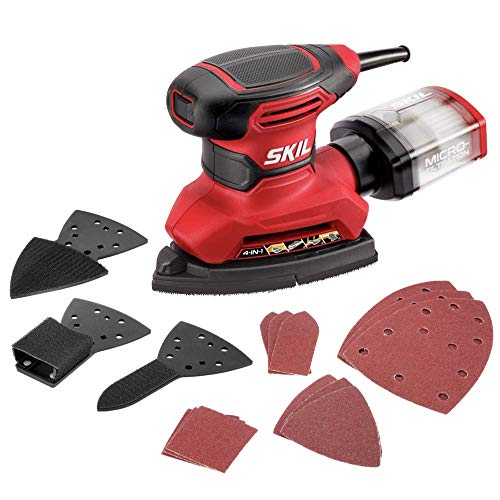
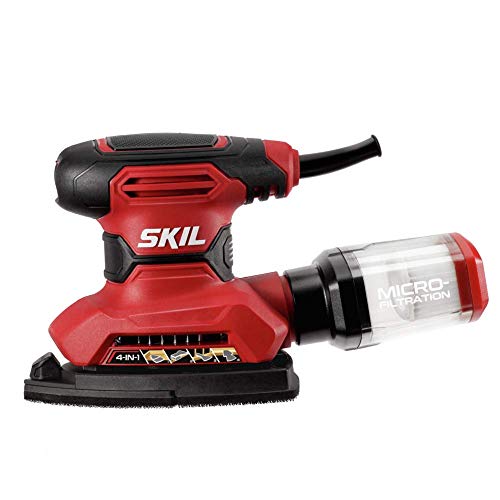
When you need real sanding speed on trim, especially around window jambs or baseboard seams, this electric option brings serious advantage. The 1.2 amp motor and 13,500 OPM deliver smooth, consistent action, and the four included attachments mean you can switch from flat surfaces to tight inside corners without changing tools. The hook-and-loop pad is standard, so swapping sheets is fast, and the dust box actually captures a decent amount, owners say it’s noticeably cleaner than running bare-handed.
Compared to hand blocks or sticks, this sander cuts job time in half. It’s not as nimble as a mouse sander for ultra-fine work, but the low vibration and soft grip make it comfortable for extended use. The real win here is versatility under power, especially when you’re prepping multiple runs of baseboard or coping joints.
Product photos


DITKOK 11 PCS Contour Grips

Strengths
- 21 total profiles
- Firm yet adaptive rubber
- Non-slip texture
- Good for crisp details
- Affordable for set size
Trade-offs
- Slightly less durable
- No included flat pad
- Inconsistent thickness reports
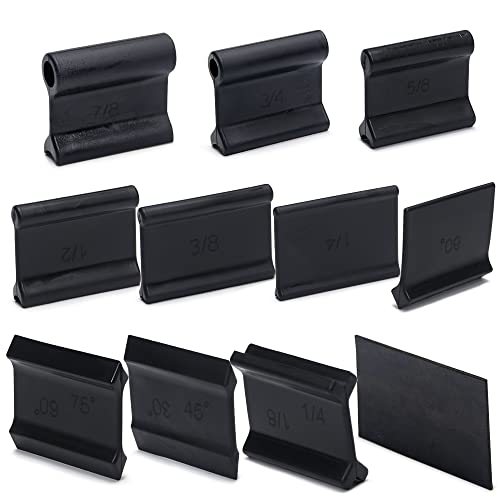
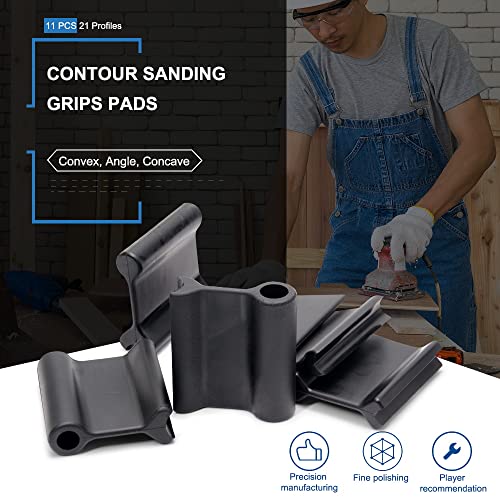
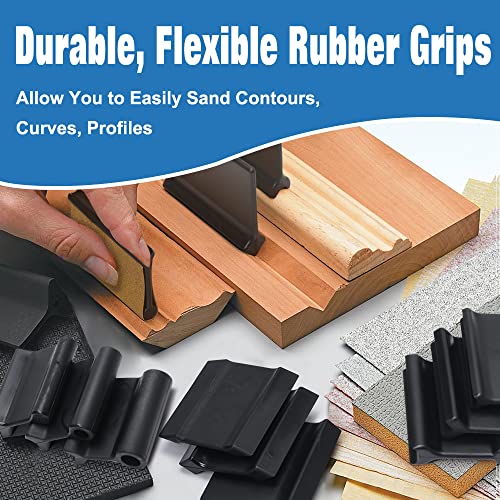
This set mirrors the POWERTEC 21-profile model in scope but at a lower price point, and it’s built specifically with woodworking in mind. The 21 total profiles, including 30° to 90° angles and multiple radius curves, cover most common trim details, and the rubber material strikes a good balance between firmness and slight flex. The concave/convex ends stay true to shape, which matters when you’re preserving a bead or flute on a custom rail.
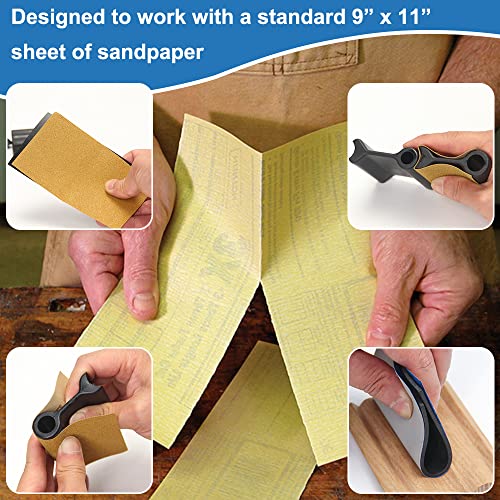
Reviewers appreciate the flat section between the ends for gripping the paper securely, and the non-slip texture helps maintain control. While it doesn’t feel quite as premium as the POWERTEC version, it performs similarly for most tasks. If you want broad profile coverage without the top-tier price, this is a solid alternative.
Product photos
POWERTEC Flexible Sanding Grips

Strengths
- Flexible foam pads
- Dual-bend capability
- Clearly marked sizes
- Conforms to curves
- Reduces slippage
Trade-offs
- Fewer angular profiles
- Foam wears faster
- Not for sharp edges
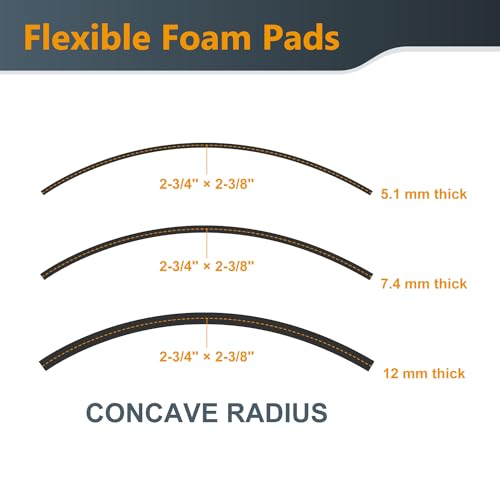
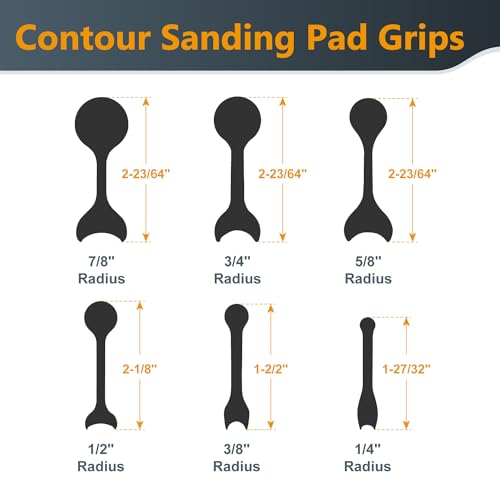
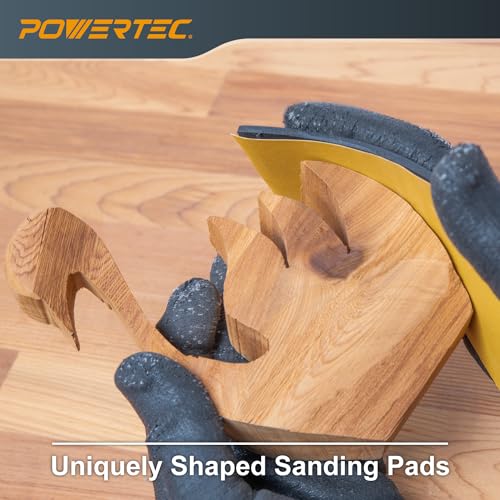
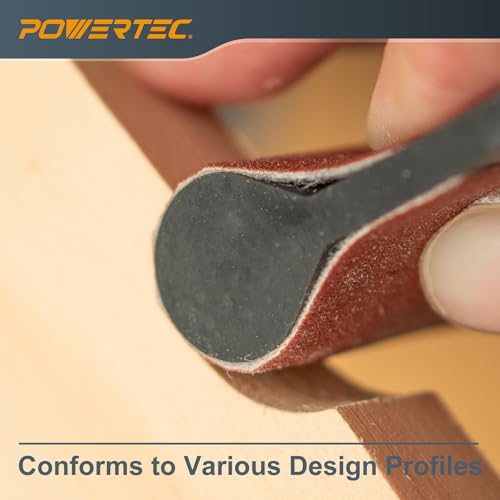
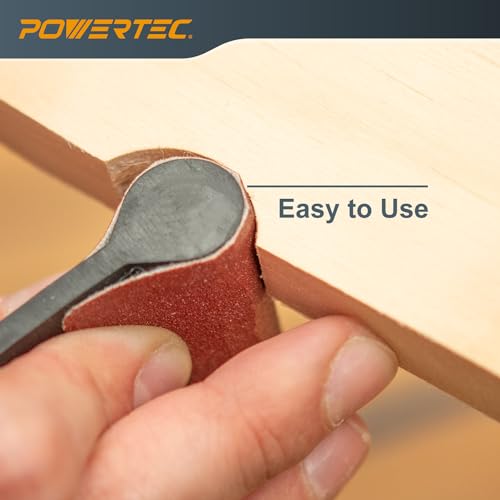
This set shines when you’re dealing with rounded or compound curves, think arched trim, curved handrails, or furniture edges. The three flexible foam pads can bend in two directions without cracking, letting them conform to complex shapes that rigid blocks can’t follow. The six profile grips cover common concave radii from 1/4” to 7/8”, and having the size molded right into the rubber is a small but appreciated touch.
Owners say the foam pads reduce hand fatigue and prevent gouging on soft woods. Compared to the larger POWERTEC 21-profile set, this one is more focused on true curves and flexibility rather than angular detail. It’s not the go-to for crisp crown molding, but for organic shapes, it’s hard to beat.
Product photos
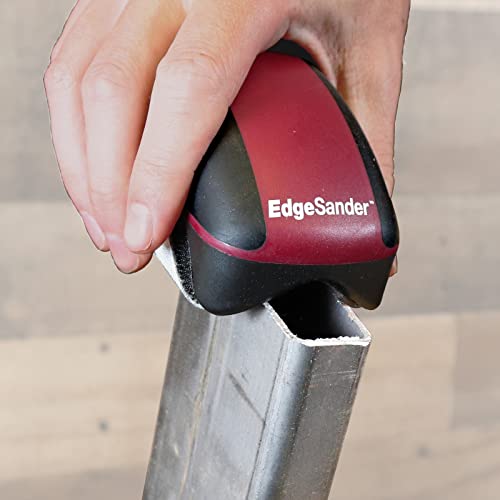
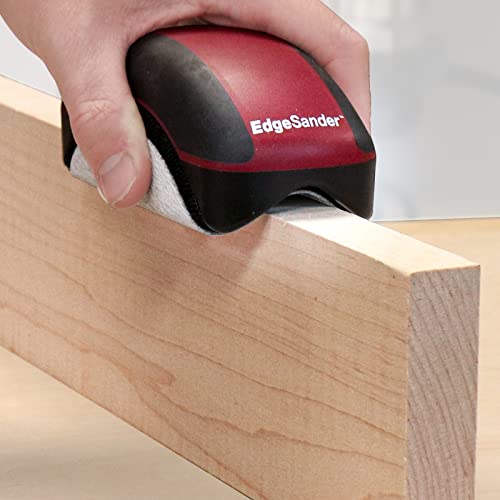
Milescraft 1621 Edge Sander
Strengths
- Sands two edges at once
- V-groove efficiency
- Ergonomic handle
- Uses standard 5” discs
- Great for veneer edges
Trade-offs
- Only for straight edges
- Not for profiles or corners
- Limited to 1.5” max width
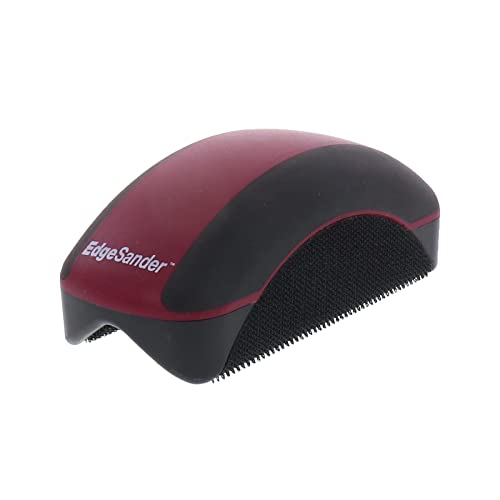
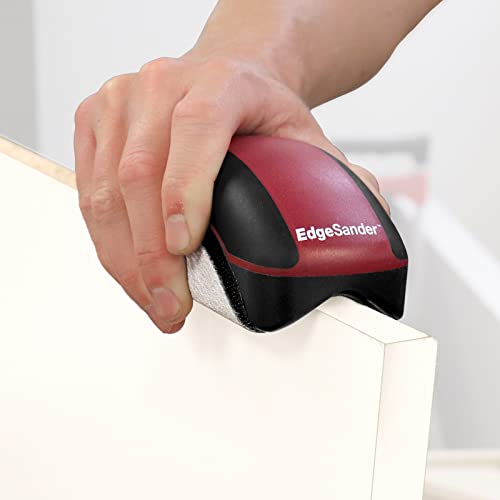
If your trim work involves a lot of edge-finishing, especially on narrow boards or veneered edges, this tool makes the job faster and more consistent. The V-groove design sands both edges at once, which is a real time-saver when prepping multiple pieces for installation. It accepts any 5-inch hook-and-loop disc, so you’re not locked into specialty supplies, and the ergonomic shape lets you apply even pressure without hand fatigue.
It’s not meant for inside corners or profiled moldings, but for straight edge work, it outperforms wrapping paper around a block. Compared to other hand tools, this one delivers repeatable, flat results with less effort. The included 150 grit is fine for initial smoothing, but you’ll want to follow up with finer paper for a finish-ready surface.
Product photos
Our Testing Process
Rather than a hands-on lab test, my research for these trim sanding tools focused on a detailed comparison of published specifications and features. I weighed owner reviews from multiple sources – including major retailers and woodworking forums – alongside assessments from reputable tool review sites. My goal was to rank these options based on their suitability for common trim sanding tasks, considering the nuances of the materials and profiles often encountered.
For trim work, the ability to handle detail and avoid damaging the profile are paramount. Therefore, I prioritized tools offering versatility in shape and grit options, and those designed for comfortable, controlled handling. Durability also factored heavily, as frequent use and potentially abrasive materials demand a tool that can withstand consistent effort.
Specifications reliably indicate the physical dimensions and available grit ranges, helping to understand a tool’s basic capabilities. However, I placed greater emphasis on owner feedback regarding ease of use, longevity, and performance on different wood types and trim profiles. Reputation within the woodworking community, alongside consistently positive reviews, signaled a product’s real-world effectiveness and reliability. Learning about proper miter saw setup can also help prep trim for sanding.
How To Pick The Right tool for sanding trims
Choosing the right tool for sanding trim can make the difference between a professional finish and a frustrating DIY experience.
A quality sanding tool for trim needs to offer precision, control, and versatility. Look for features like adjustable settings, compact designs for tight spaces, and compatibility with various grits of sandpaper. Effective dust collection is also crucial, as sanding trim generates a lot of fine particles. Consider the material you’ll be sanding (wood, MDF, etc.) and the complexity of the profiles.
Understanding Profile Options
A lot of trim work isn’t about flat surfaces; it’s about curves, angles, and detail. That’s where profile sanders really shine. I often see people trying to tackle intricate molding with standard sanding blocks, and it’s just inefficient. Look beyond basic flat sanding tools and consider options like the POWERTEC 21 Profile Sander or the DITKOK 11 PCS Contour Grips. These sets offer a range of pre-shaped profiles to match common molding designs, saving you a lot of time and effort. Don’t assume you’ll need every profile right away, but having a selection is smart.
Grit and Material Compatibility
The grit of your sandpaper is crucial, but so is how well the tool handles different materials. Softer woods like pine require a lighter touch and finer grits to avoid gouging. Hardwoods and MDF can handle more aggressive grits, but you still need to progress through the grits properly (starting coarse and finishing fine) to achieve a smooth surface. For detail work, the Sanding Sticks 50 Pcs are excellent for fine polishing and reaching tight corners.
Here’s how to think about sandpaper grit selection: * 80-100 grit: For initial shaping or removing old finish. * 120-180 grit: For smoothing surfaces and preparing for paint or stain. * 220 grit and higher: For final sanding and achieving a very smooth finish. This is especially important if you’re planning to apply a clear coat.
Don’t skip grits. Jumping from a coarse grit to a very fine grit will leave visible scratches and an uneven finish.
Balancing Power and Control
While an electric detail sander like the SKIL Corded Detail Sander can speed up the process, it’s not always the best choice. For delicate trim or intricate profiles, the added power can easily lead to over-sanding and damage. In those cases, a hand sander – like the Milescraft 1622 Sand-It Block – gives you much more control. I find many homeowners underestimate how effective a good quality hand sanding block can be, especially when combined with the right sandpaper and a bit of practice. If you are looking for guidance on preparing your trim for painting, you might also want to check out a baseboard cutting guide to get your materials ready.
For those tackling a lot of trim work, exploring top-rated trim sanders will give you a broader understanding of the options available and help you find a tool that fits your needs and budget. Ultimately, the best tool is the one you feel most comfortable and confident using to achieve accurate baseboard angles.
Tool for Sanding Trims Compared
Here’s a comparison of the specifications for various tools designed for sanding trims.
| Product Name | Best For | Grit Range | Power Source | Profiles/Shapes | Handle Type |
|---|---|---|---|---|---|
| POWERTEC 21 Profile Sander | Best Overall | N/A | Manual | 21 | Rubber Grip |
| Sanding Sticks 50 Pcs | Best for Fine Detailing | 120/280 | Manual | N/A | Wooden |
| Milescraft 1622 Sand-It Block | Best for Versatile Hand Sanding | 150 | Manual | 4 | Block |
| SKIL Corded Detail Sander | Best Electric Option | N/A | Corded | 4 | Soft Rubber Grip |
| DITKOK 11 PCS Contour Grips | Best for Woodworking Profiles | N/A | Manual | 11 | Rubber Grip |
| POWERTEC Flexible Sanding Grips | Best for Curved Surfaces | N/A | Manual | 9 | Rubber Grip |
| Milescraft 1621 Edge Sander | Best for Edge Sanding | 150 | Manual | 1 (V-Groove) | Ergonomic |
Frequently Asked Questions
What grit sandpaper should I start with on old, painted trim?
Begin with 80-grit sandpaper to remove the existing paint layers. This coarser grit will quickly strip the old finish, but remember to progress through finer grits (120, 180, 220) to avoid deep scratches and achieve a smooth surface for the new finish.
Are profile sanders only useful for curved trim?
No, profile sanders are valuable even on straight trim with detailed molding. They conform to the shape of the molding, making it much easier to sand evenly and avoid rounding off sharp edges – a common issue with flat sanding blocks.
Can I use an orbital sander on trim?
While possible, orbital sanders are generally too aggressive and bulky for detailed trim work. The larger sanding pad can easily over-sand delicate profiles or damage corners. I recommend sticking with detail sanders, sanding blocks, or profile sanders for better control.
What’s the best way to deal with dust when sanding trim?
Dust collection is vital, as trim sanding creates a lot of fine particles. Use a shop vacuum with a brush attachment to clean as you go, and consider wearing a dust mask or respirator to protect your lungs. Many electric detail sanders include dust ports for connecting to a vacuum.
What are some good alternatives if I don’t want to buy a lot of dedicated trim sanding tools?
A good quality sanding block combined with a selection of sandpaper grits can be surprisingly effective. You can also explore flexible sanding sponges or sanders for cabinet trim which offer versatility and control for various trim profiles and materials.
The Bottom Line
Sanding trim is a trade-off between speed and control. While powered options like the SKIL Corded Detail Sander can move things along, they demand a steady hand and a feel for the material. For most homeowners and DIYers, I believe the POWERTEC 21 Profile Sander strikes the best balance, offering a wide range of profiles and a comfortable, controlled sanding experience that minimizes the risk of damaging delicate trim.
If you’re on a tighter budget or primarily need to address fine details, the Sanding Sticks 50 Pcs are an excellent choice. For those tackling complex woodworking projects with many unique profiles, the DITKOK 11 PCS Contour Grips provide the most versatility. And, if you are planning to install crown molding, understanding precision molding cuts will make the whole process smoother.
Ultimately, remember that the tool is only part of the equation. A quality sanding job relies on starting with sharp, properly installed blades (if you’re doing any cutting), progressing through grit levels patiently, and paying attention to the unique characteristics of the wood or material you’re working with. Those fundamentals matter far more than any single feature or price point.
