
How to Cut Crown Molding with a Chop Saw: The Right Angles
This post contains affiliate links. As an Amazon Associate, we earn from qualifying purchases.
Cutting crown molding with a chop saw requires matching three things: the actual corner angle of your walls, the molding’s specific spring angle, and the correct cutting method for your saw’s fence height. For a standard 90-degree corner and 38-degree spring molding, the nested method uses a simple 45-degree miter cut with no bevel, while the flat method requires a compound cut of 31.6 degrees miter and 33.9 degrees bevel.
Most people grab a 45-degree block, slap the molding on the saw table, and end up with a gap you could fit a dime into. They assume their walls are square. They ignore the label on the back of the molding. That gap isn’t a cutting error, it’s a measuring and planning error that happens before the blade even spins.
This guide walks through both primary cutting methods, shows you how to find your real wall angles, and explains why a test cut from scrap lumber is the single most important step in the entire process.
Key Takeaways
- Never assume a corner is 90 degrees. Use a digital angle finder on every single joint. A 2-degree error creates a 1/4-inch gap at the ceiling.
- Your saw’s fence height dictates your method. A short fence forces the flat (compound) method, which is more complex and requires precise bevel settings.
- The spring angle printed on the molding (like “38/52”) is non-negotiable. Using the wrong angle in your calculations guarantees a misfit, as the cut geometry will be for a different profile.
- Make test cuts from scrap and dry-fit them with painter’s tape on the floor before touching your finish-grade molding. This saves material and reveals setup errors.
- For inside corners, learn to cope. A coped joint hides wall imperfections and seasonal movement better than a tight miter, which will open up as the house settles.
Before You Start: Safety & Setup
Before you start: The saw blade spins at over 3,000 RPM and will throw molding fragments. Wear safety goggles that seal to your face, regular glasses leave gaps at the sides. Sawdust from MDF molding contains formaldehyde binder; a basic dust mask is insufficient. Use a respirator or a saw with a dust port connected to a shop vac. Long molding pieces can kick back when the end is unsupported; use roller stands or a helper.
Your saw choice matters. The term “chop saw” often refers to a basic model that only swings left and right for miter cuts. For crown molding, you need a compound miter saw, which also tilts the blade for bevel cuts. This is mandatory for the flat cutting method. If you only have a basic saw, you must use the nested method, which hinges on having a tall enough fence.
Blade selection is the second critical setup. A framing blade with 24 teeth will splinter the delicate profile of the molding.
You need a finish blade. For solid wood molding, use a blade with 80 to 100 teeth. For MDF or finger-jointed pine, a 60-tooth carbide-tipped blade works because the material is softer, but more teeth still give a cleaner edge. The clean cut reduces sanding and makes paint lines sharper.
The Two Cutting Methods: Flat vs. Nested
You have two proven paths. Your saw’s fence height picks the path for you.
The nested method, also called the upside-down-and-backwards method, holds the molding upright against the fence, mimicking its position on the wall. Only the miter angle is set; the bevel stays at zero. It’s simpler but requires your saw’s fence to be taller than the vertical height of the molding.
The flat method lays the molding flat on the saw table. This requires setting both the miter and the bevel angle simultaneously, a compound cut. It works with any fence height but introduces two variables instead of one.
For a 38-degree spring angle crown in a 90-degree corner, the nested method uses a 45-degree miter cut. The flat method uses a 31.6-degree miter and a 33.9-degree bevel. These numbers are not interchangeable. Using the flat method angles on a saw set for nested cutting will ruin the workpiece.
Here is the decision matrix:
| Your Situation | Recommended Method | Why It’s the Right Choice |
|---|---|---|
| Saw fence taller than molding’s vertical height | Nested (Upright) | One-angle setup (miter only). Faster, less error-prone, easier to visualize. |
| Short fence or sliding compound miter saw | Flat (Compound) | Fits any saw. Required for very wide crown profiles that won’t fit upright against a short fence. |
| Cutting outside corners | Either | Both methods work. Nested is simpler; flat is necessary if fence is too short. |
| Beginner, first-time crown installer | Nested (if possible) | Reduces cognitive load. You only troubleshoot miter angle, not miter and bevel alignment. |
The nested method feels unintuitive at first. You hold the molding upside down compared to its ceiling position, and the decorative bottom edge rests against the fence. The ceiling edge points down toward the table. If this sounds confusing, you’re not alone. That’s why practicing miter saw basics on scrap is non-negotiable.
Finding Your Real Numbers: Angles You Can’t Guess
Store-bought molding has its spring angle stamped on the back or printed on the label inside the bundle. The common notation is “38/52” or “45/45”. The first number is the wall angle, the second is the ceiling angle.
Most modern trim is 38/52, meaning it sits at a 38-degree angle to the wall and 52 degrees to the ceiling. This matters because the cut angles are derived from this number. Using 45/45 settings on 38/52 molding is a guaranteed misfit.
Your walls are not square. I learned this the expensive way on a dining room project. I measured one corner at 90 degrees, set my saw, and cut eight perfect pieces. When I lifted the first section into place, the gap was visible from across the room.
I re-measured every corner. They ranged from 89 to 92 degrees. That one-degree variance was enough. I had to re-cut four pieces. Now I check every corner, every time.
Use a digital angle finder. Place it on the wall, extending up into the corner. Record the number.
If the corner is 92 degrees, you don’t simply set your saw to 46 degrees (half of 92). You need to plug the corner angle and your spring angle into a crown molding calculator. These are free online or available as mobile apps. They spit out the exact miter and bevel settings for your specific situation.
| Corner Angle | Spring Angle | Nested Method Miter Setting | Flat Method Miter/Bevel |
|---|---|---|---|
| 90° | 38° | 45° | 31.6° Miter / 33.9° Bevel |
| 92° | 38° | 46° | 32.6° Miter / 33.9° Bevel |
| 88° | 38° | 44° | 30.6° Miter / 33.9° Bevel |
| 90° | 45° | 45° | 35.3° Miter / 30.0° Bevel |
The bevel angle in the flat method often stays constant for a given spring angle, even as the corner angle changes. The miter angle does the adjusting. This is the physical reason: the bevel compensates for the spring of the molding itself, while the miter compensates for the corner of the wall.
Step-by-Step: Cutting Inside & Outside Corners
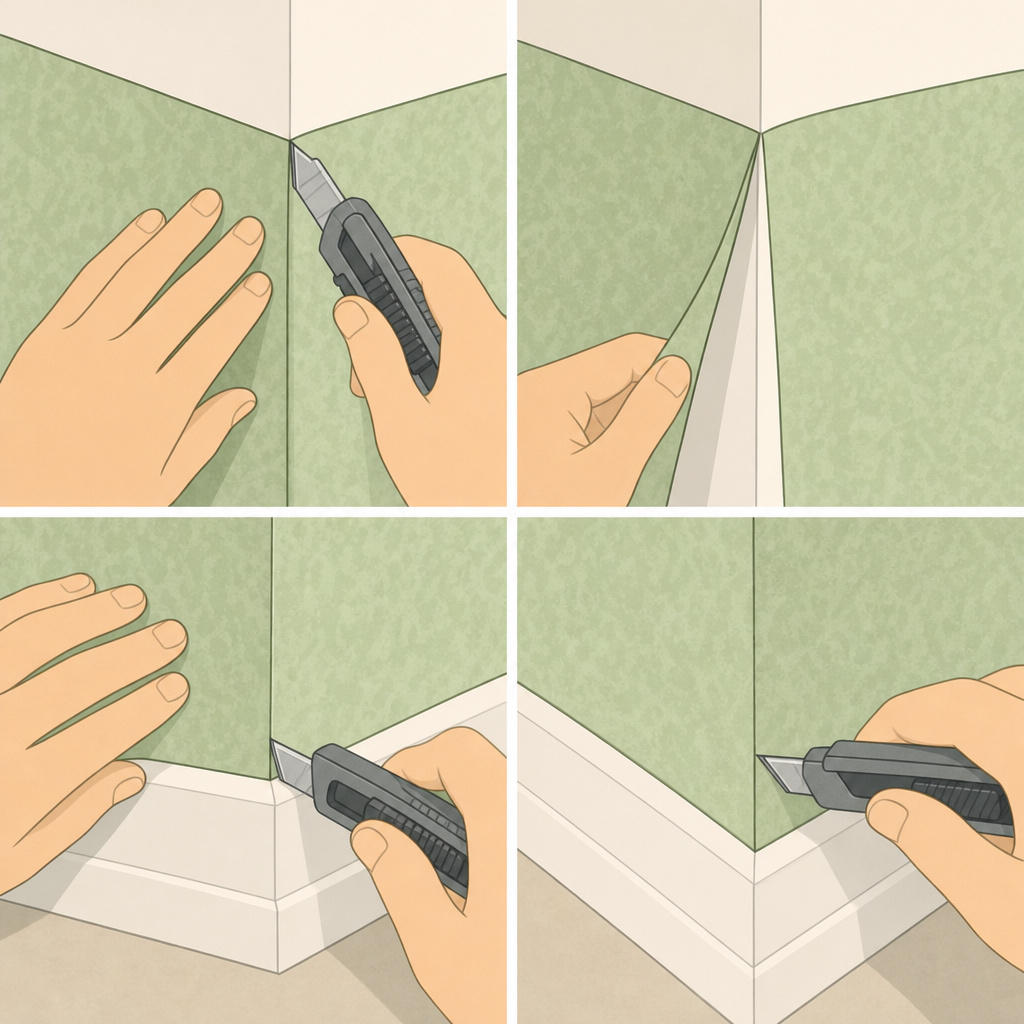
You have your angles. You’ve done a test cut. Now for the real pieces. The sequence here prevents waste.
- Cut the first inside corner piece square. The piece that goes into the first corner gets a straight 90-degree cut on the end that butts into the corner. No angle. This becomes the profile you will cope for the adjoining piece. Label this piece “Wall A – Square End.”
- Cope the mating piece for that corner. This is the pro move. Instead of trying to match two tricky compound miters, you cut the second piece with a simple miter (following your calculated angle), then use a coping saw to back-cut along the profile. This creates a piece that overlaps the face of the first piece, hiding any gap caused by an uneven wall. It’s forgiving.
- Cut outside corners with reversed orientation. For an outside corner using the nested method, you still set the same miter angle (e.g., 45°). But you flip the molding’s orientation on the fence. If for an inside corner the ceiling edge faced down, for an outside corner the ceiling edge should face up. Mark your pieces “Left Outside” and “Right Outside” as you cut. Getting this backward yields a perfect cut that installs backwards.
- Use a stop block for repeating lengths. If you have multiple walls of the same length, clamp a stop block to your saw’s fence extension. This guarantees identical lengths every time. Measure from the blade to the block, not from the saw’s built-in scale, which can have play.
What happens if you skip coping and just miter both inside pieces? On a perfectly flat wall, it might look good for a month. Then seasonal humidity changes will shrink the wood slightly.
That tight miter joint will open up, revealing a hairline crack. A coped joint, because it’s an overlapping joint, has room to move invisibly. The gap is hidden behind the overlapping profile.
Tools & Jigs: What Actually Helps
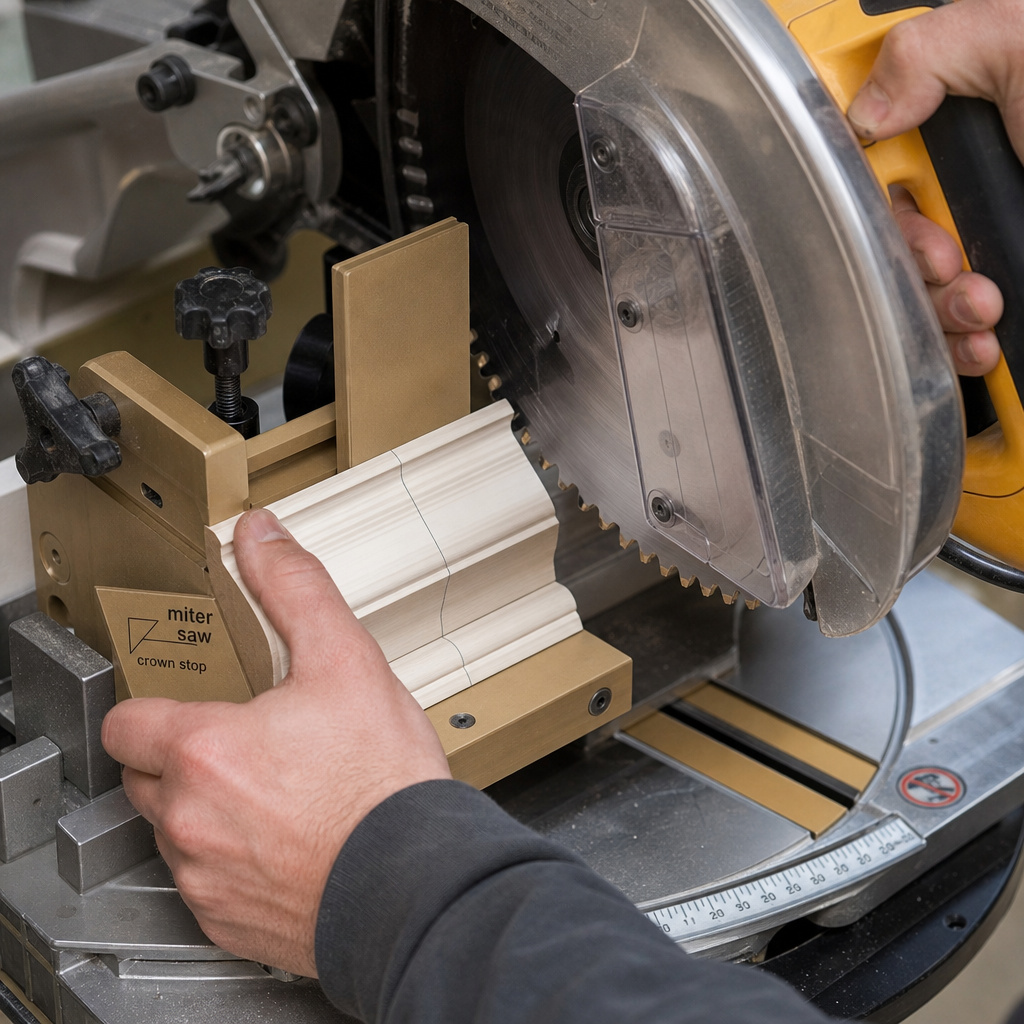
A basic compound miter saw is the minimum tool. A dual-bevel saw is better for the flat method, as it allows you to bevel left or right without flipping the workpiece. For the nested method, your fence height is the limiting factor. If it’s too short, the molding will wobble.
This is where jigs come in. A crown molding jig is essentially a tall, vertical fence that clamps to your saw’s existing fence. The Bench Dog Crown Cut Jig is a common example.
It has adjustable stops and a locking clamp. The benefit isn’t just height, it’s repeatable positioning. You set the molding in the jig once, and every subsequent piece sits in the exact same orientation. This eliminates the tiny variations in hand-holding that compound over a long wall.
Your other essential tool is a sharp pencil or a fine mechanical pencil. Mark your cut lines on the front face of the molding. When you position it on the saw, you should still see the line. This lets you align the blade precisely, compensating for any slight backlash in the saw’s miter detent.
A final, often-overlooked tool: painter’s tape. After cutting your pieces, lay them on the floor in their approximate layout and tape the joints together. This dry-fit shows you the actual fit before you commit to nailing. You’ll see gaps, mismatched profiles, and reversed pieces instantly. It takes five minutes and saves an hour of frustration.
Troubleshooting Common Crown Molding Problems
The cut looked good on the saw. The dry-fit was tight. But when you nail it up, a gap appears. Here’s what’s happening.
Problem: Gap at the ceiling, tight at the wall.
- Cause: The molding is rotated too far forward, pressing the top edge into the ceiling before the bottom seats on the wall. This often happens if you didn’t account for ceiling texture or a slight crown.
- Fix: Don’t force it. Pull the molding down slightly and check the back for high spots. A few passes with a block plane on the top edge can create the necessary clearance. A 1-degree back-cut on the wall edge can also help it pivot into place.
Problem: The miter joint is tight at the front but open at the back.
- Cause: This is a classic sign of an incorrect spring angle setting. The angle of your cut doesn’t match the actual spring of the molding, so only one edge of the joint makes contact.
- Fix: Re-check the molding label. Verify you entered the correct spring angle into your calculator. This is not a problem you can caulk away, the joint will be weak and likely crack.
Problem: The molding won’t sit flat against the wall; it rocks.
- Cause: The wall or ceiling surface isn’t flat. A high spot of drywall mud or plaster is holding the molding away.
- Fix: This is where coping shows its worth. A coped joint is less sensitive to this. For a mitered joint, you must shim behind the molding until it stops rocking, then nail. Use wooden shims snapped to the right thickness, not cardboard. Caulk will fill the resulting gap at the top or bottom.
I once spent an hour re-cutting a 10-foot piece of expensive poplar crown because the miter wouldn’t close. The angles were perfect. The problem was a 1/8-inch bulge of joint compound in the corner that I hadn’t scraped flat. The molding was bridging the bulge, holding the joint open. I scraped the bulge, re-cut the piece (wasting a foot), and it clicked into place. Now the first step in any crown job is running a sharp putty knife down every corner to find high spots.
Frequently Asked Questions
Can I use a regular chop saw without a bevel function?
Yes, but only with the nested cutting method. Your saw’s fence must be tall enough to support the molding upright. If the fence is short, you cannot cut crown molding correctly with this saw. You would need to build or buy a tall auxiliary fence jig.
What is the best blade for cutting MDF crown molding?
Use a 60-tooth to 80-tooth ATB (Alternate Top Bevel) carbide-tipped blade. MDF is abrasive and dulls blades quickly; carbide lasts. Avoid blades with a high hook angle, as they can chip the laminate surface on pre-finished MDF. A lower hook angle (around 10 degrees) provides a shearing cut that reduces tear-out.
How do I handle a corner that is way out of square, like 100 degrees?
The process is the same, but your calculator will give you more extreme angles. The nested method miter might be 50 degrees. The challenge becomes physically holding the molding at that severe angle on the saw. A crown jig becomes almost mandatory for stability. Always make a test cut from scrap first, as the saw’s miter scale can become less accurate at its extreme limits.
Is it better to paint crown molding before or after installation?
Paint before. Prime and paint all pieces, including the back edges that touch the wall and ceiling. This seals the wood and prevents moisture absorption that can cause warping. After installation, you only need a quick coat to cover nail holes and any caulk at the seams. Trying to cut in paint lines at the ceiling and wall after installation is messy and time-consuming.
Why does my cut splinter on the back side of the molding?
The blade is either dull, has too few teeth, or you’re feeding the molding too fast. The teeth exit the material on the back side, pulling out chunks. Ensure you’re using a sharp finish blade. For the cleanest cut, place a scrap piece of wood behind your molding to act as a zero-clearance backing board. This supports the wood fibers as the blade exits.
The Bottom Line
Cutting crown molding cleanly is about respecting geometry. Find your real wall angles with a digital finder. Honor the spring angle stamped on the molding.
Choose the cutting method your saw’s fence can actually support. Then, and only then, make a test cut from scrap. That scrap cut tells you if your math and setup are right. It’s cheap insurance.
The goal isn’t a perfect cut on the saw table. It’s a perfect joint on the wall. That often means coping inside corners and using paintable caulk for the microscopic gaps that remain.
The trim covers the gap between wall and ceiling, and a little caulk covers the gap between trim and wall. That’s the reality of the job. Get the angles as right as you can, dry-fit everything, and have a tube of high-quality acrylic latex caulk ready for the final touch.
