How to Make a Chop Saw Table: Step-by-Step Build Guide
This post contains affiliate links. As an Amazon Associate, we earn from qualifying purchases.
Build a chop saw table by first constructing a rigid, cross-braced frame from 2×4 lumber. Bolt your saw directly to a 3/4-inch plywood top, then secure the top to the frame. The final height should match your waist to prevent back strain during long cutting sessions.
Most DIYers get this wrong by focusing on the top first. They build a beautiful, flat surface and then cobble together a shaky undercarriage from scrap wood. The table dances with every cut, the saw slowly loosens, and accuracy vanishes. The real work happens below the deck.
This guide walks through building a no-nonsense, rock-solid chop saw table from the ground up. We’ll cover material choices that prevent warping, a bolt-down method that actually holds, and how to integrate dust collection and workpiece support so the table works for you, not against you.
Key Takeaways
- Use kiln-dried 2x4s for the frame, not construction-grade “green” lumber from the big-box store. It won’t twist or cup in six months, which keeps the table flat and the saw’s fence alignment true.
- Bolt the saw down with 1/4-20 hardware, not wood screws. The vibration from a 15-amp chop saw will eventually walk screws right out of plywood.
- Cross-brace the legs at mid-height. A single apron at the top isn’t enough to stop the side-to-side sway that ruins square cuts on long stock.
- The ideal table height is your knuckle height when standing relaxed. For most people, that’s 34 to 36 inches. A table that’s too low guarantees a sore back.
- Integrate dust collection from the start. Cut a 4-inch port hole in the table back and build a simple plywood shroud around the saw’s stock dust chute. It captures 80% of the chips that normally hit the floor.
Materials and Tools You’ll Need
Gather everything before you make the first cut. Running out for screws mid-build breaks your rhythm and leads to measurement errors.
A chop saw table’s frame must resist racking forces from lateral pressure during cuts. Kiln-dried 2×4 lumber provides dimensional stability, while a 3/4-inch plywood top offers a stiff, vibration-dampening surface. Cross-bracing between the legs transforms a wobbly structure into a rigid platform capable of supporting long, heavy workpieces without deflection.
The material list isn’t complicated, but the grades matter. For the frame, you need eight 8-foot kiln-dried 2x4s. The stamp should read “KD” or “S-DRY.” Avoid the cheaper, damp “S-GRN” (green) lumber.
It can warp over a single season in a garage shop, pulling your entire table out of square. I learned this the hard way on a workbench. After three months, the top had a 1/4-inch crown because the green frame lumber dried and twisted. Ripping it apart was a weekend lost.
For the top, a full sheet of 3/4-inch plywood is standard. Sanded BC or AC grade is fine; you don’t need cabinet-grade Baltic birch here. The thicker plywood resists sagging between frame supports. If you plan to really abuse the table, consider 3/4-inch MDF for a perfectly flat, dead surface, but know it’s heavier and sucks up moisture like a sponge if it gets wet.
Fasteners are critical. You’ll need:
* #8 2 1/2-inch deck screws for frame construction. The coarse thread grips better in softwood than fine-thread drywall screws, which snap under shear load.
* #8 1 1/4-inch screws to attach the tabletop from underneath.
* Wood glue for every joint. It’s not optional. It makes the frame a single unit.
* Four 1/4-20 x 2-inch bolts, with washers and lock nuts to mount the saw. This is non-negotiable. Screws will fail.
Tool-wise, you need a saw to cut everything. A circular saw with a guide works, but if you’re building a chop saw table, you likely own a chop saw or miter saw. Use it. You’ll also need a power drill/driver, a carpenter’s square, clamps, and a socket wrench for the bolts. A pocket hole jig is nice for certain joints but not essential.
Design and Planning Your Table
Don’t just start cutting wood. A few minutes of planning saves hours of frustration and wasted material.
First, decide on size. A good width is 48 to 60 inches. This gives you 18-24 inches of infeed and outfeed support on either side of the saw blade, which is enough to handle 8-foot trim boards. Depth should be at least 30 inches, but 36 inches is better. This gives you room for a rear fence and space to clamp a stop block without your hand hitting the wall.
Height is ergonomics. Stand up straight and let your arms hang. Measure from the floor to your knuckles. That’s your target table height, usually 34-36 inches. Building it at standard counter height (36 inches) is a safe bet. You can always trim the legs later, but splicing them taller is a pain.
Sketch it. It doesn’t need to be fancy. Draw a rectangle for the top, four legs, and lines for the front/back aprons and side cross-braces. This visual reference prevents the classic mistake of building the frame too small for the top.
| Design Decision | Basic Table | Enhanced Table | Consequence of Choosing Basic |
|---|---|---|---|
| Frame Material | Green 2x4s | Kiln-Dried 2x4s | Frame may warp, causing tabletop to become uneven within 6-12 months. |
| Saw Mounting | Wood Screws | 1/4-20 Bolts | Saw will develop play over time, reducing cut accuracy and becoming a safety hazard. |
| Dust Control | None | 4″ Port & Shroud | Workshop becomes coated in fine dust after every project; saw motor intake clogs faster. |
| Workpiece Support | None | Flip-Down Outfeed | Long boards will sag during cuts, leading to binding and inaccurate, potentially dangerous cuts. |
Consider add-ons now. Do you want locking casters? If so, factor in their height (usually 4-5 inches) when cutting your legs.
Plan for dust collection. Mark where a 4-inch port will go on the back of the table. Thinking about a T-track for a stop block system? You need to rout or saw those grooves before you mount the top.
Step-by-Step Construction
Before you start: Unplug your chop saw. Wear safety glasses when cutting wood and driving screws. A chop saw blade spins at over 3000 RPM; a shattered screw or wood chip travels fast enough to cause serious eye injury. When moving the heavy tabletop, get help—a 3/4-inch sheet of plywood can weigh 70 pounds and a awkward fall with it can break bones.
Cut All the Parts to Size
Precision here makes assembly straightforward. Cut your 3/4-inch plywood sheet to final size first. Use a straight edge guide with your circular saw for a factory-quality edge. If you’re using a saw guide or straight cut guide, this is the time.
Next, cut all 2×4 pieces. Label them with pencil: Legs (4), Long Aprons (2), Short Aprons (2), Cross Braces (2). Consistency is key. Use a stop block on your saw to ensure all identical pieces (like the legs) are exactly the same length. A 1/8-inch difference between legs makes the table rock.
Assemble the Table Frame
Lay out the two long aprons and two short aprons on a flat floor or a pair of sawhorses. Apply a bead of wood glue to the ends of the short aprons. Assemble the rectangle using the 2 1/2-inch screws. Drill a pilot hole first to prevent the 2×4 from splitting. Immediately check for square by measuring diagonally from corner to corner. Both measurements must be equal. Adjust by tapping the long side until they match, then add a second screw.
Attach the legs. Stand a leg at each inside corner of the frame. The top of the leg should be flush with the top of the frame.
Clamp it in place. Use a carpenter’s square to ensure the leg is perfectly vertical in both directions. Secure with two screws driven from the outside of the frame into the leg. Repeat for all four legs.
Now, add the cross braces. These are short 2x4s that run between the front legs and the back legs, about halfway up. They are the secret to eliminating wobble. Cut them to fit snugly between the legs, apply glue to the ends, and screw through the legs into the ends of the braces. This triangle of force locks the structure.
Attach the Tabletop and Mount the Saw
Get help to lift the plywood top onto the frame. Center it so the overhang is equal on all sides. Secure it from underneath with 1 1/4-inch screws driven up into the plywood every 8 inches along the apron. Don’t skimp. This prevents the top from ever separating from the frame.
Now for the main event. Position your chop saw where you want it on the table, typically centered left-to-right and with the blade a few inches from the front edge. Trace the outline of its base. Look at the saw’s feet—there should be holes for mounting bolts. Use a punch or nail to mark their centers through the holes onto your plywood.
I mounted my first DeWalt chop saw with 2-inch wood screws. They held for about three months of weekend projects. Then I noticed a 1/16-inch play in the saw when starting a cut. The screws had slowly wallowed out the plywood from constant vibration. I had to drill out the holes, fill them with hardwood dowels and glue, and start over with proper bolts. That wasted a Saturday.
Remove the saw. At your marked centers, drill clearance holes through the plywood just big enough for your 1/4-20 bolts. From underneath, counterbore these holes slightly so the bolt head and washer sit flush with or below the bottom of the plywood. This prevents the bolt heads from snagging on the frame.
Place the saw back over the holes. Insert the bolts from above, add a washer and lock nut underneath, and tighten securely with a socket wrench. The lock nut is crucial—it won’t vibrate loose. Give the saw a firm shake. There should be zero movement.
Adding Professional Features
A basic table is functional. These upgrades make it a workshop centerpiece.
Building a Fence and Stop Block System
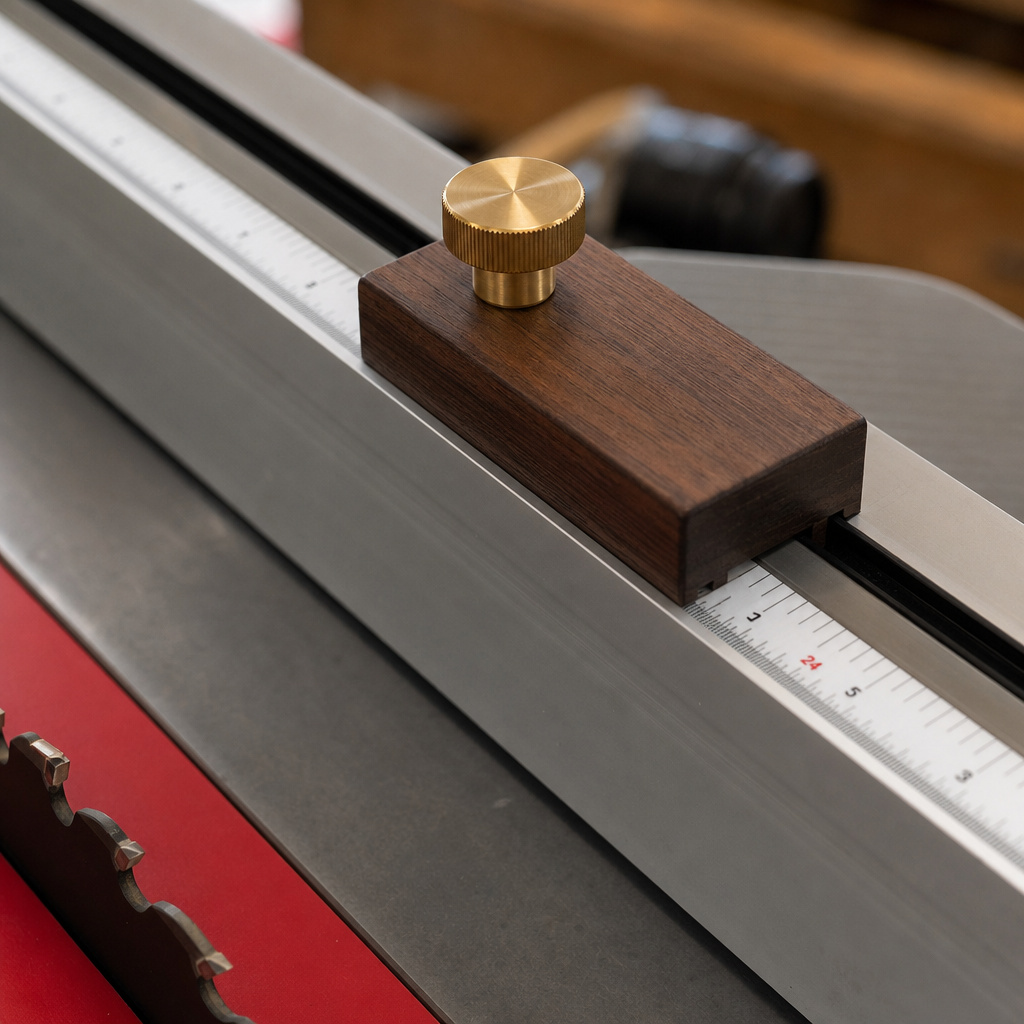
A fixed rear fence provides a consistent reference surface for your workpiece. Screw a straight, 8-foot-long 1×4 or 2×4 to the back of the tabletop, ensuring it’s perfectly perpendicular to the blade path. For advanced repeatability, install a length of T-track into the tabletop in front of the saw. You can slide a commercial stop block or a simple wooden one with a T-bolt into the track for identical cuts. This is a game-changer for production work like cutting dozens of identical shelf supports.
Integrating Dust Collection
Chop saws are notoriously messy. Most have a pathetic plastic chute. Build a simple three-sided plywood box that surrounds the back and sides of the saw, open at the bottom. Seal the joints with caulk. Cut a 4-inch hole in the back panel of this box and attach a 4-inch dust collection port. Connect your shop vac or dust collector hose. This setup will capture the majority of the chips that normally get violently ejected onto your floor and knees. The difference in shop cleanliness is night and day.
Mobility and Outfeed Support
If you need to move the table, add heavy-duty locking casters to the legs. Use the kind rated for at least 150 pounds each. Always lock the wheels when making a cut.
For cutting long boards, outfeed support is a safety must. You can build simple flip-up arms that swing down from the sides of the table, or attach a pair of roller stands. The goal is to support the workpiece so it doesn’t tip or drag, which can cause the saw to bind and kick back.
Common Build Mistakes and How to Avoid Them
Even with a plan, it’s easy to slip up. Here are the pitfalls I’ve seen (and created).
The wobbly table. Cause: No cross-bracing or an un-square frame. Fix: Add diagonal braces or a full sheet of 1/4-inch plywood as a back panel to create a shear wall. Prevention: Check for square at every stage of frame assembly.
The sagging top. Cause: Frame supports are too far apart or plywood is too thin. Fix: Add a center support beam running front-to-back under the tabletop. Prevention: Keep frame apron spacing under 24 inches for 3/4-inch plywood.
The misaligned fence. Cause: Fence installed before the saw was perfectly positioned. Fix: Loosen the fence, make a test cut on a scrap board, and adjust the fence to match the actual cut line—not the perceived blade path. Prevention: Install the fence last, using the saw’s own cut as the guide.
| Symptom | Likely Cause | Severity & Timeline | Immediate Fix |
|---|---|---|---|
| Table rocks on floor | Legs are different lengths | High – Affects every cut immediately | Place shims under the short leg; re-cut legs if severe. |
| Saw feels loose during cuts | Mounting screws, not bolts | Critical – Safety hazard within weeks of use | Stop using. Replace fasteners with proper bolts and lock nuts. |
| Cuts are not square | Fence is not perpendicular to blade | Medium – Ruins precision work | Loosen fence, use a reliable square to re-align against the blade guard down position. |
| Excessive dust escape | No sealed collection shroud | Low – Chronic mess and health issue over time | Build a simple plywood three-sided box around saw’s rear. |
Frequently Asked Questions
How much does it cost to build a basic chop saw table?
Material costs are relatively low. A sheet of 3/4-inch plywood, eight 2x4s, screws, glue, and bolts will typically run you between $100 and $150, depending on your local lumber prices. This compares very favorably to commercial steel stands, which often cost more and lack custom storage or dust collection.
Can I use MDF instead of plywood for the top?
You can, and it will be incredibly flat and smooth. However, MDF is heavier and much more susceptible to moisture. In a damp garage, it can swell and ruin the edge. If you use MDF, seal all edges and surfaces with a few coats of polyurethane or shellac. For most garage shops, plywood is the more durable, practical choice.
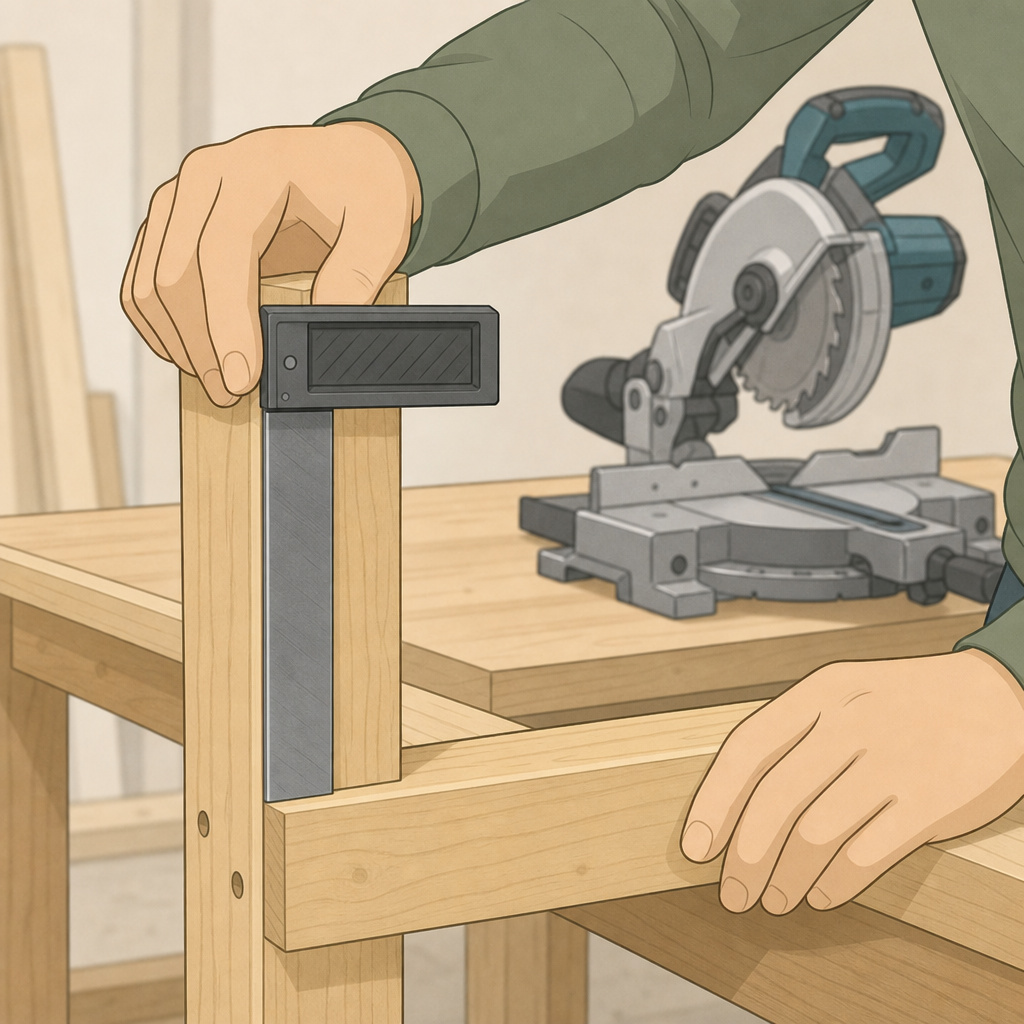
What’s the best way to ensure the fence is perfectly square to the blade?
Don’t trust a square against the blade housing. Make a fresh cut on a known-straight piece of scrap wood, about 12 inches long. Without moving the scrap, turn off the saw, raise the blade, and bring the fence up to meet the freshly cut end of the scrap. Clamp it there, then screw the fence in place. This uses the saw’s own cut as the reference, which is always more accurate than a tool.
Do I really need to bolt my saw down if it’s heavy?
Yes. Inertia isn’t enough. The sudden torque when the motor spins up and the vibration during cutting will, without fail, cause an unbolted saw to “walk” over time. This changes your cutting reference and is unsafe. Bolting it down takes 15 minutes and guarantees it stays put.
How do I add leveling feet if my garage floor is uneven?
The simplest method is to install threaded furniture glides into the bottom of the legs. Drill a pilot hole, screw in the glide, and you can adjust each corner up or down by twisting it. This is far more stable than using shims, which can get kicked out.
The Bottom Line
Building your own chop saw table isn’t about saving a few bucks. It’s about creating a stable, custom platform that makes every cut safer, faster, and more accurate. The core principles are simple: a rigid kiln-dried frame, a thick top, and a bolted-down saw. From there, you can add the features you need, like dust collection, T-track, or outfeed rollers.
Skip the flimsy store-bought stands. Invest a Saturday and some 2x4s into a table that won’t let you down. The first time you rip through a stack of 2x4s without the table shaking, or you clean up after a project by simply emptying a dust collector bag instead of sweeping for an hour, you’ll know it was worth the effort. Get the right lumber, follow the sequence, and build it once.