
How to Sharpen a Circular Saw Blade: 3 Proven Methods
This post contains affiliate links. As an Amazon Associate, we earn from qualifying purchases.
A sharp circular saw blade requires matching three things: the correct file type for the blade material (diamond for carbide, steel for HSS), the original bevel angle of each tooth, and a consistent number of filing strokes across every single tooth to maintain balance.
Most people think a blade is dull when it’s just dirty. They skip the cleaning step. The file skates over hardened pitch instead of biting into the metal, and they end up with an uneven edge that cuts worse than before. Then they blame their technique or the file.
This guide walks you through identifying your blade type, gathering the right tools, and executing a sharpening that actually works. You’ll learn the hard-stop signs that mean you should replace the blade, not sharpen it.
Key Takeaways
- Clean the blade first with a dedicated cleaner. Sharpening over pitch is useless and ruins the file.
- Use a diamond file for carbide-tipped teeth and a standard triangular file for high-speed steel blades. The wrong file damages both.
- Count your strokes. Three to five consistent passes per tooth keeps the blade balanced. Skip counting and you’ll create a wobbler.
- Sharpen the face of the tooth, not the top. For DIY work, maintaining the front bevel angle restores the cutting edge without specialized grinders.
- If a carbide tooth is chipped more than halfway down or the steel body is warped, stop. Sharpen a replacement blade instead.
Before you start: Unplug the saw or remove the battery. The blade is extremely sharp even when dull. Wear safety glasses to stop metal filings and cut-resistant gloves. Secure the blade in a proper holder—filing a blade held in your hand leads to a sliced palm and a ruined edge. The whole process takes about an hour for a 40-tooth blade.
Is Your Blade Dull or Just Dirty?
Your blade might not need sharpening. It might just need a bath. Pitch and wood resin bake onto the teeth and sides, increasing friction. That friction causes burning, binding, and the feeling of a dull blade. A clean blade often cuts like new.
Look for these signs of true dullness, not grime. The cut surface will be rough, with more tear-out than usual. You’ll see scorch marks along the kerf even when feeding the saw at a normal pace. The motor will labor and sound strained.
You might feel a new vibration in the handle. Finally, inspect the teeth in good light. Dull carbide tips look rounded and polished, not faceted and sharp. Dull steel teeth have a visible flat spot at the very tip.
If you see deep nicks or chunks missing from the carbide, that’s damage, not dullness. A cleaning won’t fix that. You need to decide if it’s worth sharpening or replacing.
The Right Tools for the Job
Using the wrong tool is the fastest way to ruin a blade. Carbide is harder than steel files. A standard file will just skate over it, dulling the file and frustrating you. You need the right abrasive.
For high-speed steel blades, a 6-inch mill bastard file with a triangular profile works. It fits the gullet between teeth and can match the bevel. For carbide-tipped blades, you need a diamond-coated file.
An 8-inch file with a 400-grit surface is the sweet spot. It’s aggressive enough to cut carbide but fine enough to leave a workable edge. A honing stone won’t touch it.
You also need a way to hold the blade absolutely still. A dedicated saw blade holder that clamps to your bench is ideal. A woodworking vise with soft jaw protectors works too. I’ve used an Irwin Quick-Grip style bar clamp to pinch the blade between two blocks of scrap wood on the bench edge. Anything that prevents rotation.
Grab a permanent marker for marking your start tooth. A small wire brush helps clean out filing debris from the gullets. Have your safety glasses and gloves on the bench before you touch the blade.
For carbide-tipped circular saw blades, a diamond file with a grit between 300 and 400 provides the necessary abrasion without being too aggressive. Coarser grits remove material faster but leave a rougher edge that may require subsequent honing, while finer grits above 600 are better for final finishing than for reshaping a dull tooth.
How to Sharpen a Carbide-Tipped Blade
This is the most common blade type in home workshops. The carbide tip is brazed onto a steel body. You only sharpen the carbide, not the steel.
First, remove the blade from the saw. Consult our guide on changing a circular saw blade for the safe steps. Clean it thoroughly. Let it dry.
Secure the blade in your holder. Find a tooth with a face that’s easy to see. Most blades use an Alternate Top Bevel (ATB) pattern.
The teeth alternate left and right. The face you sharpen is the angled front of the tooth. Mark this starting tooth with your marker.
Pick up your diamond file. Match the angle of the existing bevel on the tooth face. Don’t invent a new angle. Rest the file in the gullet in front of the tooth and align it. The goal is to restore the existing edge, not reshape the whole tip.
Apply light pressure and push the file across the tooth face in one smooth stroke, away from your body. Do this three times. Count.
The first stroke will feel slippery. The second will bite. The third should feel smooth. A tiny burr will form on the top edge of the tooth.
Move to the next tooth. Match its opposite hand angle. Three strokes. Continue around the entire blade, hitting every tooth with the same three strokes. When you return to your marked tooth, stop.
Now, deburr. Take one very light stroke with the file along the top edge of each tooth, just to knock off the wire edge created by sharpening. Don’t try to reshape the top.
What If You Have a Different Tooth Geometry?
Not all teeth are ATB. Ripping blades often have a Flat Top Grind (FTG). You sharpen the flat top, not the face. Use the file flat across the top, maintaining its original slight angle. Combination blades mix ATB and a special raker tooth. Sharpen the ATB teeth as above, then just kiss the top of the raker tooth with one stroke to keep it slightly lower than the cutters. This is where a general saw blade sharpening guide helps with visual identification.
How to Sharpen a High-Speed Steel Blade
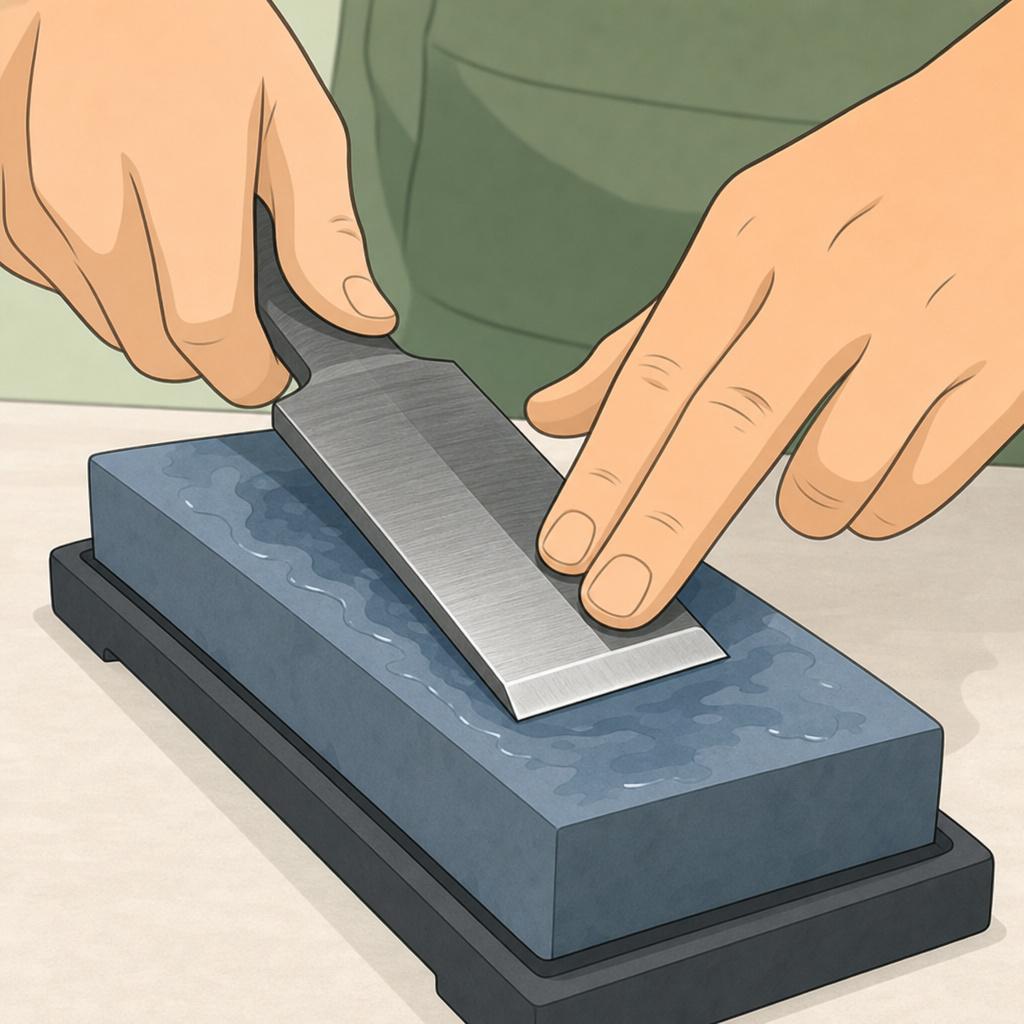
The process is similar but more forgiving. Steel is softer, so a file cuts it easily. The risk is removing too much material.
Clean and secure the blade. A steel blade often has teeth that are all the same, usually with a bevel on the front face. Use your triangular file. The triangle shape naturally fits into the gullet and presents an angle close to the tooth’s bevel.
Match the angle. Use three to five firm strokes. You’ll feel and hear the file cutting. The telltale sign of a sharpened steel tooth is a new, consistent shiny facet on the front bevel. Again, count strokes for every tooth.
Deburr the back of each tooth with one light stroke. Wipe the blade clean of all steel filings. These filings will rust and stain the blade if left on.
| Blade Type | Correct File | Strokes Per Tooth | Risk of Over-Sharpening |
|---|---|---|---|
| Carbide-Tipped | Diamond (400 grit) | 3–5 light strokes | Low – file cuts slowly |
| High-Speed Steel | Triangular Mill File | 3–5 firm strokes | High – file cuts easily |
| Damaged/Cracked | None | Do Not Sharpen | Blade can disintegrate |
The Professional Sharpening vs. DIY Decision

You can do this yourself. For a standard 24-tooth framing blade or a 40-tooth combination blade, it’s cost-effective. Your time and a $25 diamond file are less than the $15–$25 per blade a shop charges.
Send it out for three scenarios. First, if the blade is a high-tooth-count fine finish blade (80+ teeth). The margin for error is tiny and the shop’s CNC grinder is perfect.
Second, if the blade has major damage like a missing carbide tip. A pro can braze on a new tip. Third, if you value your time more than the money. Dropping off three blades and picking them up factory-sharp two days later is a valid luxury.
I had a 100-tooth DeWalt miter saw blade I tried to hand-sharpen. It was a $75 blade. After 30 minutes, it cut smoother but still left a faint burn line on oak.
I took it to a local shop. They put it on the grinder for five minutes. The cut was flawless. The lesson: precision geometry on fine blades matters more than just a sharp edge.
Common Mistakes and How to Avoid Them
The biggest error is inconsistency. Filing one tooth five times and the next tooth twice creates an unbalanced blade. It will vibrate, produce a wavy cut, and wear out your saw’s bearings. Count out loud.
Sharpening a dirty blade is a waste of time. The file glides over the gunk. Clean first.
Using a steel file on carbide destroys the file’s teeth and polishes the carbide without cutting it. You’ll see shiny streaks on the tip but no new edge.
Applying too much pressure with a diamond file can fracture the diamond coating or, worse, snap the brittle carbide tip. Let the abrasive do the work.
Forgetting to deburr leaves a tiny wire edge that folds over on the first cut, making the blade feel dull again immediately. One light pass fixes it.
I once rushed sharpening a steel blade after cleaning it with water. I didn’t dry it completely. Two days later, a faint orange streak of rust appeared along the cutting edge of every tooth I’d filed. The fresh steel was unprotected. Now I dry blades with compressed air and give them a light wipe with a rag dampened with 3-in-1 oil before storage.
Blade Care Between Sharpenings
Sharpening is one event. Maintenance is what happens every time you use the saw.
Clean the blade after cutting pitchy wood like pine or cedar. A quick spray with a dedicated blade cleaner and a wipe with a brass brush prevents buildup. Store blades vertically in a rack or in their original cases. Throwing them in a drawer dulls teeth against other tools.
Use the right blade for the material. Don’t use a fine-finish blade to cut laminate flooring with a glued backing. That glue will gunk up the teeth instantly.
If you hit a nail or screw, stop and inspect. A small nick might sharpen out. A bent tooth means the blade is trash. Your circular saw maintenance routine should include a visual blade check before big projects.
| Symptom After Sharpening | Likely Cause | Fix |
|---|---|---|
| Blade vibrates badly | Uneven stroke count or pressure on teeth | Re-sharpen, counting exact strokes. If vibration persists, blade may be warped – replace. |
| Still burns wood | Tooth angle is too steep (less sharp) or blade is still dirty | Verify angle matches original. Re-clean blade, especially the sides. |
| Cut is wavy, not straight | Inconsistent sharpening or a missing tooth | Inspect for missing carbide tips. If intact, professional re-sharpening may be needed to re-establish balance. |
| New chipping on carbide | Too much pressure during filing | Use lighter strokes. If chipped, the blade may be too worn for further sharpening. |
When to Replace, Not Sharpen
Sharpening has limits. Know the point of no return.
If a carbide tip is missing, the blade is unbalanced. If the steel body is visibly warped or has a crack near the arbor hole, it’s unsafe. If the carbide has been sharpened so many times that the tip is thin and narrow compared to a new tooth, its structural integrity is gone. The next hit could shatter it.
For steel blades, if the teeth are worn down to half their original height, they can’t clear chips effectively. The blade will overheat. If the plate is rusted thin, it can flex and cause a dangerous bind.
A good rule: if the blade costs less than $20 and shows major damage, replace it. Your time and a sharpening file are worth more. For a quality $50+ blade, professional sharpening can extend its life through 3–4 cycles before replacement is economical.
Frequently Asked Questions
How many times can you sharpen a circular saw blade?
carbide-tipped blade can be professionally sharpened 3 to 5 times before the carbide becomes too thin. For DIY hand-filing, you might get 2 or 3 touch-ups before the tooth geometry strays too far from the original. High-speed steel blades wear down faster; you may only get 1 or 2 good sharpenings before tooth height is compromised.
Can you sharpen a circular saw blade with a Dremel?
You can, but it’s risky. A Dremel with a diamond wheel spins too fast and generates heat that can damage the carbide’s braze joint. It’s also very difficult to maintain a consistent angle and pressure freehand. It’s better for touching up a single damaged tooth in an emergency than for a full blade sharpening.
What’s the best cleaner for saw blade pitch?
Commercial blade cleaners like Simple Green Pro HD or CMT Orange Power work well. A DIY substitute is a mix of warm water and a degreaser like Dawn dish soap. Soak the blade for 10 minutes, then scrub with a nylon or brass brush. Never use a steel brush on carbide tips.
Why does my blade smoke after I sharpened it?
Smoking after sharpening usually means the blade is still dirty, or you’ve accidentally created a hook in the tooth angle that increases friction. Clean the blade again thoroughly. If it still smokes, check that you matched the original bevel angle correctly. An overly aggressive angle can cause rubbing.
Is it worth buying a sharpening jig?
For someone sharpening multiple blades a month, a simple jig that holds the file at a set angle is worth the $20-$40. It enforces consistency. For the occasional user, careful handwork is sufficient. The expensive powered sharpeners are only for volume work or a small business.
The Bottom Line
A sharp blade is safer and produces better work than a dull one. You can maintain it yourself with a few specific tools and a methodical approach. Clean first, match the file to the blade material, and count your strokes. That discipline turns a frustrating chore into a 45-minute routine that saves money and keeps your projects moving.
When the blade is too far gone, replace it without guilt. No amount of sharpening fixes a cracked plate or missing teeth. Put the old blade in the scrap metal bin, not back on your saw. Your next cut will be clean, straight, and quiet. That’s the real reward.
