How to Oil Trimmer Blades to Extend Life and Prevent Damage
This post contains affiliate links. As an Amazon Associate, we earn from qualifying purchases.
Oiling trimmer blades requires three things: a clean, dry blade surface; the correct lubricant applied to the cutting teeth and pivot points; and wiping away the excess to prevent dirt buildup. Use bar and chain oil, a dedicated lightweight tool oil, or a dry silicone spray, and apply it every 30-50 minutes of use or immediately after cleaning.
Most people think oiling is just a squirt of whatever’s in the garage. That’s how you get a sticky, gunked-up trimmer that cuts worse than before you started. The blade teeth need lubrication, but the motor housing and electrical contacts absolutely do not.
This guide covers the right oils, the step-by-step process that actually works, and what to do when oiling alone isn’t enough.
Key Takeaways
- Bar and chain oil or a dedicated lightweight tool oil is best; avoid motor oil and never use cooking oil.
- Clean the blades thoroughly with warm soapy water or denatured alcohol before oiling, oil on top of sap just locks in the gunk.
- Apply oil to the cutting teeth on both sides and the pivot points, then run the trimmer briefly to work it in.
- Wipe off all excess oil after application; a thin film is protective, a thick layer attracts abrasive dirt.
- If the trimmer still pulls, tears, or vibrates after cleaning and oiling, the blades are dull and need sharpening or replacement.
Before You Start: Safety First
Before you start: The blades are sharp enough to slice through woody stems, and they will cut you just as easily. Always disconnect the power source, pull the battery on cordless models, unplug corded ones, and remove the spark plug wire on gas trimmers. Wear cut-resistant gloves. Secure the trimmer on a stable surface so it can’t roll or tip while you’re working on it.
That’s non-negotiable. I’ve seen a guy try to wipe a blade with the battery still clicked in, his thumb slipped, and he needed three stitches. The safety switch isn’t a guarantee. Assume the tool is live until you’ve physically separated the power source.
What’s the Best Oil for Trimmer Blades?
You need a lubricant that stays put on the metal, doesn’t gum up with plant sap and sawdust, and won’t harm plastic housings. The wrong oil makes a mess and accelerates wear.
Bar and chain oil is the default choice for a reason. It’s tacky, so it clings to the fast-moving teeth. STIHL and Husqvarna both sell their own branded versions, and they work perfectly. Lightweight mineral oil (like 3-in-1 oil) is a decent second choice, it’s less messy than bar oil but doesn’t stay put as long under heavy use.
For a cleaner, less-attractive-to-dirt option, a dry silicone spray like WD-40 Specialist Dry Lube works. It leaves a protective, dry film that doesn’t pick up as much debris. Avoid all-purpose WD-40, it’s a solvent and water displacer, not a lubricant. It’ll clean the blade but evaporate, leaving it unprotected.
Never use motor oil. It’s too thick, attracts every bit of grit, and turns into a grinding paste. Cooking oil like vegetable or olive oil is the worst choice. It breaks down, turns rancid and sticky, and will glue the moving parts together within a week if you store the trimmer.
| Oil Type | Best For | Biggest Risk |
|---|---|---|
| Bar & Chain Oil | Gas trimmers, heavy use on sappy evergreens | Can be messy; attracts dirt if over-applied |
| Lightweight Mineral Oil | Light-duty electric trimmers, occasional users | Evaporates faster; requires more frequent application |
| Dry Silicone Spray | Battery-powered trimmers, users who hate mess | Can dry out plastic over years; not as durable |
| Motor Oil | Do not use | Forms abrasive sludge; damages plastic and rubber |
| Cooking Oil | Do not use | Rancidifies and gums up the mechanism permanently |
The pivot points are just as important as the teeth. A drop of oil on the hinge where the blades slide past each other keeps the action smooth. If that joint gets stiff, the motor strains, the cuts get ragged, and you’ll feel a nasty vibration in your hands.
Step-by-Step Guide to Oiling Trimmer Blades
This isn’t a quick wipe-and-go. If you skip the cleaning step, you’re just oiling over dirt. That paste wears down the blade metal twice as fast.
Step 1: Power Down and Clean
Remove the battery or spark plug wire. Scrape off any large chunks of green matter with a putty knife or old credit card. Then, get the sap off. Warm soapy water and a stiff nylon brush work for light grime. For dried-on evergreen sap, you need a solvent. Denatured alcohol on a rag cuts through it. Some arborists use a dedicated pruning sealant cleaner. Rinse with water and dry completely with a clean rag. Any leftover moisture invites rust.
Step 2: Dry Thoroughly
Let the blades air-dry for a few minutes after wiping. Check the tight spaces between the teeth and around the pivot. Moisture hides there. If you oil over damp metal, the oil can’t adhere properly and you trap water against the steel.
Step 3: Apply the Lubricant
Lay the trimmer on its side so the blades are horizontal. Apply a thin bead of oil along the full length of the cutting teeth on both sides. For spray lubricants, use a short, controlled burst, don’t hose down the entire tool. Get a drop or two into the pivot point. The goal is a light coat, not a dripping mess.
Step 4: Work the Oil In
Manually move the blades back and forth a few times if your trimmer model allows it safely. If not, reconnect the power source, stand clear, and run the trimmer at low speed for 5-10 seconds. This draws the oil into the microscopic gaps between the teeth and coats the pivot bearings. You’ll hear the sound change from a dry clack-clack to a dampened swish.
Step 5: Wipe Off the Excess
This is the step everyone skips. Take a clean rag and wipe the blade surfaces again. You want a microscopic protective film, not a sticky layer. Excess oil acts like a magnet for sawdust, pollen, and dirt. That mixture becomes a lapping compound that grinds the blade edges dull. I learned this the hard way after oiling my DeWalt trimmer before storing it for the winter. Come spring, the blades were coated in a gritty crust that took an hour of scrubbing to remove.
How Often Should You Oil Trimmer Blades?
Oiling frequency isn’t about calendar days; it’s about runtime and what you’re cutting.
After every use is ideal, especially if you’ve been trimming sappy evergreens like pine or cedar. The sap is acidic and accelerates corrosion. For general hedge trimming, oil every 30-50 minutes of continuous runtime. Listen to the tool. If the cutting sound becomes higher-pitched and grating, or you see smoke (that’s friction heat burning plant resins), stop and oil immediately.
Before any long-term storage, give the blades a full clean and oil. That protective layer prevents surface rust from ambient humidity in your shed or garage.
Why Oiling Alone Sometimes Isn’t Enough
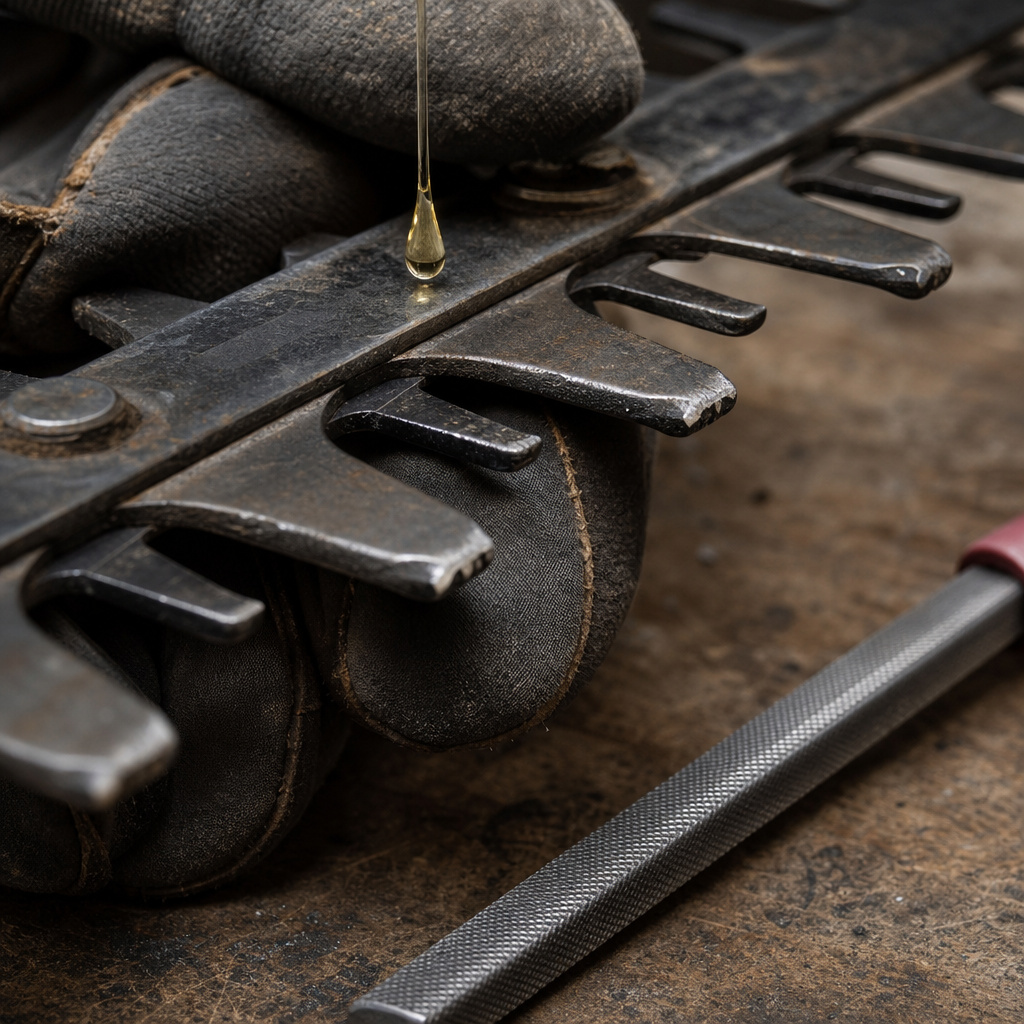
If you’ve cleaned, oiled, and the trimmer still struggles, tearing leaves instead of slicing them, vibrating excessively, or requiring you to force it through the hedge, the problem is dull blades. Oil reduces friction, but it can’t restore a worn edge.
A sharp blade glides. A dull blade smashes. You’ll feel the difference in your wrists after ten minutes. Oil makes a sharp blade last longer; it just makes a dull blade quieter while it destroys itself.
Dull blades happen. They hit a hidden fence wire, a rock, or just wear down from thousands of cuts. The metal edges roll over and become rounded. No amount of oil will fix that. You need to sharpen hedge trimmer blades or, if they’re chipped or excessively worn, replace them.
Here’s a quick diagnostic table. If you see these signs after oiling, you’ve got a sharpening problem, not a lubrication problem.
| Symptom | Likely Cause | Fix |
|---|---|---|
| Leaves torn, not cut | Dull blade edges | Sharpen the blades |
| Excessive vibration, loud rattling | Loose blade bolts or worn pivot bushings | Tighten bolts or replace bushings |
| Motor strains, smells hot | Blades binding (dirt in pivot or severe dullness) | Clean pivot, sharpen, or replace |
| Rust spots appear soon after oiling | Incomplete drying before oiling | Clean, dry thoroughly, re-oil |
Sharpening isn’t complicated, but it requires a flat file and patience. You follow the original angle of each tooth. Mess that angle up, and the cut gets worse. If you’re not confident, replacement blades for most major brands cost between $20 and $40. It’s often cheaper than your time.
Common Mistakes (And How to Avoid Them)
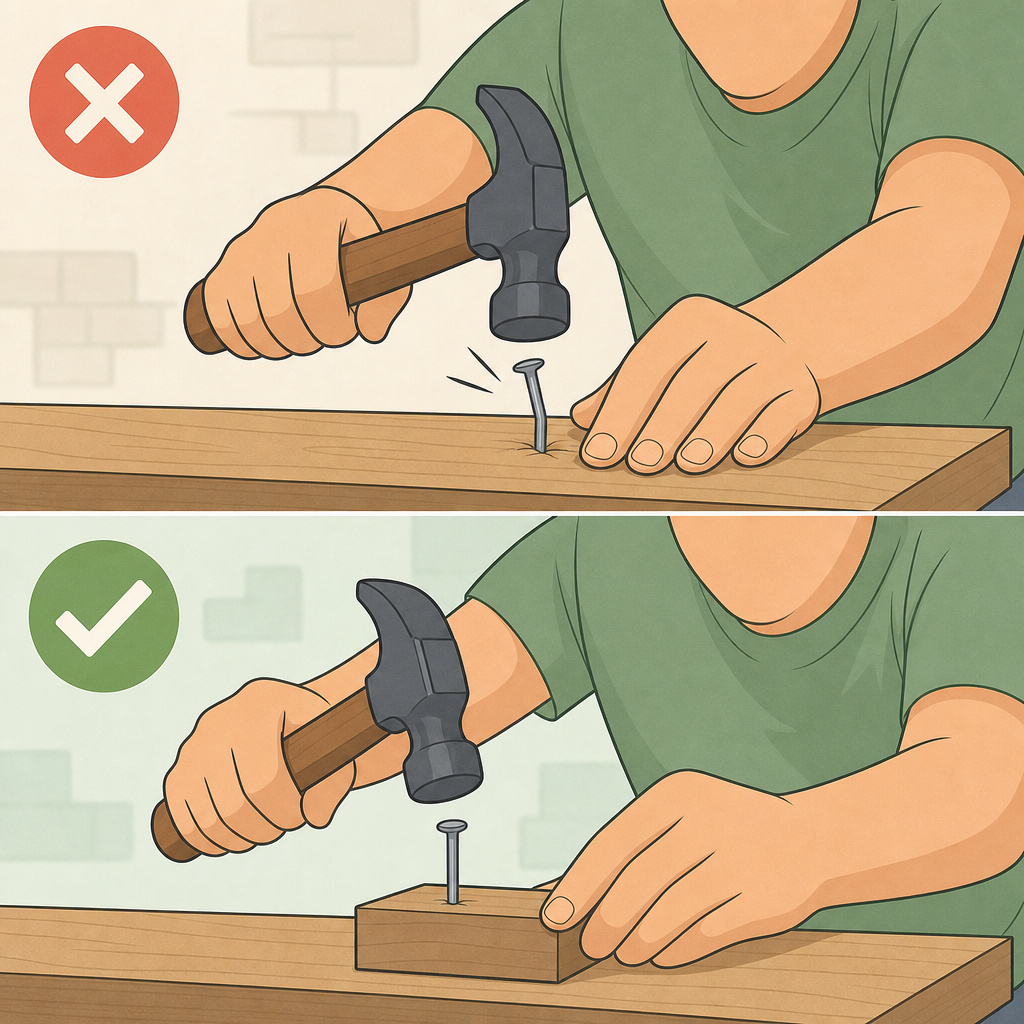
People get this wrong in predictable ways. Here are the big ones.
Oiling a Dirty Blade
This is the most common error. You’re putting a lubricant on top of an abrasive. It’s like adding clean oil to a car engine that’s full of sludge. The oil can’t reach the metal, and the dirt grinds the blade with every stroke. Always clean first.
Using the Wrong Lubricant
Motor oil and cooking oil are the usual garage suspects. Motor oil is designed for high-temperature engines, not open gears. It collects dirt. Cooking oil goes rancid. That gummy residue is nearly impossible to remove without disassembling the head.
Over-Oiling
More is not better. A thick coat of oil doesn’t “protect more.” It runs off, gets on the plastic housing, and attracts every bit of dust and grass clippings into a thick, abrasive paste. A thin, even film is what you want.
Forgetting the Pivot Points
All the focus goes to the shiny cutting teeth. The pivot point where the two blades slide is a high-friction metal-on-metal joint. One drop of oil there makes the whole action smoother and reduces strain on the motor. Miss it, and you’ll feel the tool working harder.
Storing the Trimmer Wet
Putting away a trimmer with wet plant residue on it is a guarantee of rust. The moisture sits against the metal, and by the time you pull it out next season, you’ll see orange spots. Always do a quick clean your trimmer and oil before you store a weed trimmer for the off-season.
Advanced Tips for Different Hedge Types
Not all hedges are created equal. What you’re cutting changes the maintenance schedule.
Sappy Evergreens (Pine, Cedar, Spruce)
These are the worst offenders. Their sap is sticky and acidic. It gums up the blades fast and promotes corrosion. You need to clean immediately after use. Denatured alcohol is your best friend here. Oil every 20-30 minutes of runtime, without fail.
Deciduous Hedges (Boxwood, Privet)
Much less sap. Warm soapy water usually gets them clean. You can stretch the oiling interval to every 45-60 minutes of use. The blades stay sharper longer.
Thick, Woody Stems (Mature Laurel, Overgrown Privet)
You’re not just cutting leaves; you’re cutting small branches. This puts more impact stress on the blade teeth, potentially chipping them. Focus on keeping the blades razor sharp. Oiling reduces friction, but sharpness is king here. Check for nicks after every major session.
After trimming a row of overgrown laurel, I found three small chips in my STIHL blade. I’d oiled religiously, but the impact on woody stems had done the damage. Oil doesn’t prevent chipping, it just lets a sharp blade work with less effort.
Frequently Asked Questions
Can I use WD-40 to oil my trimmer blades?
No. Standard WD-40 is a water displacer and light solvent, not a lubricant. It will clean the blade but evaporate quickly, leaving it unprotected. If you want a WD-40 product, use WD-40 Specialist Dry Lube, which is a silicone-based lubricant designed for this purpose.
How do I know if I’ve over-oiled my trimmer?
You’ll see excess oil dripping from the blade housing or a thick, sticky film on the blades that collects grass and dust. The trimmer may also spit oil onto you and the hedge while running. Wipe off the excess with a rag.
My blades are rusted. Will oiling fix that?
Oiling can prevent rust from getting worse, but it won’t remove existing rust. You need to scrub the rust off with a wire brush or fine sandpaper first, then clean and dry the blade thoroughly before applying oil to protect the freshly exposed metal.
Is it necessary to oil brand-new trimmer blades?
Yes. New blades often have a thin preservative coating from the factory, but it’s not meant for ongoing lubrication. Give them a light coat of oil before first use to ensure smooth operation from the start.
Can I use vegetable oil in a pinch?
Absolutely not. Vegetable oil breaks down, becomes rancid, and turns into a glue-like substance that can seize the blade mechanism. It’s a shortcut that will ruin your trimmer.
The Bottom Line
Oiling trimmer blades is a five-minute job that adds years to the tool. The sequence is simple: clean, dry, lubricate, wipe. Use bar and chain oil for gas trimmers, a dry silicone spray for electric ones, and never skip the cleaning step. If the trimmer still struggles after a proper oiling, the blades are dull, no amount of lubricant will fix a rounded edge. Listen to the tool, feel the cut, and keep the teeth sharp. Your wrists and your hedge will thank you.
