
What Is a Hammer Drill Used For? | Key Applications & Uses
This post contains affiliate links. As an Amazon Associate, we earn from qualifying purchases.
A hammer drill is used for drilling into hard, brittle materials like concrete, brick, and stone. It combines a spinning drill bit with a rapid hammering action, chipping away material with thousands of impacts per minute. This makes it essential for tasks like installing concrete anchors, running wiring through masonry walls, or setting posts.
That hammering action is the whole point. Without it, you’re just grinding a masonry bit against a surface that won’t give. The tool does two jobs at once: rotation cuts, and the hammer blows fracture.
What follows is a breakdown of exactly what that means for your project. We’ll cover the materials it’s built for, the jobs it simplifies, and the critical mistakes that burn out a motor in under an hour. You’ll also see the one line in a manufacturer’s manual that decides whether your drill is right for the hole you need to make.
Key Takeaways
- A hammer drill’s sole purpose is drilling into hard, brittle materials: concrete, brick, stone, and some masonry block.
- Using hammer mode on metal, wood, or plastic will damage the bit, the workpiece, and the tool’s internal mechanism.
- The “blows per minute” (BPM) spec, like the Makita M8103‘s 33,000 BPM, indicates impact force, not just speed.
- Always use the auxiliary handle when hammer drilling; the sudden torque when a bit breaks through or hits rebar can wrench the tool from your hands.
- An impact driver is a different tool entirely, made for driving screws and bolts, not for drilling holes.
What Materials Can a Hammer Drill Actually Drill?
The answer is in the manuals. The Makita M8103 manual states the tool is “intended for impact drilling in brick, concrete and stone.” The Ryobi SDS+ manual lists “concrete, brick, or other masonry.” That’s the complete list.
These materials are hard but brittle. The hammer mechanism delivers thousands of small, rapid blows that create micro-fractures. The rotating bit then scoops out the dust. It’s a chisel-and-sweep motion, automated.
Technical Spec: According to the Makita M8103/M8104 manual, the hammer drill’s vibration emission during impact drilling into concrete is 19.9 m/s². Drilling into metal, with the hammer function off, emits only 3.8 m/s². This seven-fold difference shows why the tool is designed for one job.
For everything else, wood, metal, ceramic, plastic, you switch the hammer function off. The tool becomes a slow, powerful rotary drill. Using the hammer setting on metal will dull a bit instantly and produce a horrible chattering noise. On wood, it will splinter the exit hole and overheat the bit.
Common mistake: Assuming a hammer drill is just a more powerful regular drill. It’s not. It’s a specialist. The internal cam-and-clutch mechanism that creates the hammering action adds complexity and points of failure. Using it as a daily driver for all materials wears those parts out for no benefit.
Here’s where each material stands:
| Material | Hammer Function? | Bit Type Needed | Risk If Used Wrong |
|---|---|---|---|
| Concrete, Brick, Stone | Required | Masonry (carbide tip) | None – this is the intended use. |
| Metal | Off | HSS or Cobalt Twist | Damages bit, work-hardens metal, ruins tool mechanism. |
| Wood | Off | Brad Point, Spade, or Forstner | Splinters workpiece, dulls bit prematurely. |
| Plastic/Ceramic | Off | Standard Twist or Tile Bit | Cracks material, creates ragged hole. |
The line is clear. If your material is powder-based and cured, concrete, mortar, brick, reach for the hammer drill. If it’s fibrous or ductile, wood, metal, plastic, leave the hammer switch alone.
How It Works: The Cam That Makes the Hammer
A standard drill has one moving assembly: the motor spins the chuck. A hammer drill adds a second. Inside the gearbox, a pair of ribbed metal discs, called cams or clutch plates, sit against each other.
As the motor turns, the ridges on these cams ride up and slide off each other. This converts smooth rotation into a rapid, linear pounding motion. That pounding gets transferred straight to the drill bit. It’s a simple, brutal, and effective mechanical solution.
The first time you squeeze the trigger on a hammer drill, it feels wrong. The vibration is intense, the noise is a loud, rhythmic brrrrrrrrt. You’ll think it’s broken. That’s the sound of the cams doing their job, thousands of impacts per minute traveling through the tool and into your hands.
This internal mechanism is why you can’t use hammer mode for regular drilling. Those cams are engaged and slamming. Forcing that action through a metal twist bit doesn’t drill faster; it just heats and blunts the cutting edges. The Ryobi SDS+ manual is explicit: “Rotary hammer mode will damage the tool’s mechanism when used for fastening or drilling with non-SDS Plus drill bits.”
The hammering action also dictates the drill bits you must use. Masonry bits have a specially hardened carbide tip that can withstand the pounding. A standard HSS bit will disintegrate.
The One Thing a Hammer Drill Cannot Do
It cannot drive screws. Not effectively, not safely, and not without causing damage. This is the most common point of confusion, because people mix up hammer drills with impact drivers. They are different tools with completely different purposes.
An impact driver delivers sudden, rotational torque impacts to loosen or tighten fasteners. A hammer drill delivers linear, hammering impacts to drill holes. Putting a screwdriver bit in a hammer drill and trying to drive a screw is a great way to strip the screw head, damage the bit, and strain your wrist from the bizarre vibration.
If your project involves both drilling holes in concrete and then driving screws into those holes, you need two tools: a hammer drill to make the hole, and an impact driver or a standard drill/driver to set the anchor or screw. No quality drill comparison ever recommends a hammer drill for fastener duty.
Primary Applications: Where This Tool Earns Its Keep
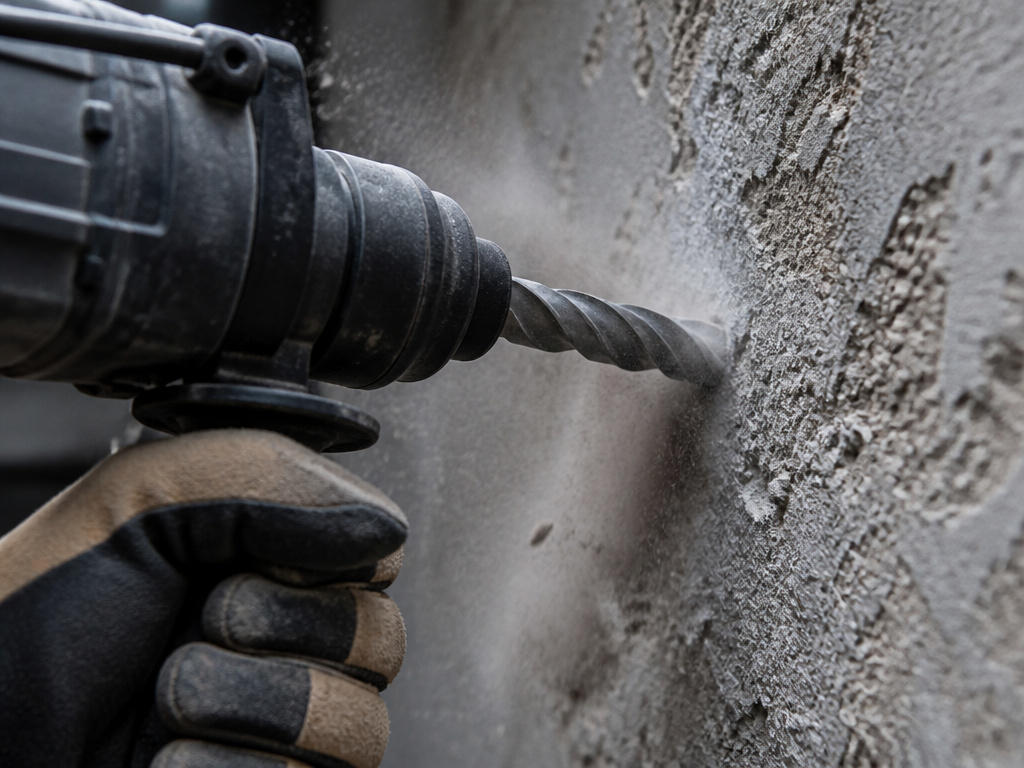
For homeowners and DIYers, a hammer drill turns impossible weekend projects into afternoon tasks. Its value is in specific, high-resistance scenarios.
Installing anchors in concrete. Whether you’re mounting a TV bracket, a garage shelf, or a deck ledger board, you need a hole in concrete. A hammer drill with a correct drill bits makes this a five-minute job instead of a thirty-minute struggle with a standard drill.
Running wiring or plumbing through masonry walls. Need to add an outlet on a concrete block wall or run a cable through a brick veneer? A hammer drill with a long masonry bit is the only way.
Setting posts or footings. Drilling pilot holes for concrete screws when attaching a fence post base or a small structural bracket is a classic use. The tool provides the necessary percussion to get through the crust and into the solid material underneath.
For light-duty concrete drilling, a standard hammer drill like the Ryobi 18V model is sufficient. When you step up to daily professional work or holes larger than 1/2 inch, you cross into rotary hammer territory. That’s a heavier, more powerful tool with a different mechanism (often pneumatic) and a dedicated SDS system for quicker bit changes.
Safety and Operational Warnings Direct from the Manuals
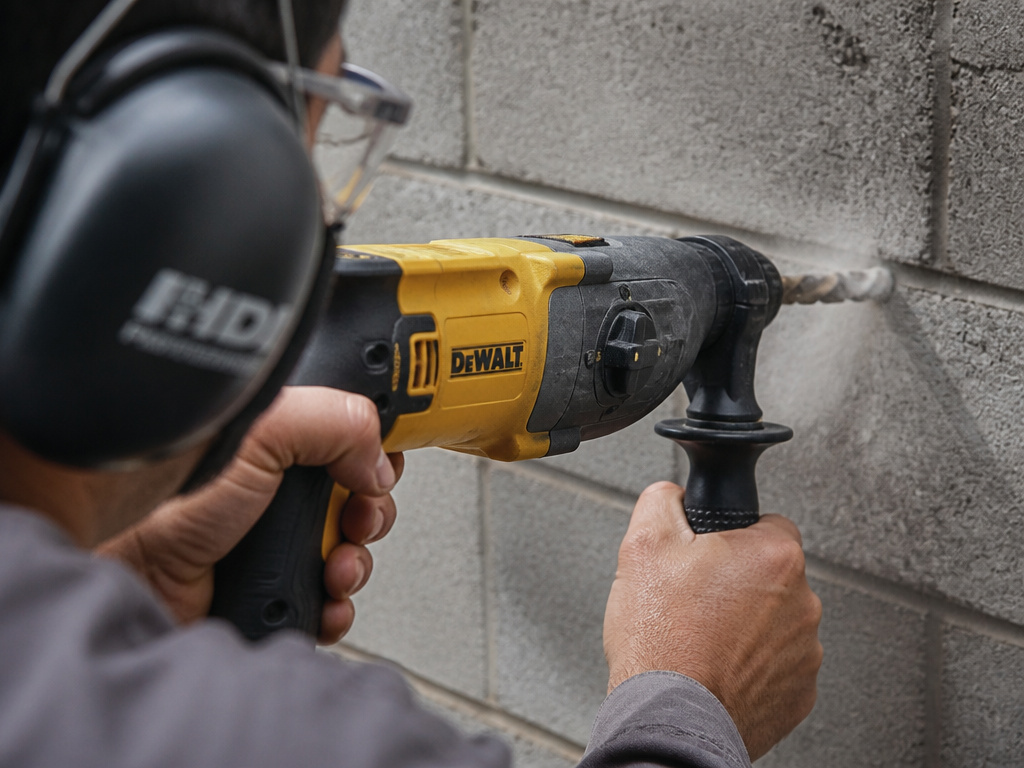
The OEM manuals aren’t just suggestions. They are a compiled list of how these tools break, and how people get hurt. Ignoring them turns a useful tool into a hazard.
Before you start: Wear ANSI Z87.1-rated safety glasses and a dust mask. Concrete dust is a lung irritant. Use hearing protection; impact drilling emits over 90 dB. Always install the auxiliary handle and grip the tool with both hands.
The Makita manual warns of “sudden twisting force” when the drill bit breaks through the back of a workpiece or strikes a reinforcing bar. That torque can snap your wrist or throw the drill. Two hands on the tool, with the side handle providing a counter-lever, is non-negotiable.
Other specific warnings from the research: * Do not use in rain or damp locations. (Ryobi 18V Manual) Water and electrical tools are a fatal combination. * Do not apply more pressure if the hole clogs. (Makita Manual) This binds the bit and overheats the motor. Instead, run the tool at idle and pull the bit in and out to clear debris. * A whistling noise from the switch is normal. (Ryobi SDS+ Manual) New users often mistake this for a fault. * Running at low speeds under constant use may cause overheating. (Ryobi SDS+ Manual) If the tool gets hot, let it run at full speed with no load to cool the internal fan.
These aren’t theoretical. A clogged bit creates friction, which creates heat, which can melt the bit’s plastic retention sleeve inside the chuck. You’ll spend an hour chiseling it out.
Hammer Drill vs. Rotary Hammer: When to Step Up
This is a natural progression. When your hammer drill starts to struggle, the hole progress stops, the tool overheats, the job takes too long, you’ve hit its limit. You need a more powerful tool.
| Feature | Hammer Drill | Rotary Hammer (SDS-Plus) |
|---|---|---|
| Mechanism | Mechanical cam/clutch | Pneumatic or electro-pneumatic |
| Impact Energy | Lower | Much Higher |
| Best For | Holes up to 1/2″ in concrete, occasional use | Holes up to 1″ or more, daily professional use |
| Chuck System | Standard keyed or keyless | SDS system (slotted drive system) |
| Additional Function | Usually drilling only | Often has a “hammer-only” mode for light chiseling |
The differences between a rotary hammer and hammer drill are significant. A rotary hammer’s hammering action is stronger and more efficient, causing less vibration to the user. Its SDS chuck allows bits to slide in and lock with a quarter-turn, and they have a slight play that improves impact transfer.
For a homeowner installing a few shelf brackets a year, a hammer drill is perfect. For a contractor installing a dozen concrete anchors a day, a rotary hammer is a wrist-saving necessity. It’s a matter of scale.
Frequently Asked Questions
Can I use a hammer drill as a regular drill?
Yes, but only when the hammer function is switched off. In drill-only mode, it operates like a slower, heavier-duty version of a standard drill. Never use the hammer setting on materials other than masonry.
What’s the difference between a hammer drill and an impact driver?
Hammer drill is for drilling holes in hard materials via a pounding action. An impact driver is for driving screws and bolts via sudden rotational impacts. They are not interchangeable. You would use a hammer drill to make a hole in a concrete wall, and an impact driver to drive the concrete screw into that hole.
Do I need special bits for a hammer drill?
Yes, you must use masonry drill bits. They have a carbide tip designed to withstand the hammering impacts. Using standard twist bits will destroy them and can damage the drill.
Is a hammer drill good for removing screws or bolts?
No. That is the job of an impact driver or a wrench. A hammer drill has no setting that applies reverse rotational force. Using it to try to remove a fastener is ineffective and risky.
Can I use a hammer drill to chisel or break up tile?
Some hammer drills, particularly SDS hammer drill models, have a “hammer-only” mode that allows for light chiseling with a dedicated chisel bit. Standard hammer drills are not designed for this; the rotation cannot be disengaged, which makes controlled chiseling impossible.
The Bottom Line
A hammer drill solves one problem: drilling into hard, brittle masonry. It does that job exceptionally well, turning a half-day of frustration into a clean, quick hole. Your decision comes down to the specs. Check the manual for the maximum drilling capacity in concrete, often 1/2 inch for standard models. If your project needs bigger holes or you’re drilling more than a few per year, look at a rotary hammer.
Remember the warnings. Use the side handle. Wear the gear. And keep the hammer switch off for everything except concrete, brick, and stone. That’s how the tool lasts for years, and how you finish the project without a trip to the clinic.
