How to Make a Miter Saw Table: The Practical 5-Step Guide
This post contains affiliate links. As an Amazon Associate, we earn from qualifying purchases.
Build a miter saw table by constructing a sturdy 2×4 base frame, adding a level plywood top with a recess for your saw, and finishing with a removable fence and side support wings. The core process involves five sequential steps: building the base cabinet, creating the top frame, cutting the main tabletop, attaching the wings, and installing the fence. The goal is a rock-solid, perfectly level workstation that costs a fraction of a store-bought stand.
Most DIYers go wrong by rushing the base. They slap together a wobbly frame from whatever lumber is on hand, then spend hours trying to shim the top level. The table never feels solid, and every cut transmits vibration. The saw eventually walks out of alignment.
This guide walks through a no-nonsense build that prioritizes rigidity from the ground up. We’ll cover material selection that actually works, a joinery method that lasts, and the one measurement you cannot afford to guess.
Key Takeaways
- Use kiln-dried 2x4s or let construction lumber acclimate for two weeks indoors to prevent warping that destroys table flatness.
- The single most important measurement is the height from your saw’s base to its cutting surface; the tabletop must be recessed by exactly this amount.
- A removable fence is superior to a permanent one; it allows you to reference the saw’s own fence for general cuts, which handles bowed boards better.
- Pocket-hole joinery with glue creates a base frame that resists racking far better than just screws driven at angles.
- Integrate dust collection from the start by building a simple three-sided plywood box behind the saw, not just hoping a shop vac hose will catch everything.
What You’ll Need: Tools and Materials
Gather everything first. A mid-project run to the hardware store kills momentum and often leads to settling for the wrong fastener.
You need a circular saw with a guide or, ideally, a table saw for straight cuts. A power drill/driver is non-negotiable. A pocket-hole jig like the Kreg K4 transforms the build, it makes strong, hidden joints that are beginner-friendly. A speed square and several bar clamps round out the essentials.
For materials, buy one sheet of 3/4-inch ACX plywood. The “AC” means one side is sanded smooth (that’s your top), and it’s built with exterior glue, so it’s more stable than cheap sheathing. Get three 8-foot 2x4s.
Here’s the critical part: if you buy standard SPF (Spruce-Pine-Fir) construction lumber from a big-box store, it’s often wet. You must let it sit in your shop for at least two weeks before cutting. Stack it with stickers between boards so air circulates. If you skip this, the frame will twist as it dries, and your level top becomes a rocking chair seat.
A pocket-hole jig like the Kreg K4 uses a stepped drill bit and specialized screw to pull two boards together into a tight, strong joint. The angled screw drives deep into the receiving board’s edge grain, creating a connection that resists pulling apart far better than a toenailed screw.
Here is the complete shopping and tool list:
| Category | Specific Items |
|---|---|
| Lumber | 1 sheet 3/4″ ACX Plywood (4’x8′), Three 8′ 2x4s (kiln-dried or acclimated) |
| Hardware | 2.5″ Pocket-hole screws, 2″ Wood screws, 1/4-20 x 2″ Bolts (4), 1/4-20 Threaded inserts (4), Wood glue |
| Tools | Circular saw/Table saw, Power drill/driver, Kreg Jig (K4 or similar), Speed square, (4) Bar clamps, Tape measure |
| Safety | Safety glasses, Hearing protection, Dust mask/respirator |
Why Build a Table Instead of Buying a Stand?
A folding metal stand gets the saw off the ground. That’s it. It’s tippy with long boards, offers zero storage, and does nothing for dust or accuracy. A proper table changes the work.
The wings support an entire 16-foot piece of trim so both ends are level with the blade. No sag, no dangerous balancing act. The fence, when you need it, gives you a dead-straight reference for stop blocks.
You can cut a dozen identical pieces without measuring each one. You also gain a dedicated home for the saw. It bolts down, so the calibration you set last week is the calibration you have today. For repetitive trim work or building projects, this consistency saves more time than the build takes.
I used a folding stand for years. Cutting long crown molding alone was a two-person job, one to hold the outfeed, one to operate the saw. After building a table, I could handle 12-foot lengths by myself. The difference wasn’t just convenience; the cuts were cleaner because the workpiece wasn’t flexing.
The 5 Steps to Build Your Miter Saw Table Core
Follow this sequence. Each step relies on the previous one being square and solid.
Before you start: Unplug your miter saw. Wear safety glasses when cutting or drilling, plywood splinters fly. Be aware of kickback when ripping long plywood sheets on a table saw; use a push stick. Pocket-hole screws are sharp; handle them carefully to avoid jamming one into your palm.
Step 1: Build the Base Cabinet Frame
This is the foundation. Wobble here ruins everything.
Cut your acclimated 2x4s to length. You’ll need:
* Four pieces at 34 inches (long sides)
* Four pieces at 24 inches (short sides)
* Four pieces at 16 inches (legs)
Use the pocket-hole jig to drill two holes on one end of each 34-inch and 24-inch piece. Assemble two identical rectangles, a top and a bottom frame for the cabinet. Use glue on the joint faces and drive the 2.5-inch pocket screws. Wipe excess glue immediately.
Now, connect these two rectangles with the 16-inch leg pieces at each corner. This creates a box. Use 2.5-inch screws driven through the frames into the ends of the legs.
Check for square by measuring diagonally from corner to corner; both measurements must be equal. A difference of even 1/4 inch will cause the table to rock. Correct it now by gently racking the frame until the diagonals match.
What happens if you skip checking for square? The plywood top won’t sit flush, you’ll have gaps, and no amount of shimming will make the table stable. You’ll fight it for the life of the build.
Step 2: Create the Top Support Frame
This is a simple 2×4 frame that sits on top of your base cabinet. It provides a full ledge for the plywood top to rest on, distributing weight evenly.
Cut two more 2x4s to 34 inches and two to 24 inches. Assemble them into a rectangle using pocket holes and glue at the corners. This frame should match the outer dimensions of your base cabinet. Don’t attach it yet.
Step 3: Cut the Tabletop and Side Wings
This is where precision matters most.
- Measure Your Saw: Place your miter saw on a flat surface. Measure vertically from the surface up to the cutting deck (the metal area around the blade). Write this number down. For my Dewalt DWS779, it’s 3-5/8 inches.
- Cut the Main Top: Cut a piece of plywood to 36 inches by 24 inches (or to fit your base). This is the main tabletop. Now, you need to cut a recess in its center for the saw to drop into. Set your circular saw depth to the exact measurement you took in step 1. Outline the footprint of your saw’s base on the plywood, then cut out that rectangle. The saw should drop in so its cutting deck is perfectly flush with the plywood surface. Test-fit repeatedly, trimming with a jigsaw if needed.
- Cut the Wings: Cut two side wings from the remaining plywood. Their dimensions aren’t critical, but 36″ long by 12″ deep is a good start. They will attach to the sides of the main top.
Step 4: Assemble the Top and Attach Wings
Now you bring the substructure and top together.
Place the top support frame (from Step 2) onto the base cabinet. Ensure it’s centered and flush. Secure it by driving screws up through the base cabinet’s top frame into the support frame. Apply a bead of wood glue along the top of the support frame.
Place your main plywood top onto the glued frame. The recess should be centered. Weight it down with heavy objects or use clamps while the glue sets. After 30 minutes, reinforce it by driving 2-inch screws up through the support frame into the plywood top from underneath. Sink the screw heads slightly.
Attach the side wings. The goal is a seamless, level transition from the saw’s deck to the wing. Apply glue to the edge of the main top, butt the wing against it, and clamp firmly.
Once clamped, secure from underneath with screws. Use a long, straight edge across the saw deck and onto the wing to check for level. If the wing is high, you can sand it down. If it’s low, you must shim it before final screwing, a sliver of plywood or a business card often works.
Step 5: Build and Install the Removable Fence
A fixed fence is a liability. A removable one gives you flexibility.
Build the fence from two layers of plywood ripped to about 4 inches tall and the full width of your table. Glue and screw them together for stiffness. This lamination prevents bowing.
Attach it with bolts and threaded inserts. Drill clearance holes through the fence. On the tabletop, drill pilot holes and install the threaded inserts. You can now bolt the fence on for repetitive cuts and remove it in ten seconds for general work. This is the method used in professional shop jigs for a reason.
Finally, add a sacrificial insert. Cut a thin strip of MDF or plywood and attach it to the front edge of your fence, right behind the saw blade. When you make a cut, the blade kerf goes into this strip. For perfect 90-degree crosscuts, you line up your pencil mark with the kerf line in the insert. Replace the strip when it gets chewed up.
Design Variations and Upgrades
The basic table works. These upgrades make it professional.
Add Mobility: Bolt a set of 3-inch locking casters to the bottom of the base cabinet. Two should be locking swivels, two fixed. This lets you roll the heavy table around your shop and lock it in place for cutting. Just ensure the casters are rated for the weight.
Integrate Dust Collection: Don’t just point a hose. Build a three-sided box from scrap plywood that encloses the back and sides of the saw where it sits in the recess. Seal the joints with caulk. Cut a 4-inch hole in the back panel and attach a standard dust collection hose port. This creates a negative pressure zone that actually pulls dust away from the blade and your lungs.
Include Storage: Add a middle shelf in the base cabinet frame during assembly. Simply cut a piece of 1/2-inch plywood to fit and rest it on cleats screwed to the inside of the legs. This shelf holds blades, a speed square, hearing protection, and spare finish nails.
| Upgrade | Best For | Complexity | Key Benefit |
|---|---|---|---|
| Locking Casters | Small shops, shared spaces | Low | Move a 150+ lb. station easily, lock for solid cuts. |
| Dust Collection Box | Anyone cutting MDF or treated lumber | Medium | Captures ~70% of fine dust at the source; keeps shop air cleaner. |
| Lower Storage Shelf | Organizing blades and accessories | Low | Keeps tools at the station; no searching mid-project. |
| Power Strip Mount | Running saw, vacuum, and work light | Low | Centralizes power; reduces tripping hazards from loose cords. |
Common Mistakes and How to Avoid Them
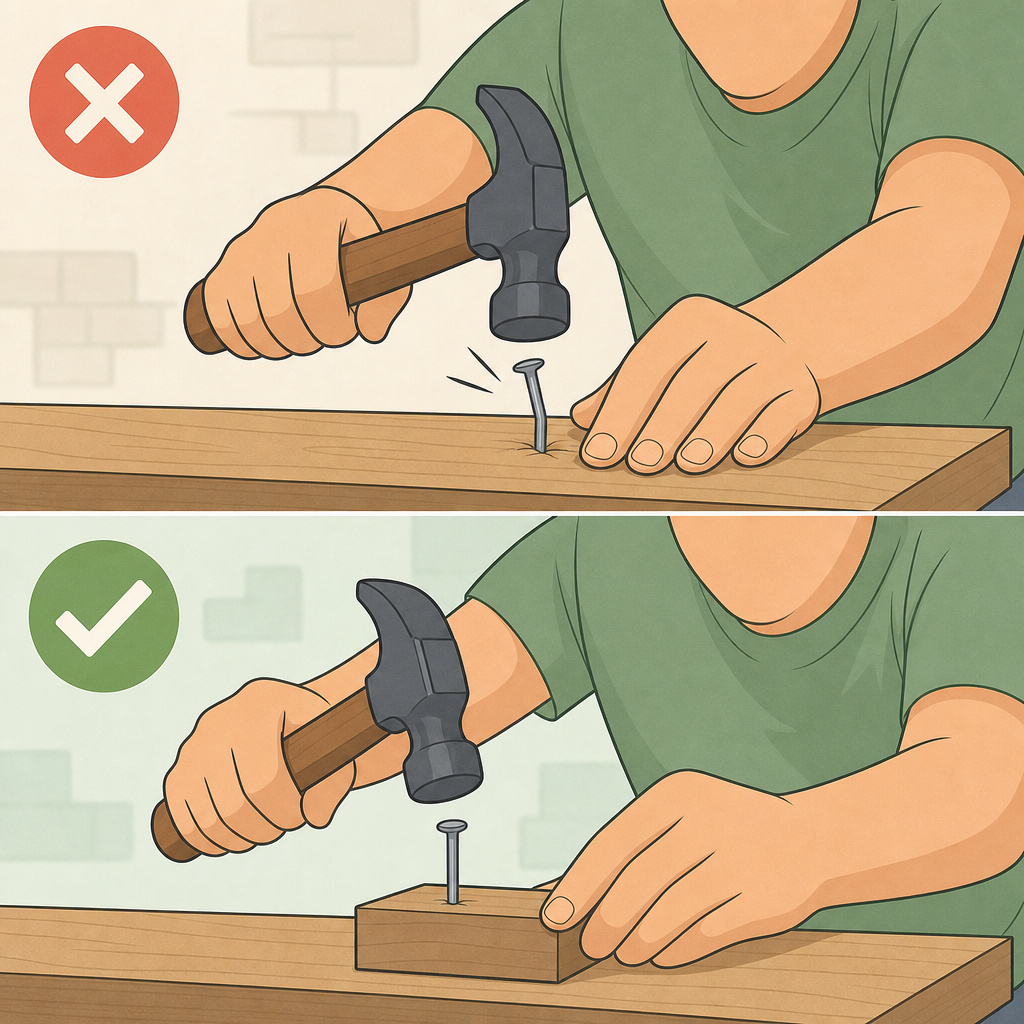
I’ve made these. Learn from them.
- Using Soaking Wet Lumber. The twist shows up two months later. The fix is expensive and frustrating. Buy kiln-dried, or wait. Your patience is measured in weeks, but the warping is permanent.
- Making the Fence Permanent. The first table I built had a glorious, rock-solid laminated fence screwed directly to the top. It was perfect until I tried to cut a slightly bowed 2×4. The board bridged the gap between the saw’s fence and my auxiliary fence, causing a dangerous bind and a ruined cut. Bolted inserts cost $8 and save your project.
- Neglecting the Sacrificial Insert. You’ll make one perfect 90-degree cut, mark it, and then spend the next year eyeballing. The insert gives you a physical kerf line to register your pencil mark against every single time. It turns guesswork into a repeatable process.
- Forgetting to Account for Saw Travel. If you have a sliding compound miter saw, it needs clearance behind the fence. My first design placed the fence too close to the wall. The saw slid back, hit the wall, and I had to relocate the entire table. Measure the saw’s full rearward slide and add 6 inches to that dimension for your table’s placement.
I built a beautiful table from “bargain” construction 2x4s, eager to save $15. I didn’t wait. Within six weeks, two of the legs developed a pronounced twist, pulling the top out of level. Every cut required a shim under the workpiece. I ended up disassembling the entire base, buying proper lumber, and starting over. The $15 savings cost me a weekend.
Frequently Asked Questions
How high should a miter saw table be?
Aim for the saw’s handle to be at or slightly below your elbow when your arm is relaxed at your side. For most people, this puts the tabletop height between 34 and 38 inches. The real metric is comfort over a two-hour trimming session.
Can I use MDF instead of plywood for the top?
You can, but I don’t recommend it. MDF sags over a 36-inch span unless supported every 12 inches. It also sucks up moisture from the air and swells, ruining your flat surface. Plywood has a grain structure that resists sagging and is more stable in a non-climate-controlled garage.
Do I need to bolt my miter saw to the table?
Yes. Use the mounting holes in your saw’s base. If you don’t bolt it down, the saw can creep during a cut, especially with a heavy sliding model. This alters your angle by a degree or two, which is enough to ruin a picture frame joint.
What’s the best way to make the tabletop perfectly level with the saw deck?
Shim from below. After dropping the saw into the recess, place a straightedge across the gap. If the plywood is low, unscrew that corner of the top from the frame below and slip in a laminate shim or a few washers. Re-tighten. It’s easier than trying to plane the plywood down.
How can I make this design more portable?
Scale it down. Build the base cabinet frame, but instead of a full 36×24 top, make it just wide enough to hold the saw with minimal wings. Add fold-down outfeed supports that hinge from the sides. Use lighter-weight but still rigid plywood, like 5/8-inch. The principles of a solid base and level top remain the same.
The Bottom Line
Building a miter saw table isn’t about saving money, though you will. It’s about gaining control. A stable, custom station turns a good tool into a precision instrument. The process rewards careful measurement and patience with material. Focus on a square base, a level top, and a removable fence. Those three elements deliver 95% of the benefit. The upgrades, dust collection, mobility, storage, are just polish on a tool that will serve you for decades. Grab your square, cut your wood, and build something solid.
