How to Use a Concrete Saw: Step-by-Step Guide
This post contains affiliate links. As an Amazon Associate, we earn from qualifying purchases.
Using a concrete saw requires matching three things: the right diamond blade for your concrete’s hardness, a methodical cutting technique that favors shallow passes, and comprehensive safety gear that treats silica dust as a serious health hazard. The saw’s weight and the sharp blade do the cutting; your job is to guide it steadily and stay out of the path of debris.
Most people grab the tool first. They skip the gear, pick a blade because it’s cheap, and try to muscle through a deep cut in one go. The blade binds, the motor screams, and a cloud of fine grey powder coats everything.
That dust isn’t just dirt. It’s crystalline silica, and breathing it causes permanent lung damage. The mistake isn’t rushing the cut. It’s underestimating the material and the mess.
This guide walks through the process from the ground up. We’ll cover the non-negotiable safety rules, how to pick a blade that won’t burn out in five minutes, the step-by-step sequence for a clean cut, and what to do when you hit the unexpected. It’s the same method used for patios, slabs, and foundations.
Key Takeaways
- Silica dust from concrete is a regulated health hazard. An N95 respirator is the absolute minimum; a properly fitted half-mask respirator with P100 filters is what the OSHA standard actually requires for this work.
- Blade selection dictates success or failure. A soft-bond diamond blade wears quickly to expose fresh diamonds, which is necessary for hard, dense concrete. A hard-bond blade lasts longer but will glaze over and stop cutting on the same material.
- Never cut to full depth in one pass. For a 4-inch slab, plan on at least eight separate passes, each no deeper than 1/2 inch. This prevents blade binding, reduces kickback risk, and keeps the cut straight.
- Let the blade spin down inside the cut before you lift the saw. Yanking it out while it’s moving can twist the blade, damage the arbor, and throw debris.
- If your cut line crosses the path of buried utilities, hire a professional. Hitting a live electrical conduit or a pressurized water line transforms a DIY project into an emergency.
Before You Start: The Safety Non-Negotiables
Before you start: Concrete cutting generates respirable crystalline silica (RCS), which OSHA classifies as a known human carcinogen. Inhaling this dust can cause silicosis, a progressive and incurable lung disease. The physical hazards include blade kickback, projectile debris, entanglement with the drive mechanism, and electrocution from using a wet saw not designed for it.
Your gear list isn’t a suggestion. It’s a prerequisite. I learned this the hard way years ago cutting a curb without a face shield.
A fragment of aggregate shot back and hit my safety glasses, scratching the lens deeply. Without them, it would have been my eye. The gear is annoying until the moment it isn’t.
You need a full kit: ANSI-approved safety goggles that seal to your face (not just glasses), over-the-ear muffs (foam plugs aren’t enough for prolonged saw noise), and a respirator. That N95 mask from the hardware store? It’s better than nothing, but it leaks.
For real protection, get a half-mask respirator with cartridges rated for particulate (P100). It’s uncomfortable and fogs your glasses. Use it anyway.
Wear heavy, long-sleeved shirts and pants, cut-resistant gloves, and steel-toed boots. Kneepads are a good idea if you’re working low. This isn’t about looking professional. It’s about creating a barrier between you and a stream of sharp, fast-moving grit.
What Type of Concrete Saw Do You Need?
The tool choice depends entirely on the job’s scale and location. Using a 16-inch handheld cut-off saw to trench a 50-foot slab is miserable. Using a 30-horsepower walk-behind saw to cut a single paver is overkill.
| Saw Type | Best For | Biggest Limitation |
|---|---|---|
| Handheld Cut-Off Saw | Curbs, steps, block walls, small slabs | Depth (usually max 5-6 inches), intense vibration |
| Walk-Behind Flat Saw | Large slab work, long straight cuts, deep trenches | Maneuverability, cost (often rented) |
| Masonry Table Saw | Precision cuts on pavers, blocks, tiles | Size of material it can accept |
| Demolition Saw (Big) | Breaking through thick foundations, walls | Extreme weight, requires significant experience |
For most homeowner projects — cutting a patio for expansion, removing a section of sidewalk, or slicing through a foundation for a door — a handheld gasoline or electric cut-off saw is the ticket. Brands like Stihl, Husqvarna, and Makita dominate the pro space for a reason: they’re built to run for hours. You can rent these easily.
The walk-behind saw is a beast. It’s for contractors cutting control joints in new concrete or utility crews trenching roads. You’ll rent it. The key with any rental is to have the shop staff show you the controls, the water hookup, and how to check the blade. Don’t just nod and drive off.
Using a circular saw with a diamond blade is possible for very shallow cuts, but it’s a different beast with its own safety and technique requirements. Our guide on whether you can cut concrete with a circular saw covers the specific limitations and setups for that approach.
Choosing the Right Diamond Blade: It’s About Hardness
This is where people waste money. They buy a blade labeled “concrete” and wonder why it smokes and cuts slowly. Diamond blades are not all the same. The “bond” — the metal matrix that holds the diamonds — is engineered to wear at a specific rate to match the material’s abrasiveness.
Soft, sandy, old concrete is abrasive. It wears down the bond quickly, which is good because it constantly exposes fresh, sharp diamonds. For this, you need a hard-bond blade. It wears slower, so the diamonds don’t get ripped out before they’re used up.
New, high-strength, dense concrete is hard but less abrasive. A hard-bond blade will just skate over it, glazing the surface. For this, you need a soft-bond blade. It wears faster, ensuring new diamonds are always exposed to grind through the tough material.
How do you tell your concrete’s hardness? Simple test. Take a standard masonry nail and try to scratch the surface with moderate pressure.
– If it scratches easily, leaving a clear groove, you have soft, abrasive concrete. Use a hard-bond blade.
– If the nail barely scratches it or skids, you have hard, dense concrete. Use a soft-bond blade.
Blade manufacturers use terms like “hard aggregate,” “general purpose,” or “green concrete.” Ask the rental counter or read the spec sheet. Getting this wrong costs you time and a blade.
The other critical choice is wet vs. dry.
| Blade Type | Mechanism | When to Use It | Mandatory Requirement |
|---|---|---|---|
| Wet-Cutting Diamond | Water cools blade, suppresses silica dust | Any job where water is permissible; produces cleanest cut | Saw must have a water port and pump |
| Dry-Cutting Diamond | Segmented rim allows air cooling and dust ejection | Indoor work, areas with no water access, emergency cuts | Strict dust control and frequent cool-down pauses |
A wet blade used without water will overheat and warp in under a minute. The steel core expands, the diamond segments detach, and the blade is trash. I warped a brand-new 14-inch blade this way on a rental saw with a clogged water line. The rental fee was nothing compared to the blade replacement cost.
Preparing the Work Area and the Saw
Poor planning makes a hard job dangerous. Clear the area of loose debris, hoses, and cords. Sweep the concrete. Look for any metal objects — old nails, tie-wire, expansion joints — that could be hidden. Hitting metal with a diamond blade can crack segments or cause sudden kickback.
Mark your cut line with a chalk line. For a critical cut, use a grease pencil or paint pen; chalk can blow away. Double-check your measurements. There’s no undo button in concrete.
If you’re cutting indoors, you have a containment problem. Seal off doorways with plastic sheeting and tape. Turn off the HVAC system to prevent spreading dust throughout the house. For dry cutting, position a shop vacuum with a HEPA filter at the point of cut if possible. It won’t catch everything, but it helps.
Saw Setup:
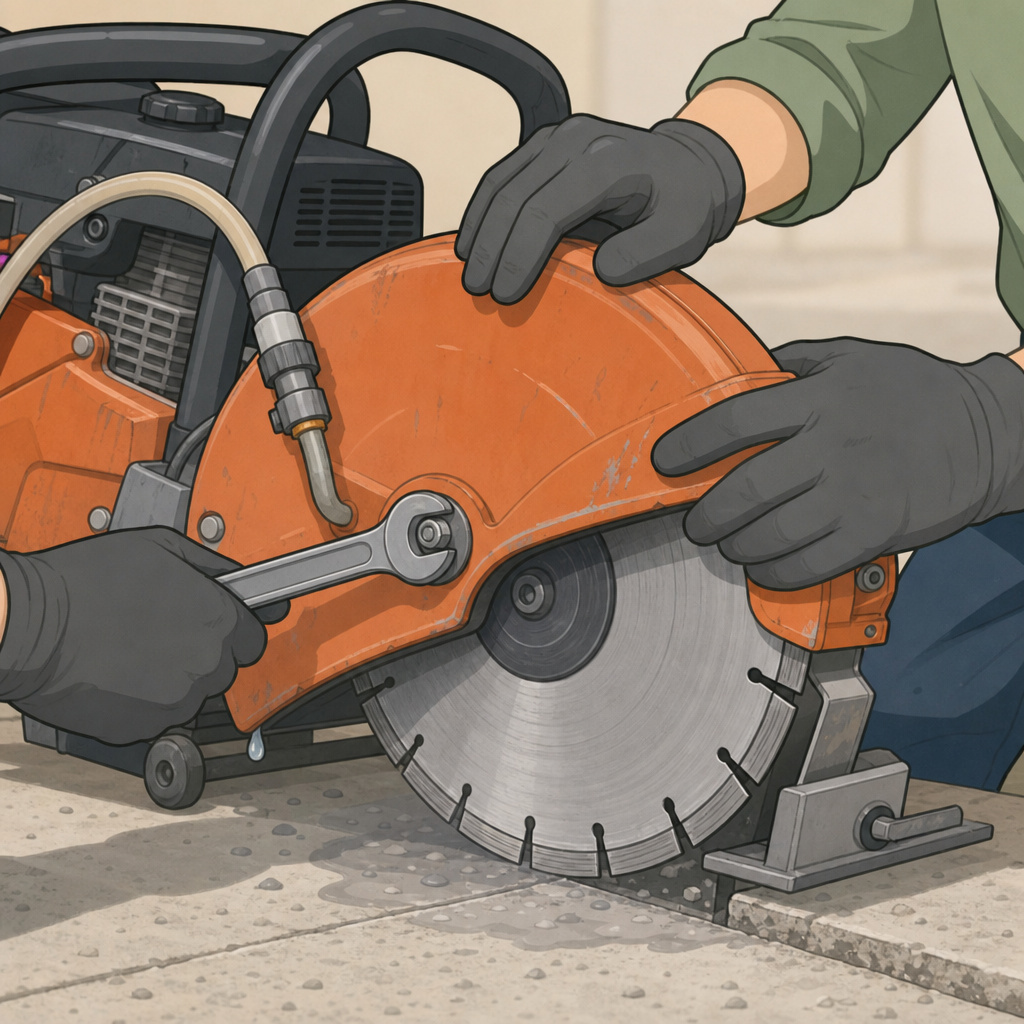
- Mount the blade: Ensure the arrow on the blade matches the saw’s rotation direction. Tighten the arbor nut with the wrench provided. Do not use an impact wrench — hand-tight is correct.
- Set the depth: Loosen the depth adjustment, lower the blade until it just touches the concrete, then raise it. Set your first pass to 1/4 inch for scoring. Lock the adjustment.
- Check guards: Make sure the blade guard moves freely and returns to cover the blade.
- Power/Fuel: For electric saws, use a heavy-duty extension cord rated for the saw’s amperage. For gas saws, fill with fresh fuel and oil mix. Start the saw in a clear area and let it run for a minute to ensure it’s operating smoothly.
The Step-by-Step Cutting Sequence
 **
**
Follow this sequence exactly. It’s designed to maintain control, preserve the blade, and get a straight cut.
1. The Scoring Pass
Start the saw and let it reach full operating speed. The sound will change from a whine to a steady roar. Gently lower the spinning blade onto the start of your marked line. Don’t push. Let the blade’s weight and rotation pull it forward slightly. Guide it along the entire length of your line, creating a shallow groove no more than 1/4 inch deep. This groove is your guide rail for every subsequent pass.
2. The Incremental Deepening Passes
Stop the saw at the end of your line. Increase the cutting depth by 1/2 inch. For a 4-inch slab, this means you’ll make about 8 total passes (one score + seven deepening cuts).
Start the saw, let it spool up, and lower it into the start of your scored groove. Now, guide it steadily. Your job is not to push, but to keep it aligned and prevent it from wandering. Imagine you’re walking a powerful dog on a leash.
For wet cutting: A steady trickle of water should flow over the blade. Not a flood, but a consistent stream. If the water stops, stop cutting immediately.
For dry cutting: Cut for 30-45 seconds, then lift the blade out of the cut while it’s still spinning and let it run in the air for 15-20 seconds to cool. You’ll see heat waves coming off it. Cutting until the blade discolors (blues or purples) ruins its temper.
3. Dealing with Rebar and Embedded Objects
You will hit rebar in structural concrete. The sound changes from a steady grind to a high-pitched zing. Do not panic and jerk the saw. Ease up on forward pressure slightly and continue cutting through the steel. A diamond blade will cut through rebar, but it wears the segments faster. Just keep a steady pace. Trying to rush through metal is a sure way to stall the saw or snap a segment.
4. Finishing the Cut and Shutdown
When you reach full depth, release the trigger. This is critical: let the blade spin down to a complete stop while it is still in the cut. The kerf (the slot you’ve made) supports the blade and prevents it from bending or twisting as it stops. Once it’s still, lift the saw straight out.
Turn off the water supply (if used) and disconnect the saw from power. Place it on a level surface.
Troubleshooting Common Concrete Saw Problems
Even with perfect technique, things go wrong. Here’s what’s happening and how to fix it.
| Problem | Likely Cause | Immediate Fix |
|---|---|---|
| Blade binds/kicks back | Cut is pinching the blade, or cutting too deep too fast | Stop, lift blade, check for debris in kerf. Make shallower passes. |
| Excessive dust (wet cut) | Water flow is insufficient or blocked | Stop cutting. Clear water line nozzle. Ensure pump is working. Never run dry. |
| Blade wanders off line | No scoring guide, or forcing the saw sideways | Stop. Re-mark line. Start over with a shallow scoring pass and let the saw guide itself. |
| Motor bogs down/stalls | Blade is dull, depth too great, or forcing cut | Let blade cool. Check sharpness. Reduce depth per pass. Use less forward pressure. |
| Uneven cut depth | Saw base rocking on uneven surface | Place plywood under saw feet on rough ground. Maintain firm, level pressure. |
Blade binding is the scariest. It usually happens when the two sides of the concrete slab settle or shift slightly, pinching the blade in the kerf. If you feel the saw start to fight you and the motor labors, don’t force it.
That leads to a violent kickback. Turn off the saw, lift it out, and inspect the cut. Sometimes you need to make a relief cut elsewhere to relieve the pressure.
Post-Cut Cleanup and Blade Care
The job isn’t done when the cutting stops. Silica-laden slurry and dust are active hazards.
First, clean yourself and your gear before you take off the respirator. Use compressed air or a damp rag to dust off your clothing, gloves, and helmet outside. Then remove your gear.
For wet cuts, you now have a slurry mess. This watery concrete mud will harden into a rock-hard coating if left. Hose it into a contained area where it can dry, then shovel the hardened residue into heavy-duty bags for disposal. Check local regulations for concrete waste.
For dry cuts, do not sweep. Sweeping aerosols the fine silica dust back into the air. Use a vacuum with a HEPA filter. Then, mop the area with water.
Blade Care:
- Wet blades: Rinse thoroughly with clean water to remove slurry from the segments and center. Let it air dry completely before storage to prevent rust on the steel core.
- Dry blades: Brush off loose dust. Look for segment wear. A blade is dull when the diamond segments are smooth and shiny, or when cutting takes more than twice as long as it did when new.
Store blades flat or hanging, not leaning against a wall where they can bend. A warped blade is unbalanced and will vibrate terribly, damaging the saw’s arbor bearings. Proper tool storage extends the life of expensive accessories like diamond blades.
When to Call a Professional
This isn’t about skill. It’s about risk assessment. Hire a pro if:
– Your cut line is anywhere near suspected underground utilities (call 811 first, but if it’s too close, let a pro with insurance handle it).
– The job requires cutting overhead or on a significant slope.
– The concrete is pre-stressed or post-tensioned (cutting the wrong cable can cause catastrophic failure).
– The scale is simply beyond your equipment or comfort level. Renting a walk-behind saw and using it once is often more expensive and risky than hiring a crew for a day.
Frequently Asked Questions
Can I use a regular circular saw to cut concrete?
Yes, but with major caveats. You need a diamond blade designed for a circular saw, and you are limited to a cut depth of about 2-2.5 inches (half the blade diameter). You must use a dust-shrouded vacuum attachment and treat it as a dry-cutting operation. It’s only suitable for very shallow cuts like scoring or cutting pavers.
How deep can a concrete saw cut?
Handheld cut-off saws typically max out at 5 to 7 inches, depending on blade diameter. Walk-behind saws can cut over 12 inches deep with a single blade, and even deeper with special setups. For a 4-inch slab, a 14-inch blade on a cut-off saw is standard.
Why is water used when cutting concrete?
Water serves three purposes: it cools the diamond blade to prevent overheating and warping, it suppresses the dangerous silica dust by weighing down the particles, and it lubricates the cut, allowing for faster cutting and a smoother finish.
How do I know if my diamond blade is dull?
The most obvious sign is a severe drop in cutting speed. The saw will bog down and require much more forward pressure to make any progress. Visually, the diamond segments will appear smooth, polished, and shorter from wear. A sharp blade has a slightly rough, gritty surface on its segments.
Is it safe to cut concrete indoors?
It can be done, but it requires extreme diligence. Dry cutting indoors should be avoided unless you have industrial-grade dust extraction (not a shop vacuum). Wet cutting is preferable, but you must manage the slurry runoff to prevent water damage. In either case, seal the room completely and treat silica dust with the seriousness of asbestos.
The Bottom Line
Cutting concrete is a brute-force task that demands a precise approach. The safety gear is not optional. The blade must match the material. The technique is a slow, incremental grind, not a heroic plunge.
Success isn’t measured by speed, but by a straight, clean cut and walking away unharmed. Keep the water flowing, let the blade cool, and respect the dust. That’s the difference between a finished project and a trip to the emergency room. When in doubt, there’s no shame in making the call to a pro with the right equipment and experience.